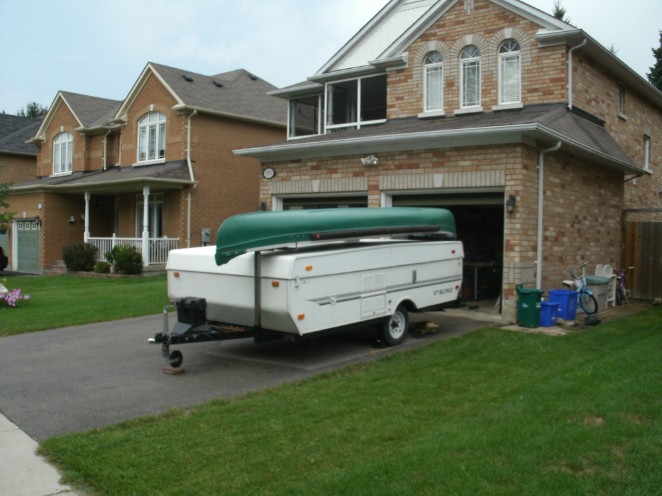
PUP
Aug 9, 2010
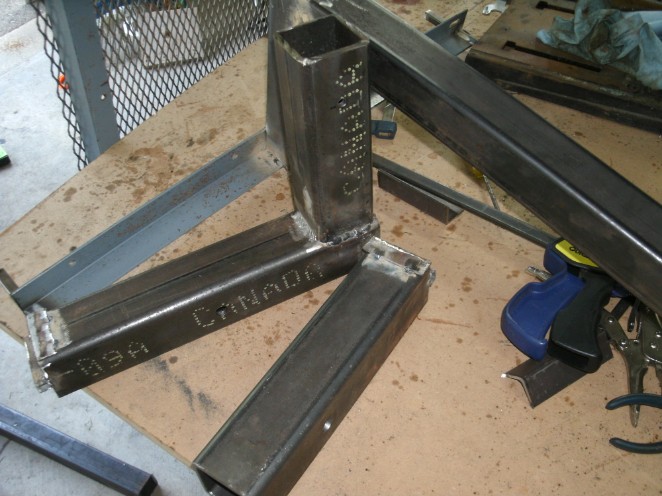
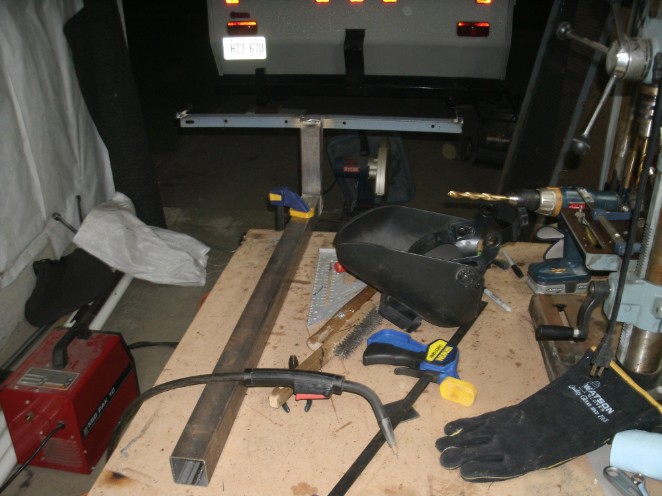
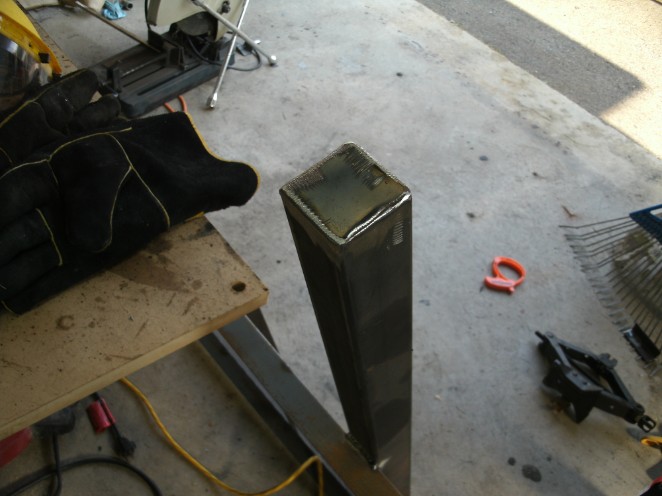
This past weekend I got doing the cargo/canoe rack for the PUP. When it involves being on the road I went with 2" square to be safe - the hitch receivers/connectors are 3/8"- actual stuff used for the large hitches. The other rack tubes are 1/16" wall - I used 1/8 tube for the lower cargo rack. The rectangular cargo rack is just some 1.5" bedframe I am always looking out for from people through out at the ends of driveways - also will use that for the canoe cross supports. This is all wee bit over kill, I could have used smaller tubing but I wanted to be sure I we get in an accident, my cargo and canoe will not be coming off and injuring or killing someone. I want this done and painted this week so I can work on repairing canoe next week.
Aug 10 2010
Above and Below:
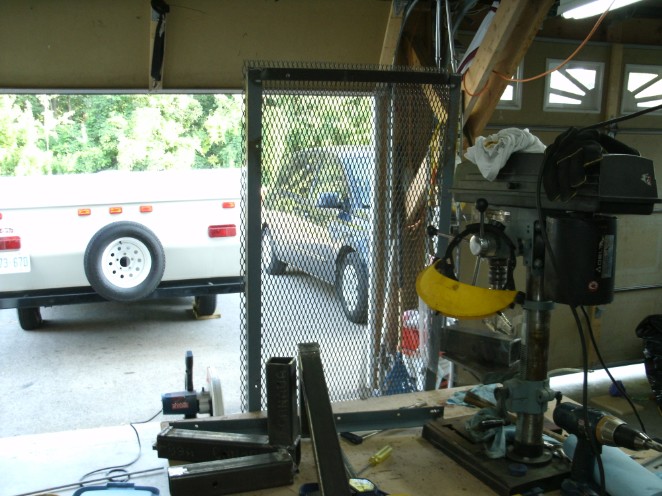
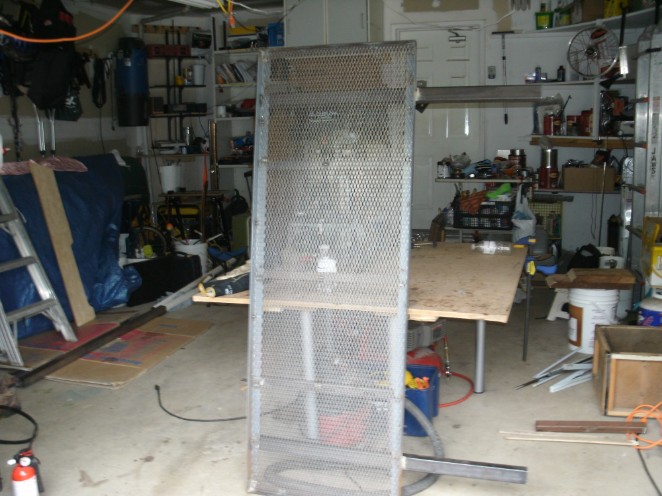
Already done is the cargo frame(partically- needs center bracing) standing up with grat that needs some triming to fit. The left and right hitch receivers - the left one has the vertical receiver for canoe rack and the other is beside it is is the right side.
Above:
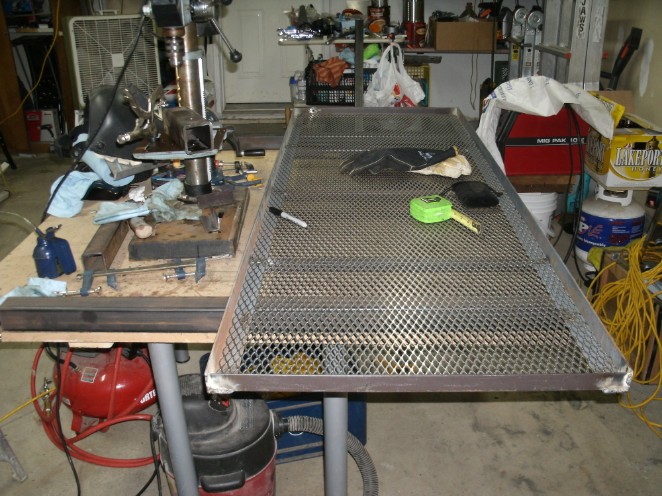
Now trimed - the grat fits nice - I will do about 10 tacks on the long ends and 4 or 5 on the short sides to hold in.
Below :
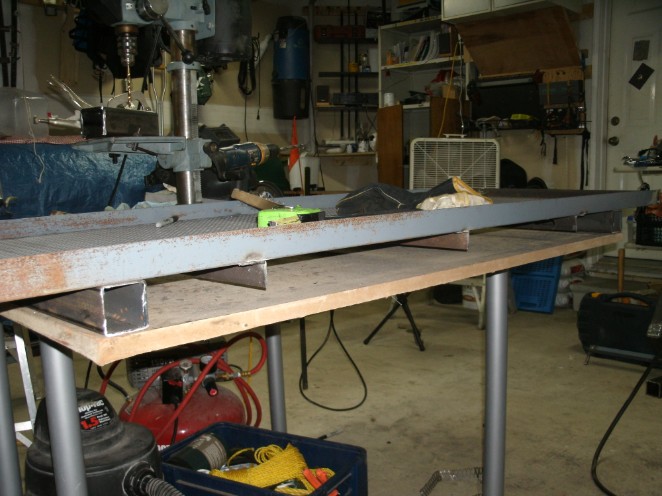
Just trying to show the middle supports for the grat so the cargo will not collapse it - just used some more smaller bed frame pieces
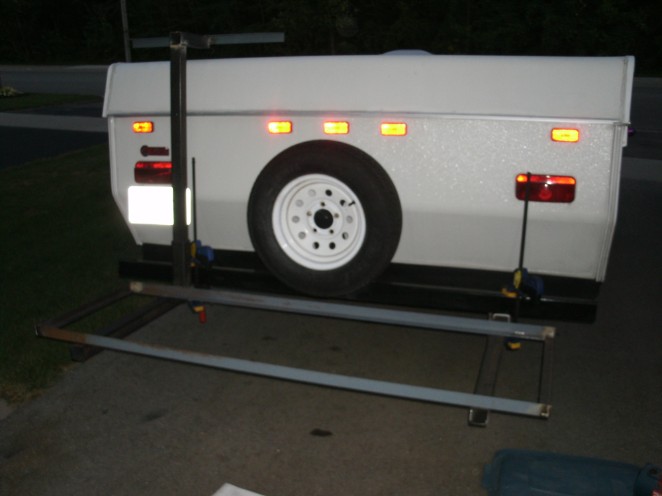
Above and below: Testing fit of pieces done already. Actually taken before the above pics but seem better flow to put them here - these don't show some of the work done since like the above ones.

Above and below: The rear canoe rack is now finished and ready for paint - since taking these pics the other night I have caped the ends and put side rails/risers on to prevent side to side slide of the canoe.

Aug 15
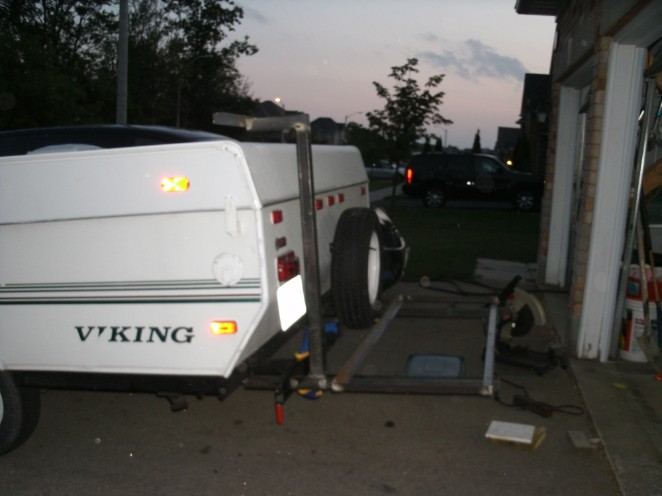
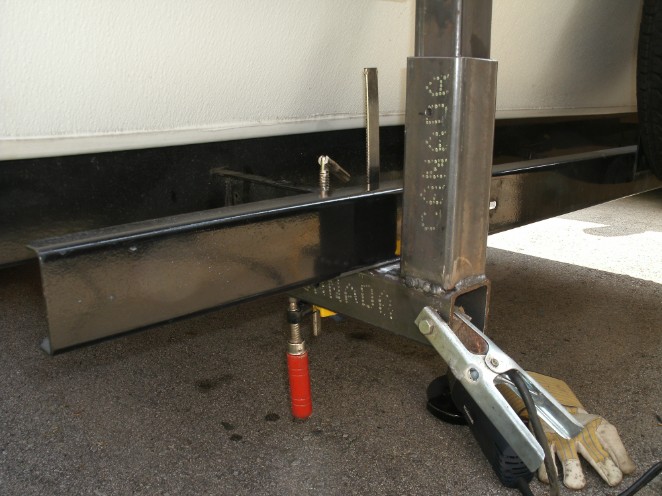
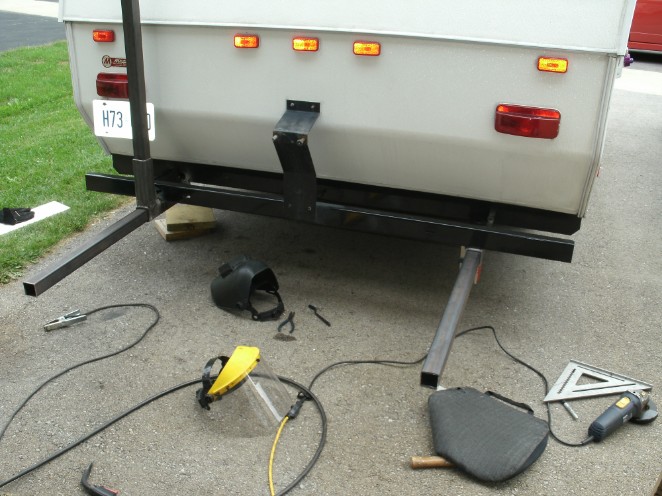
Above: Getting ready to attach front canoe rack receiver.
Below: Using the rear cargo canoe carrier I adjusted this using shims on other side and jack - then eyed it out to tack in place
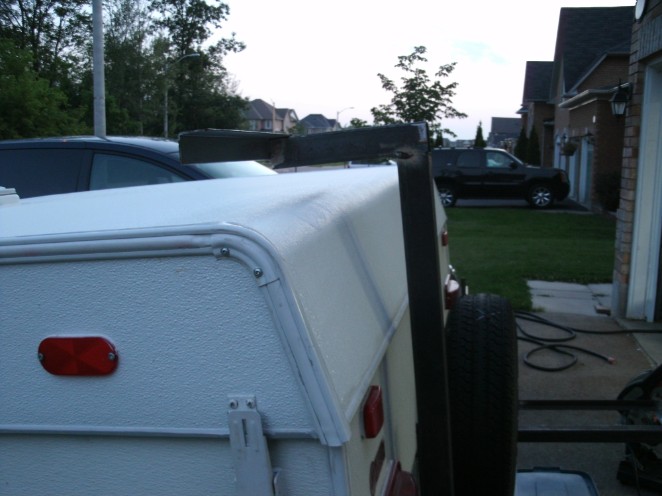
Above: Front done - not my best welding, was using extension cord on welder and it just was not working all that well.
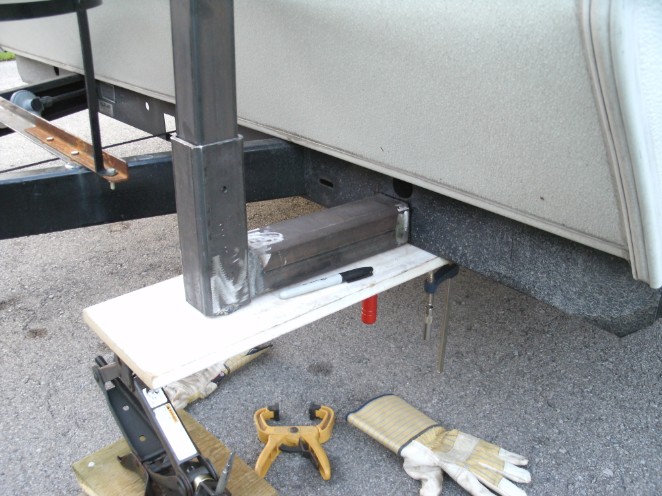
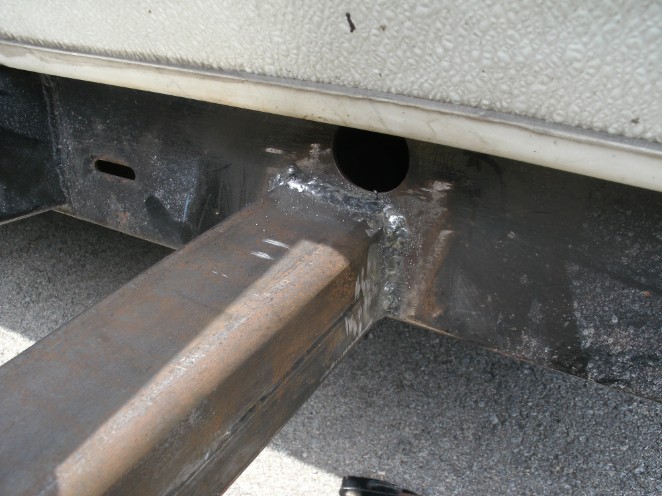
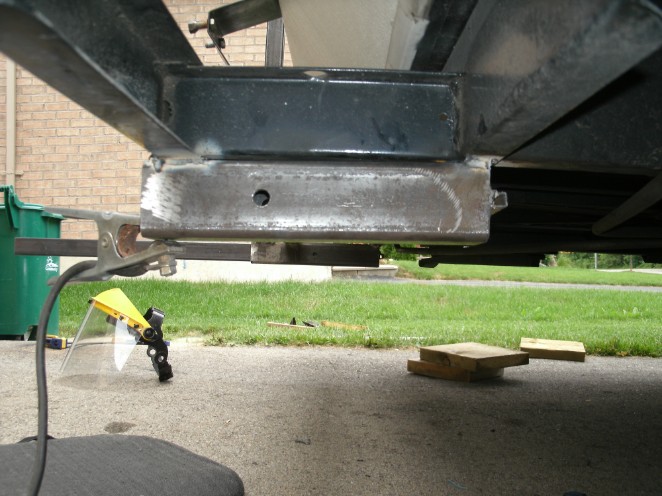
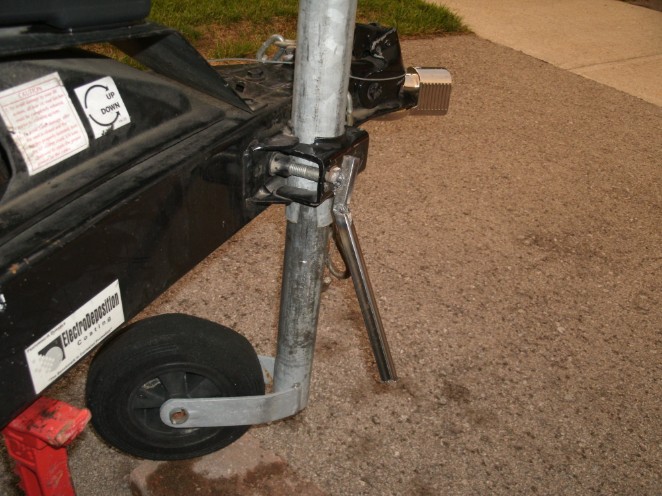
Below 5: Attaching left rear receiver - this just got centered under the bumper beam - I checked with a square and Bobs your uncle.
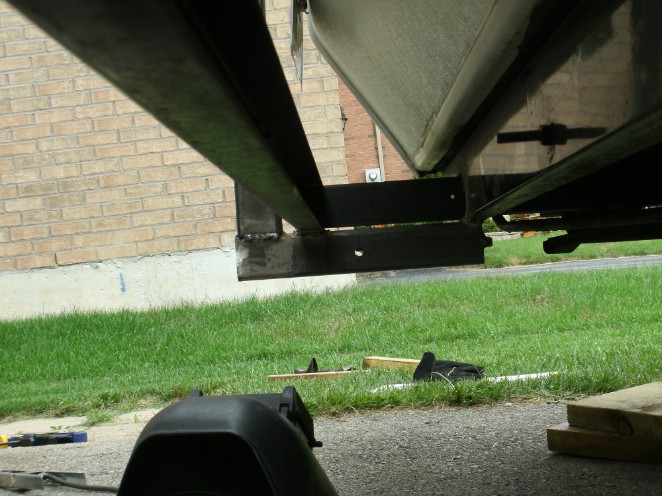
Above: Getting ready to put left receiver on - I put in the beams to measure for square.
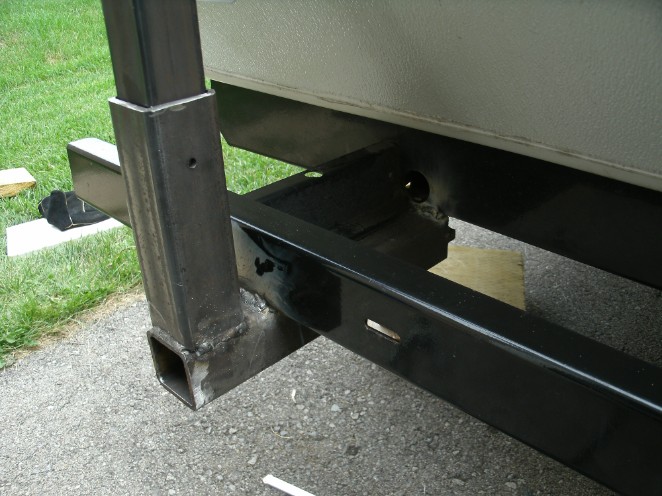
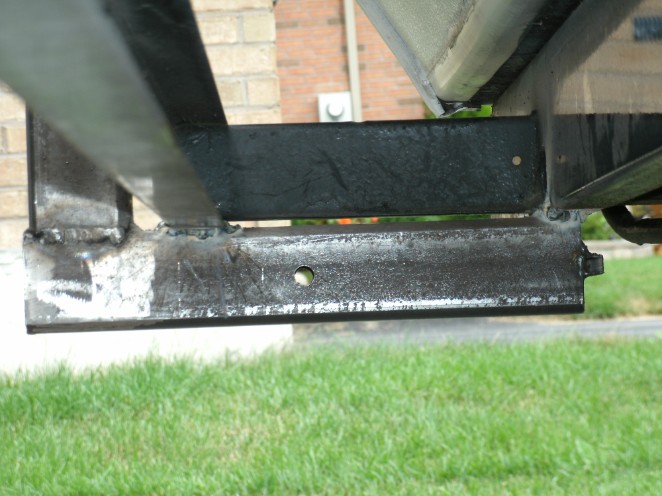
Below 2: Right side done - some tricky welding but the are secure.
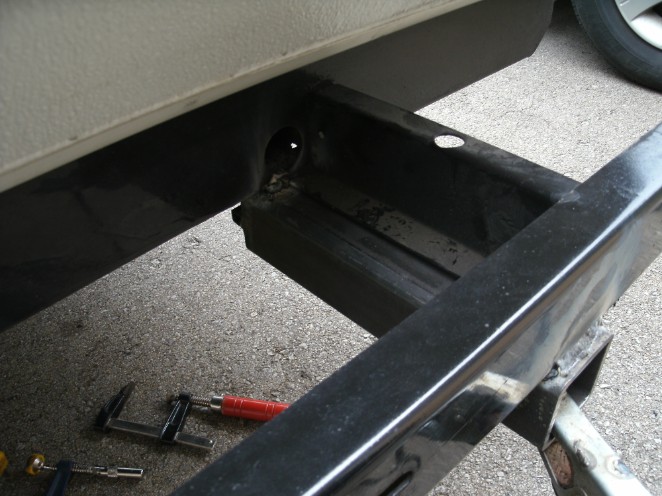
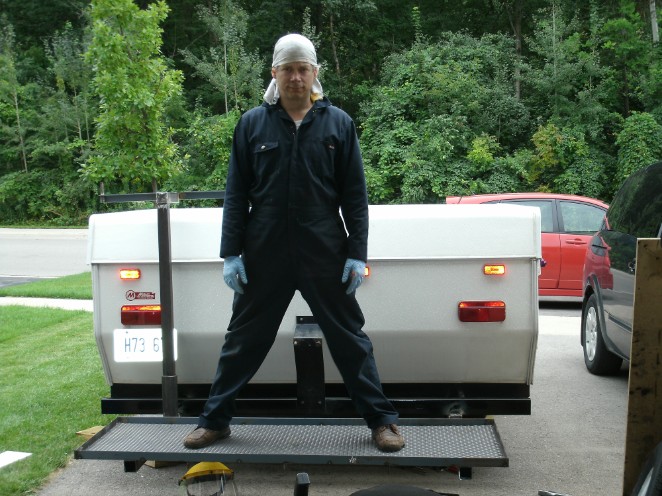
Above: Just a little test. Rack is just sitting on beams - I then spaced them to withing a 1/4" and tacked it to the beams
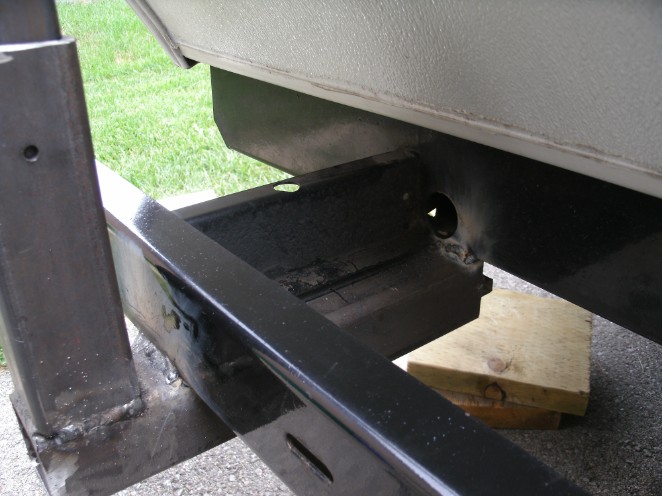
Below: Beams attached but still need to cap ends.
Above: All 3 receivers painted with 1st coat - 24hrs to second.
Below: I got the front canoe rack down - ready for paint. A little behind schedule, I wanted to have all parts painted with 1st coat today but that will get done to tomorrow.
Aug 15
Before I got started painting the canoe racks I did a little test fit - all good - the bedframe cross members already have hole in them to put in some tie down eyelets, I just have to make the holes a 16th bigger and drill holes on down tubes for some extra front and back secure points. In a couple hrs I will be done with the 1st coat of paint on all pieces and starting teardown on the canoe for refurb.
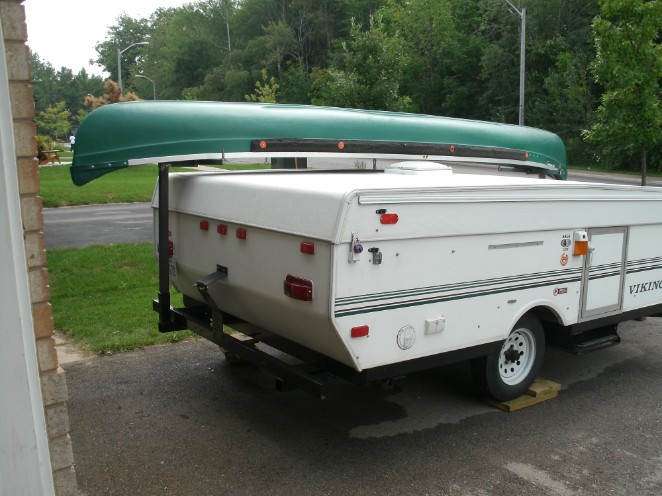
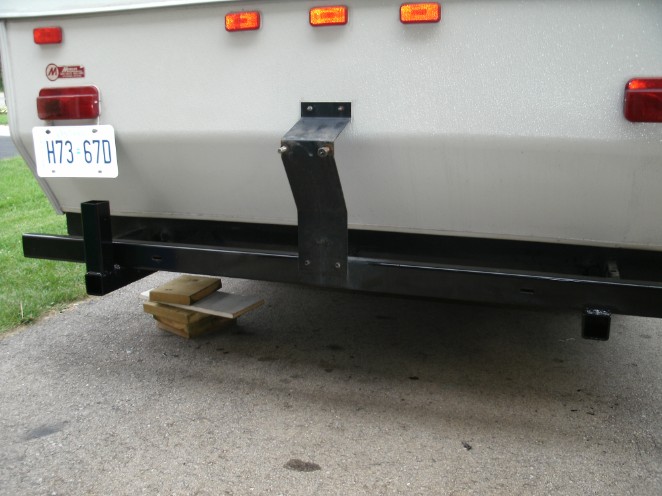
Above: Added tie down eyelets to the canoe racks - even cut of end side supports as I thought they were not required with the eyelets.
Below: End caps added to the receiver side of the cargo rack - only had enough metal to do 2 so opted for this side. I will add to the other side later when I pick up another foot of 2" flat bar.
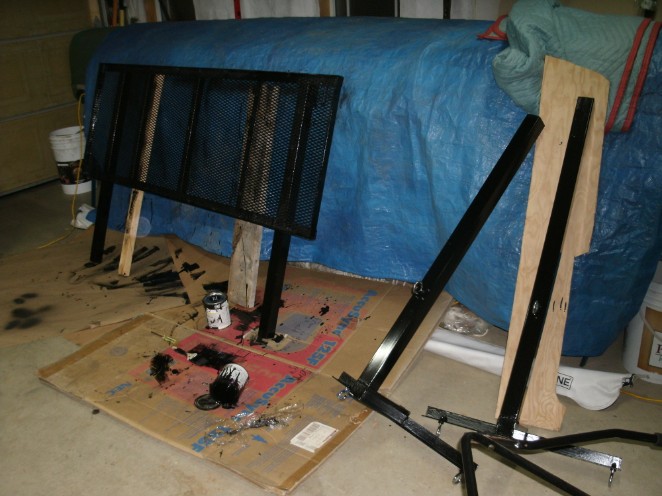
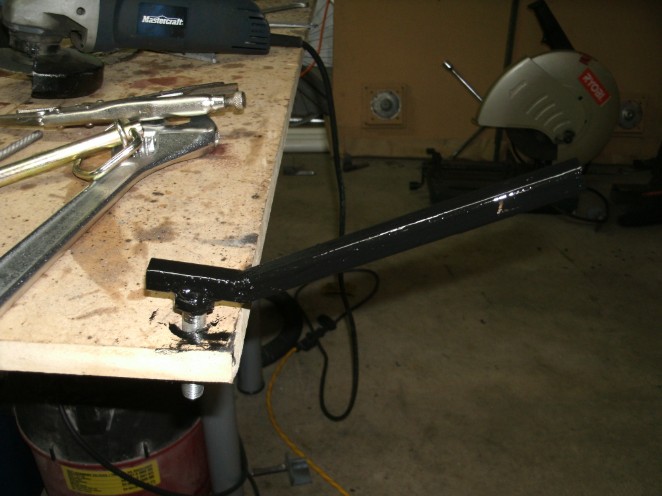
Above: Got all three pieces painted with coat one.
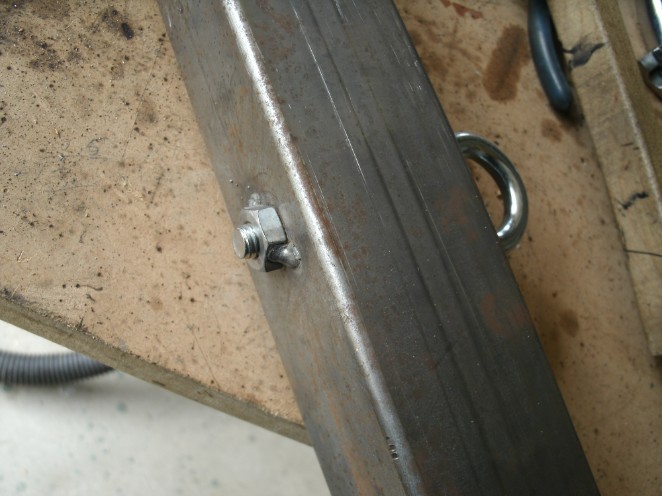
Below: Got reading the manual and saw a pic that this bolt should have had a handle - so I made one!
I will do another coat tomorrow night on all pieces.
Aug 20
Below: Did a test loading last night with the bikes, just to make sure I was not playing around with how to do it tonight. The front of the trailer still feels very heavy to me so there should not be a sway issue. I did not have a chance to do a test drive so it will have to be on the way to the park tonight - heading to Arrowhead tonight.
