Kyoto Cruiser

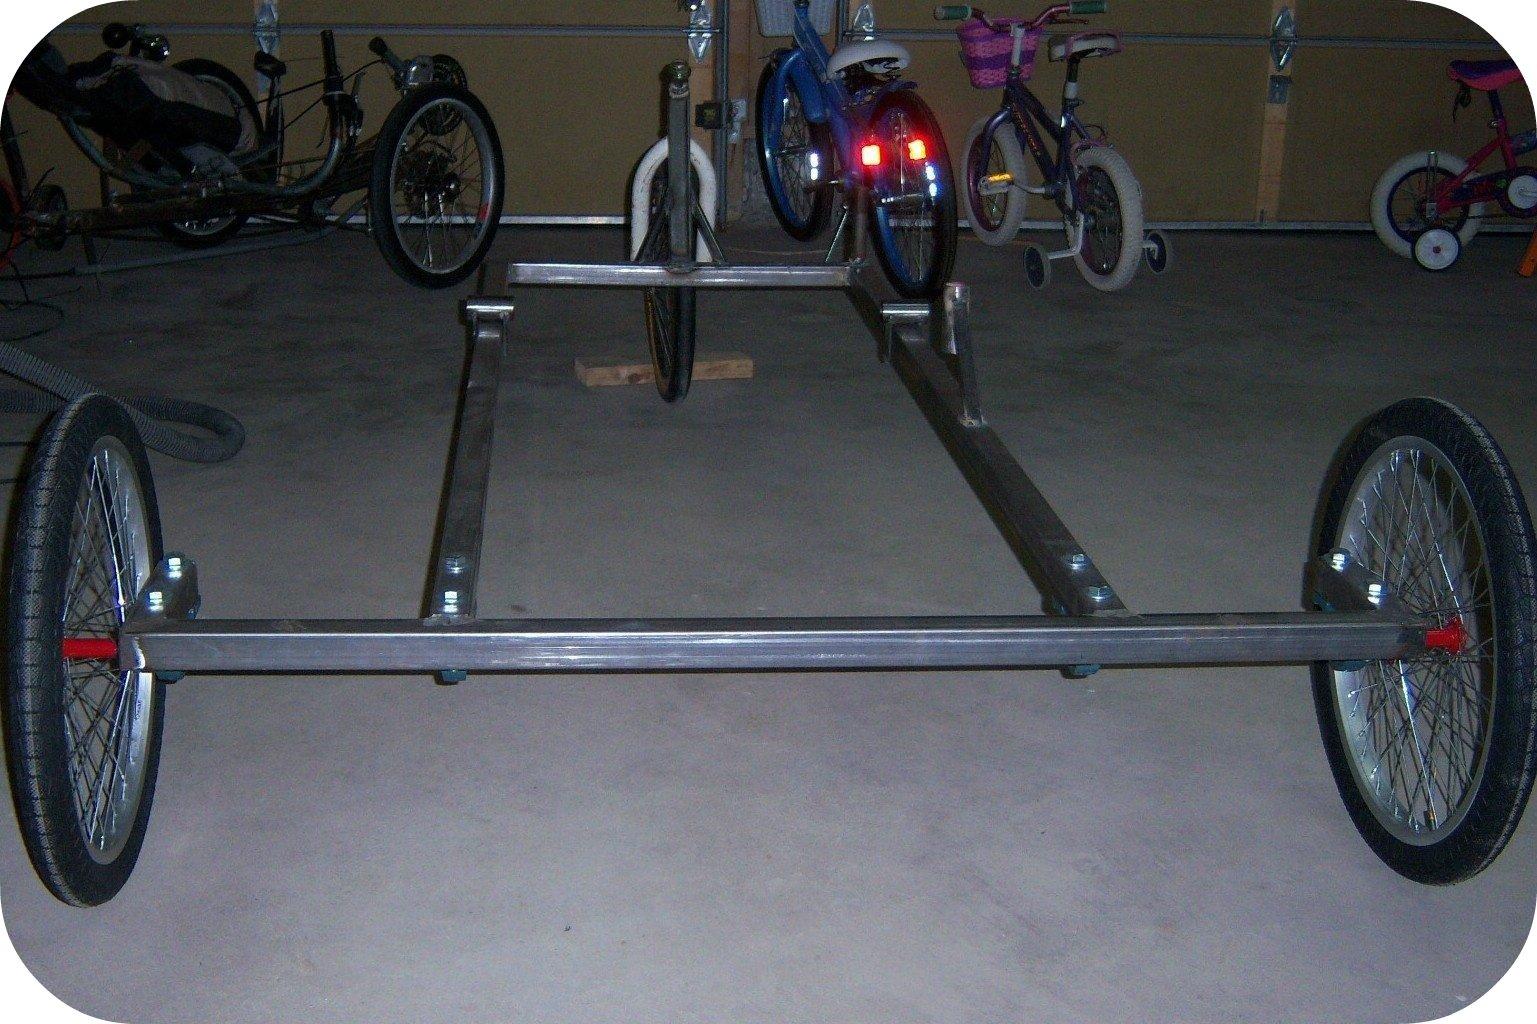
Above is the Kyoto Cruiser(that pic from thier site), my latest, still in progress, build. I purchased the plans from AtomicZombie. Yah, I know - why did I not finish the Patrike1 1st. I just wanted to work on something different. When I came across the AZ site I saw this and thought it would be great for the wife and I to get out with the kids bike riding.
I started the Kyoto in the spring of 2008. I got it up to a rolling frame and got called into service by my brother to help him get their new business up and running. I spent almost every weekend during the summer helping out so the project is still in the works.
The following is a pic of about the current status of the rolling frame lest the seat rest I have put on.
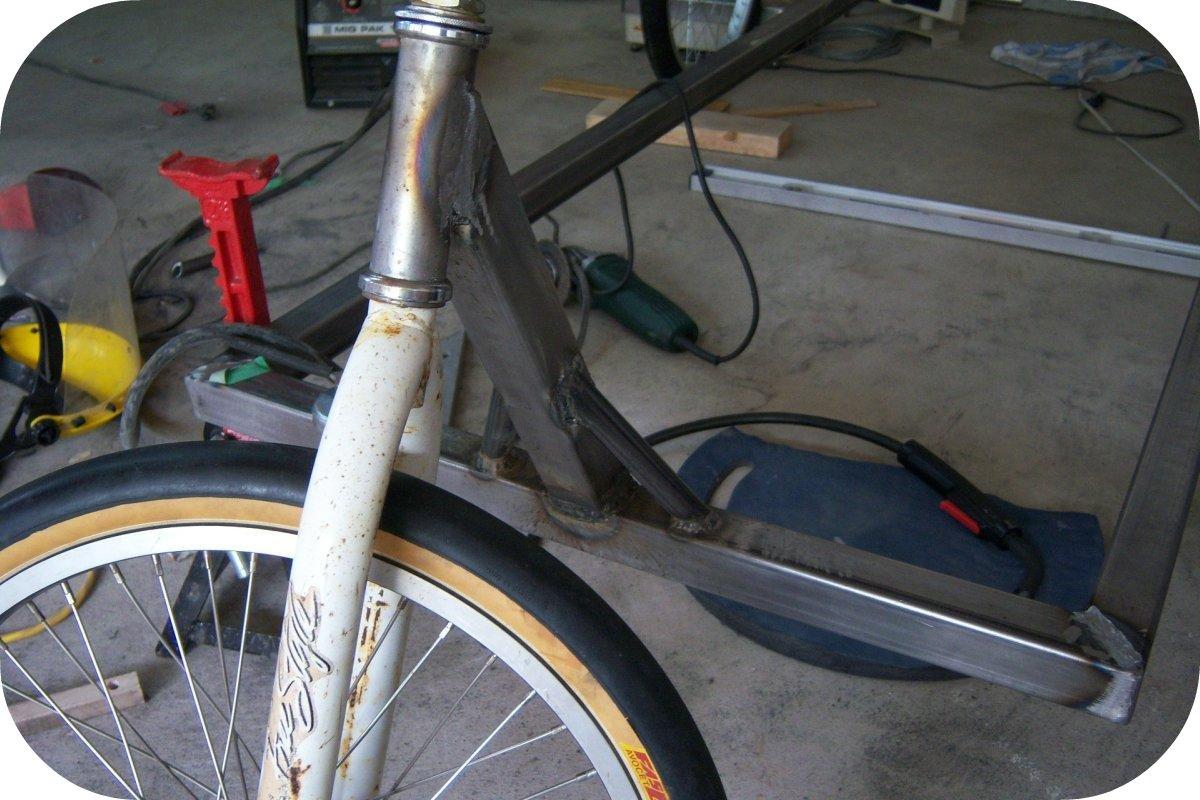
Below - seat frame. I also changed the design here to utilize some steel I had on hand as well to give it some more flare.
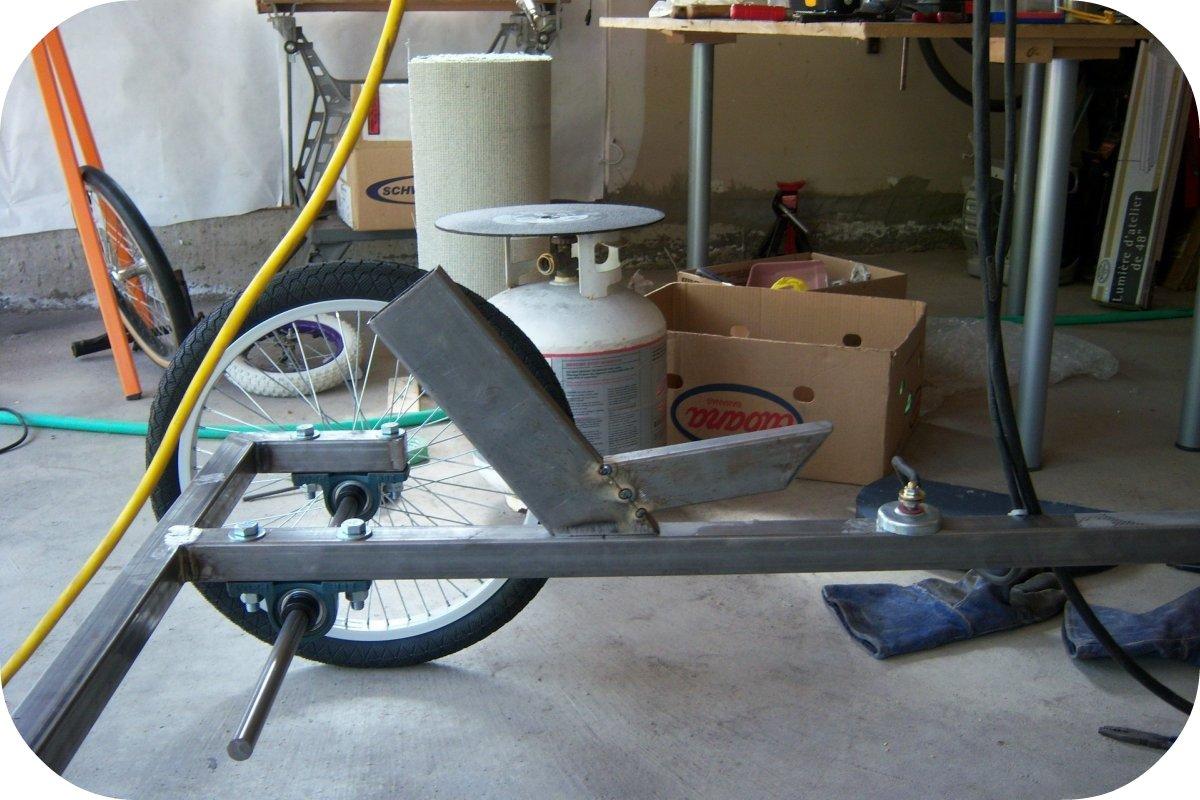
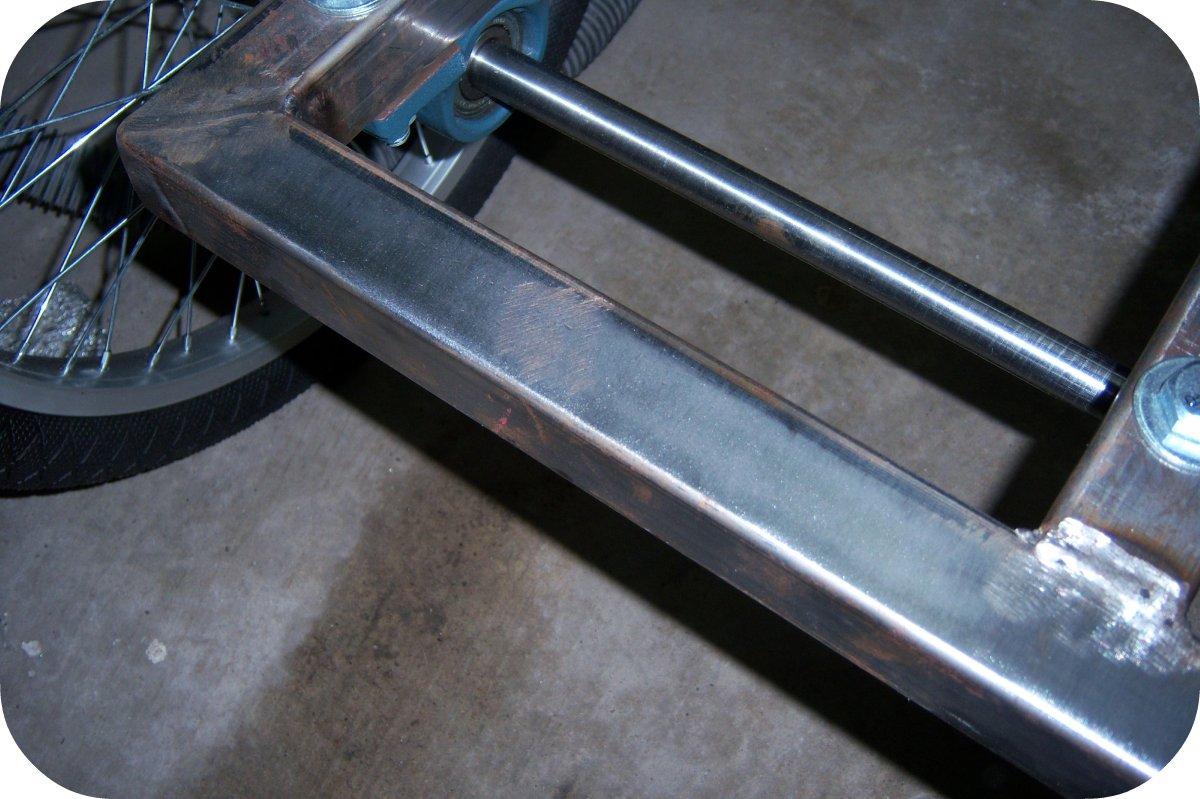
Below is the front end. I made the side supports a little smaller then in the plans.
Above - rust from winter storage
Below - a second with the wire wheel and good to paint almost. That rust penetrated deep, I was surprised as to how much.
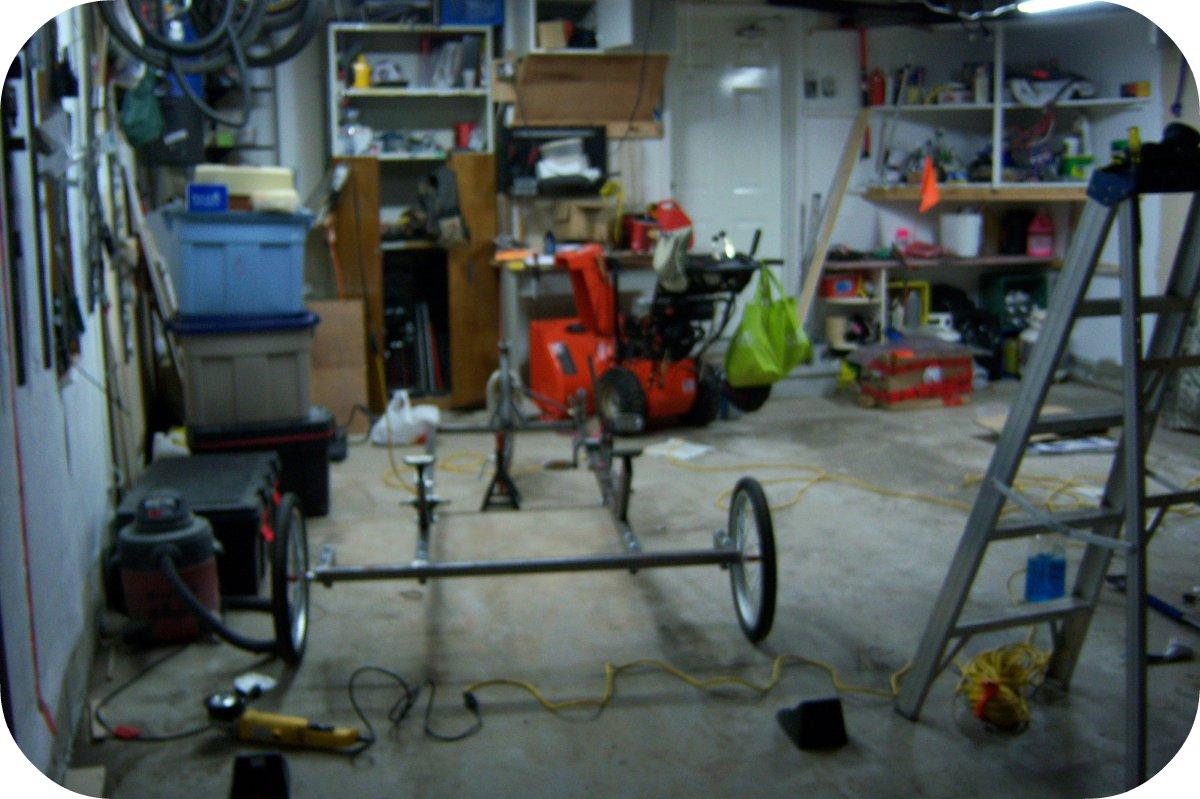
That's the work space above. Really out of focus on that one! Lots of room when both vehicles out but the wife and I like having them in there most of the winter. The plan is to insulate it well this summer so it can warmed up fast next winter. I only need 10 degrees and I'm fine -- I will have to take it upto 20 for a couple of days if I want to paint something.
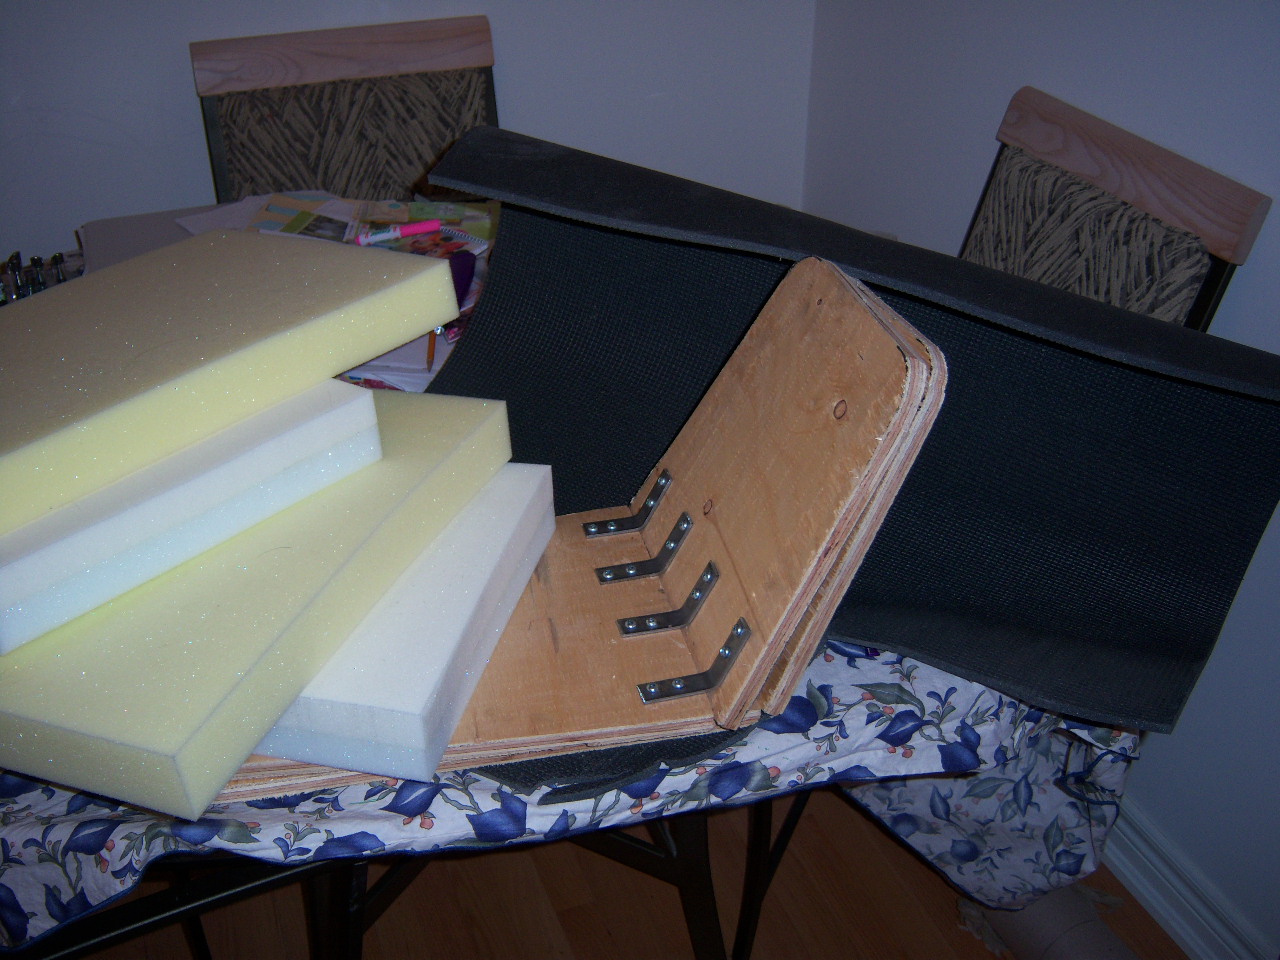
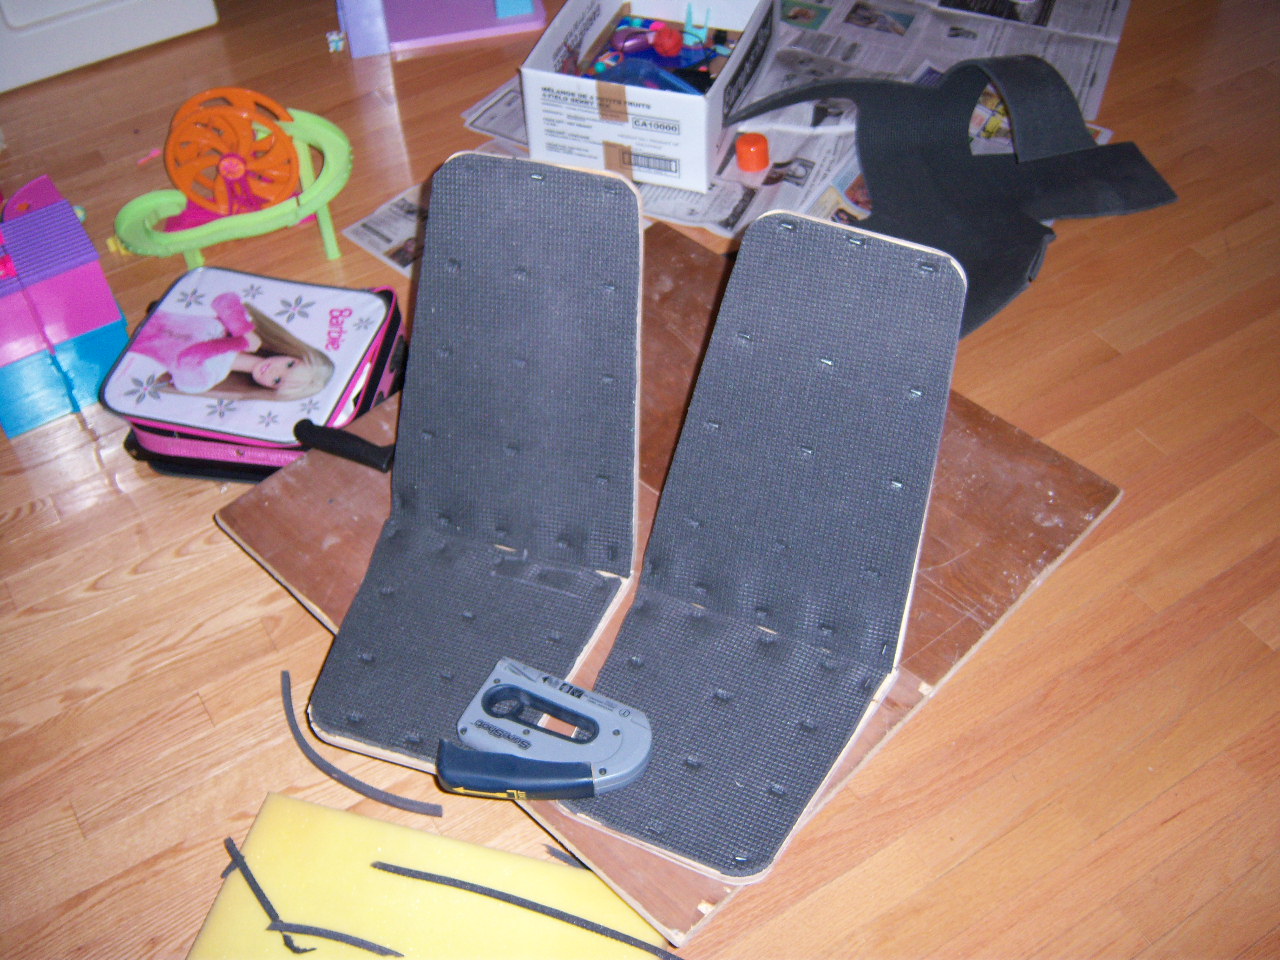
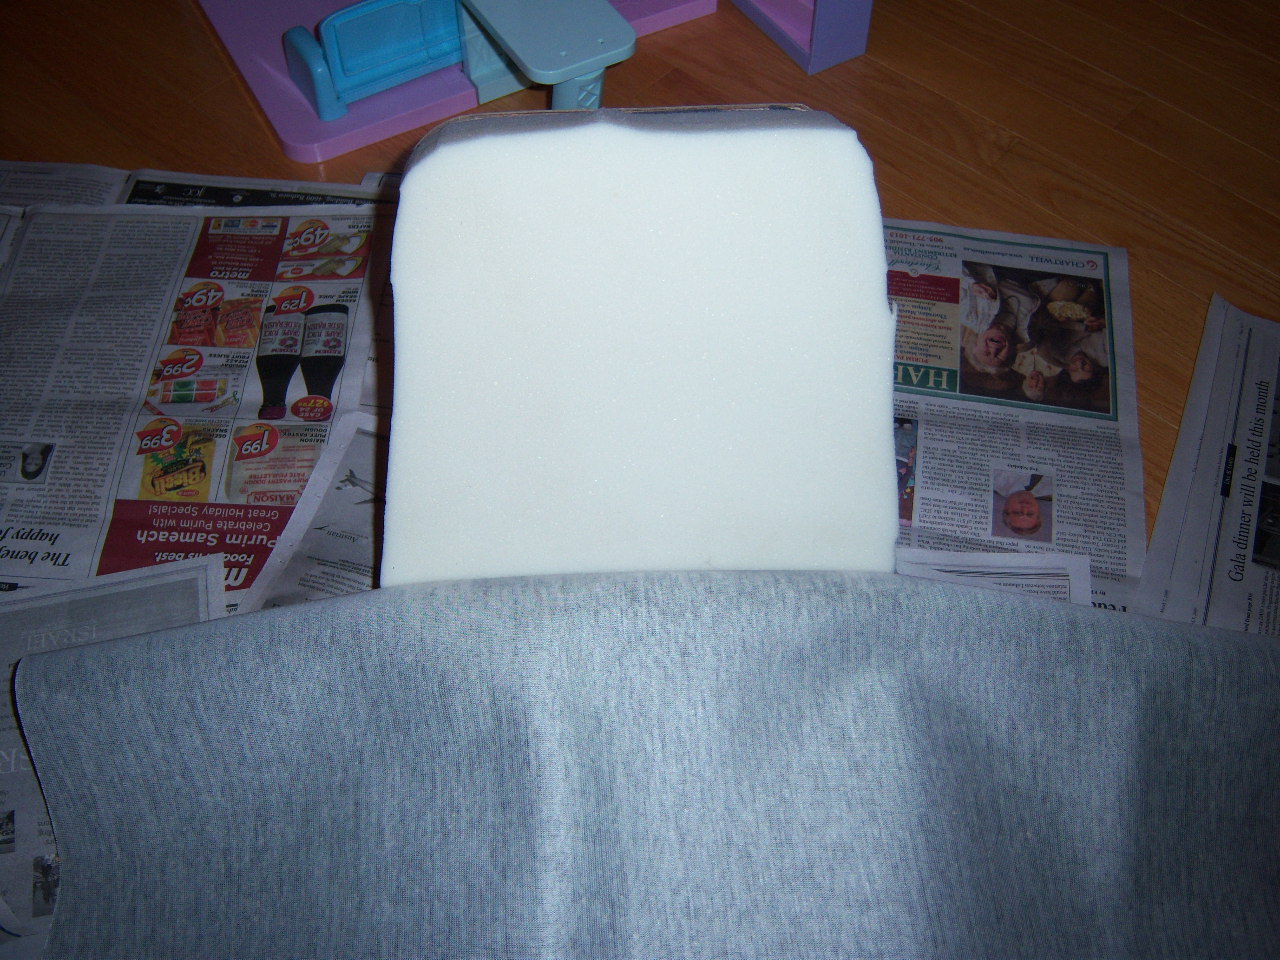
Above: Materials ready to go. Not shown are the Black vinyl, stapler and Elmers spray glue.
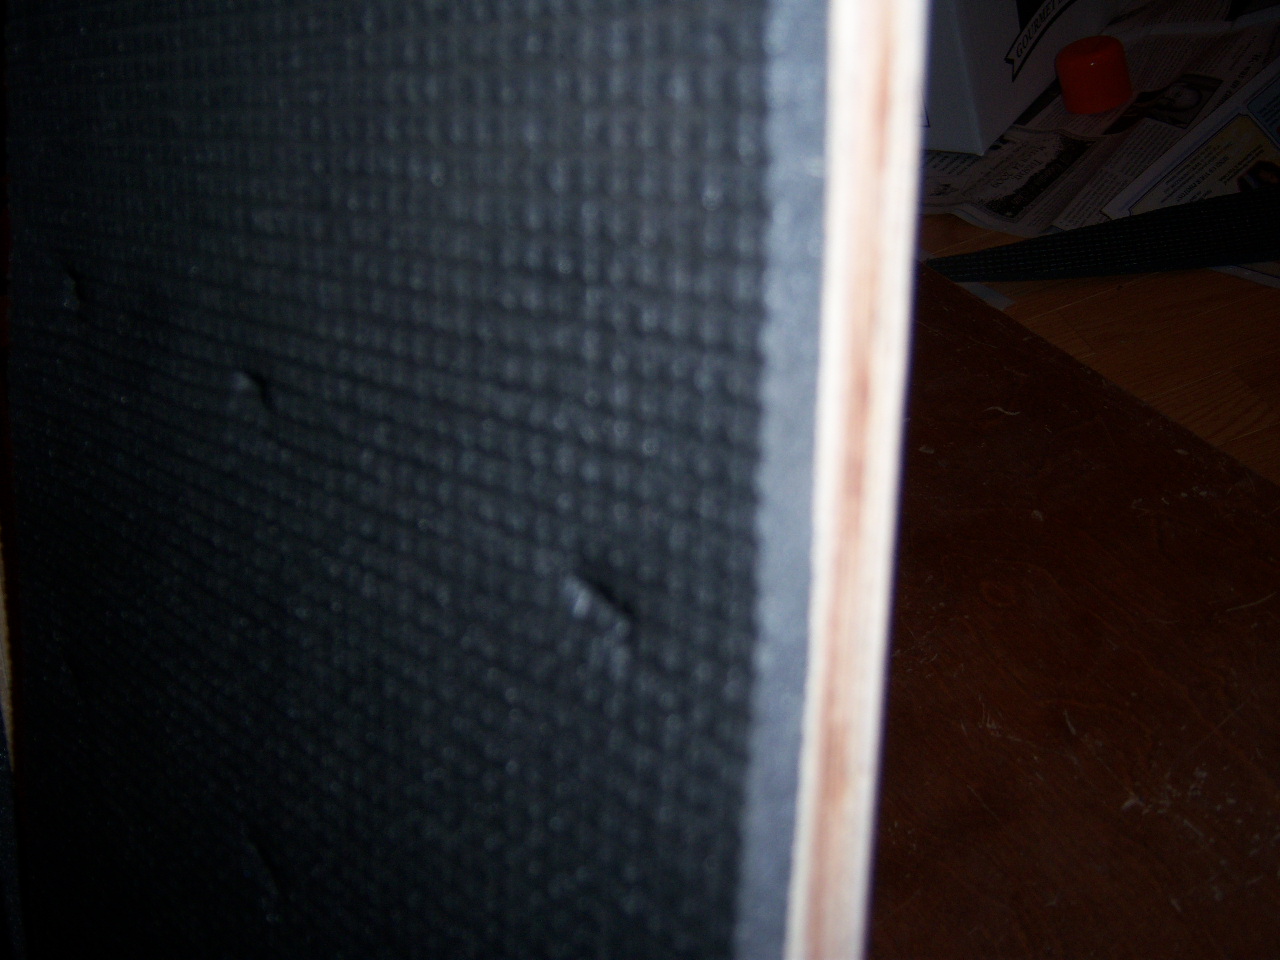
Below: Sublayer foam. Becuase I went with a softer foam that Brad used in the build I decided after that that was wrong and the only way to correct it was to use a stiffer foam layer under the softer stuff. I had used this stiffer stuff on Patrike1, liked it, and hand some left over. It is just cheap carpet foam underlay from HomeDepot. Plywood is 3/4 inch to give you prespective on foam thickness and what to look for if you wanted some.
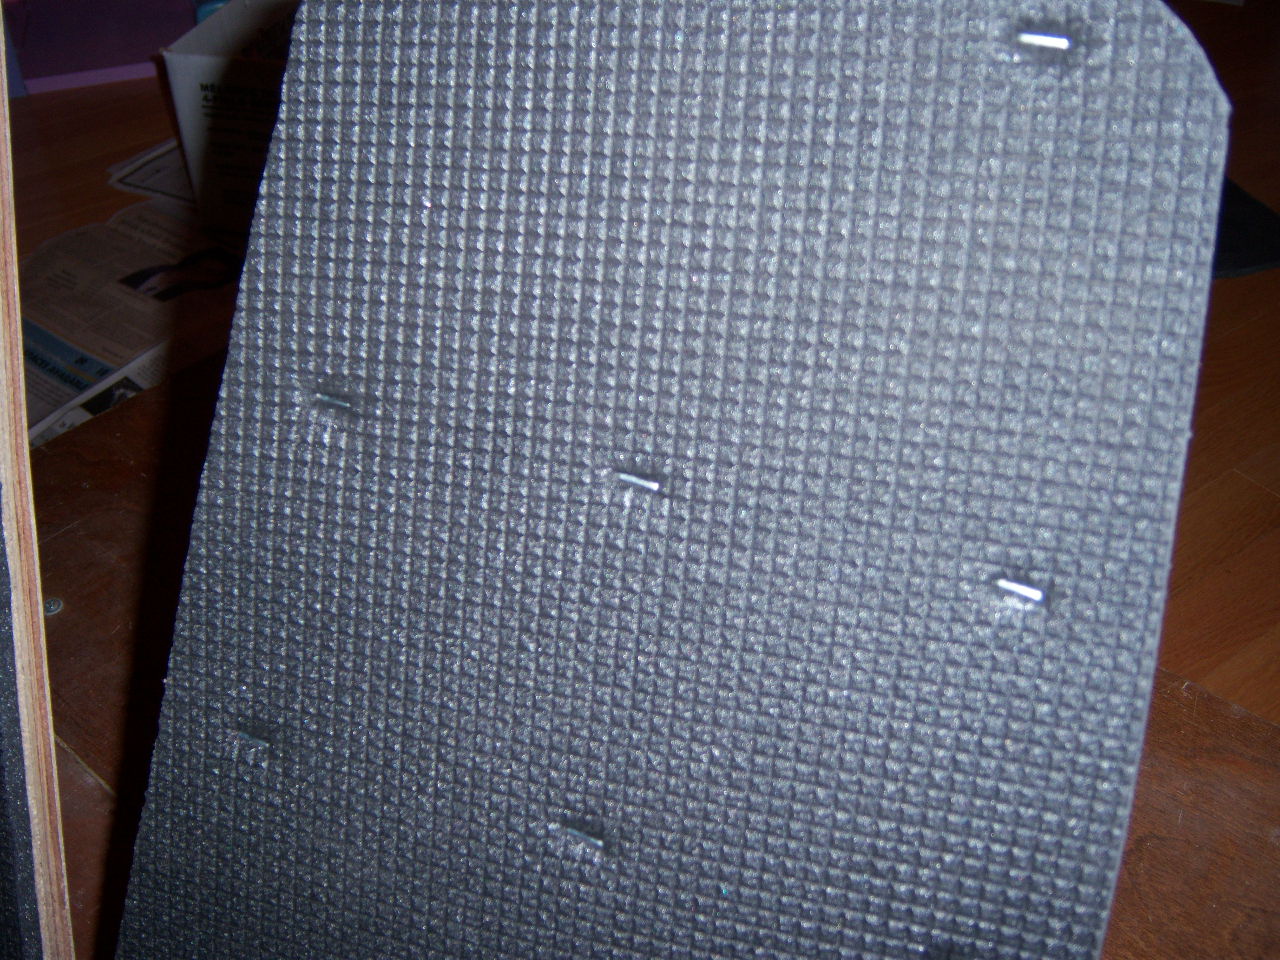
Above: I tried glueing this to the wood. It was not working out very well beuase it was all out of shape from being rolled up. So I stapled it. That worked great due to the fact tha it is thin an stiff.
Below: All done with the sublayer of foam - looks kinda nice just like that and I beat it would be ok for short huals before your butt got to sore. Now for the long haul foam.
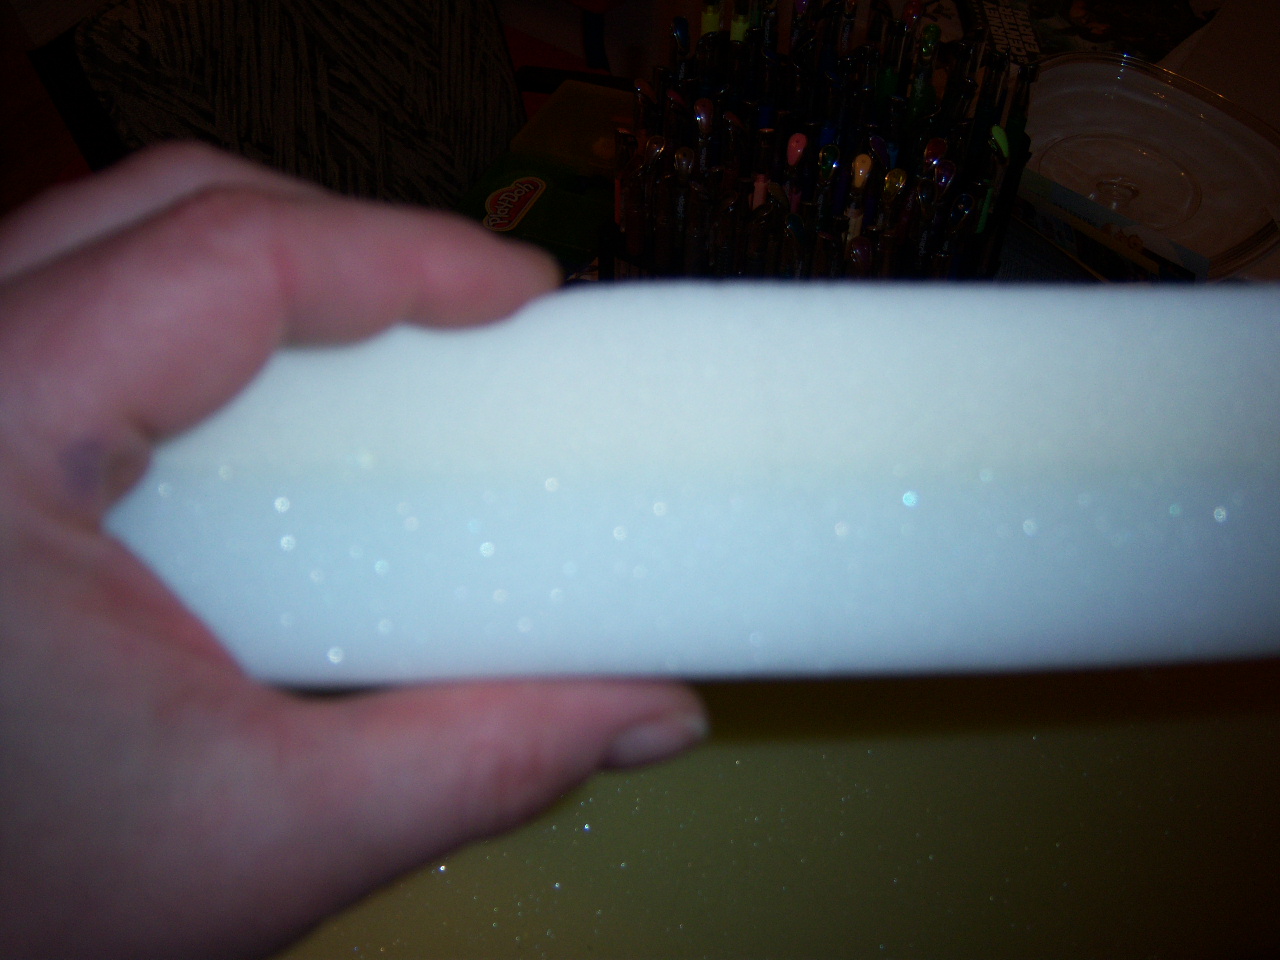
Upper: I decided to try something a little different with the butt portion of the seat foam. It is a multilayer foam. The upper is a softer 1 inch of memory foam and the lower is 1 inch of a stiffer foam. The folks at the foam place put it togther for me including the cutting and gluing. The backrest foam is just 2 inch thick yellow foam but at the top end of the stiff spectrum. I got all the seat foam for 20$ and I over sized the dimensions for cutting down later. The Lady there said to bring the seats next time and they would put on and trim it up for me at no extra charge-nice.
Below: Here is me using my electric knife to trim off the extra foam. Damn thing worked better here then on my turkey last Thanksgiving!
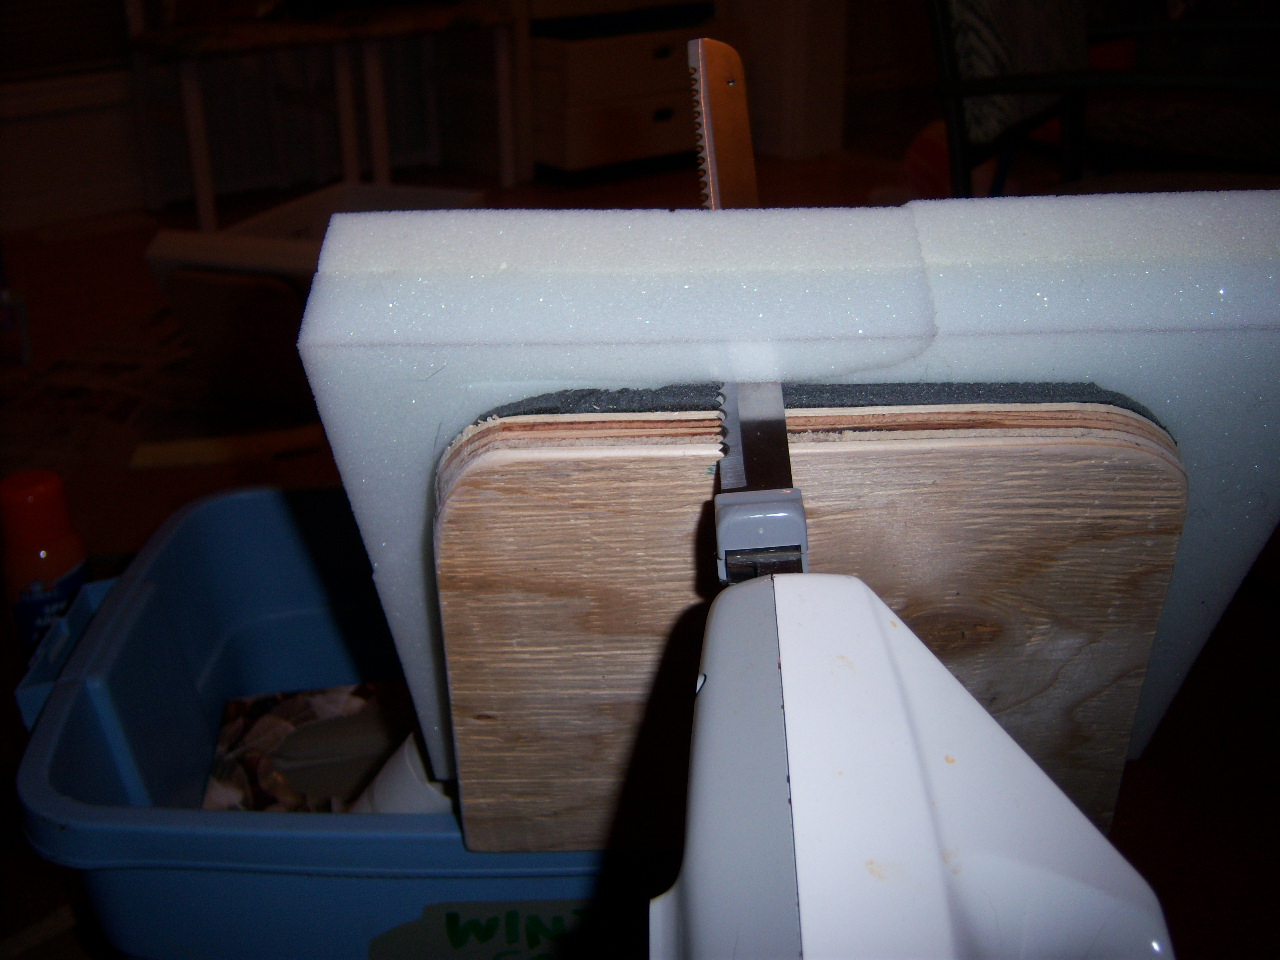

Above: All trimmed up. Be advised that this foam was glued to the lower foam which is recommended to make all this trimming easier and will also make the vinyl attachment easier as well.
Below: Here I am starting the vinyl. I started in the middle by placing it into position and spraying glue on both the foam and vinyl just on the area in the middle. Let the areas tack up a little, 15-30 seconds, before joining together. I then proceeded to spray the backrest and butt areas and placing together working your way out to the ends.
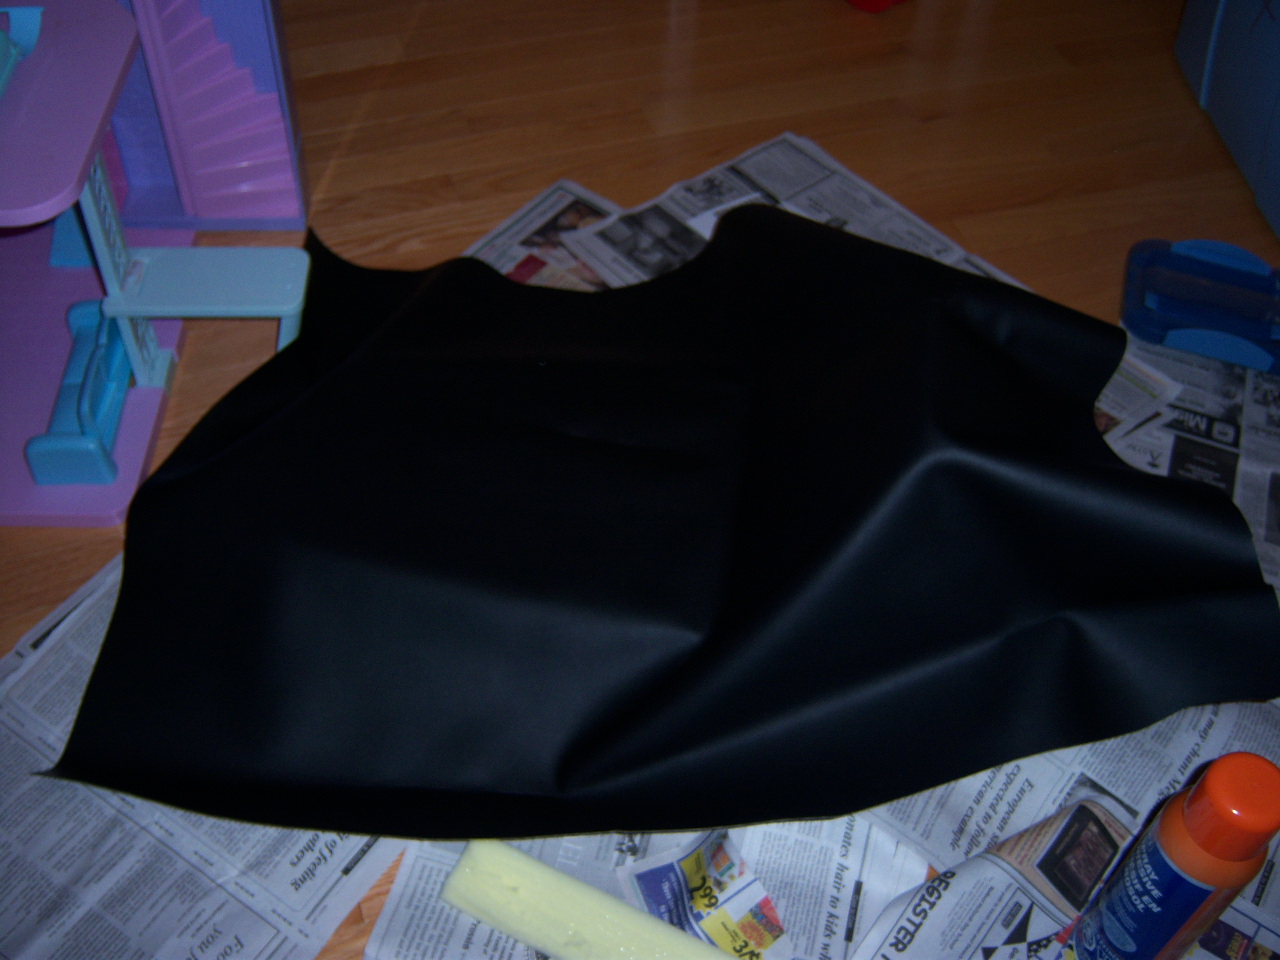
The above pic shows the vinyl all in place and left to dry over night. I found in the morning the vinyl to foam adhesion was good but the foam to foam was stuck, kinda tacked but could be pulled away with some effort. But this will suffice to allow for the pulling of the vinyl into place.
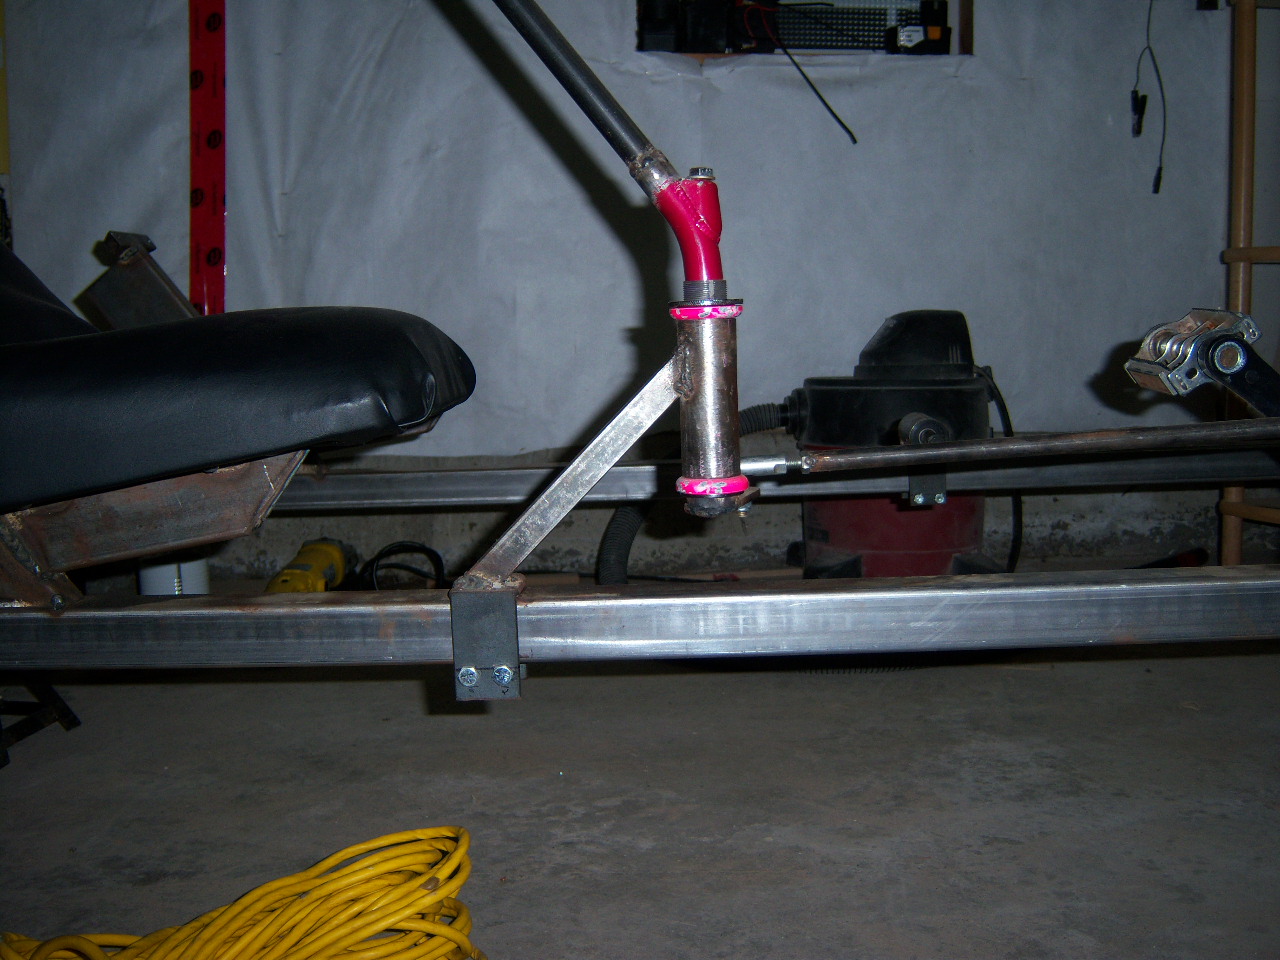
Above is the current bad steering set up with the tiller/sway steering effect. What I want to do is keep that bracket that locks around the fram and the head tube. The pivot arm is on the lower part of the head tube shaft piece that goes up inside and the HT itself is fixed. I want to reverse that. I will weld the inner shaft right to the locking bracket and the handle bars will come right off the outer shell now and will be the piece that moves-well, thats my plan!
Below you can see the hieght under the seat is just above 4 inches so I have to make it so the steering unit fits under the seat as that is what gave me a good comfort feel. With the way I am planning it a small childs bike head tube may work if I can find one under 4 inches. I may have to do a mode and cut one down. I will not be putting the insert with the handle bar holder so that will save space.
Below pic I have used the steering off my Patrike1 to see if those bars were a good fit. They were a bit wide. If I brought them in a bit, 2 inches each side that should do the trick. The foam on the other seat is wider and still needs to to be cut down still. I will have to fisnish up that seat and get the bars that will be used for that side and put them on just to be certain of the clearance I will need. I don't want to be banging the knuckles of my extra stoker.

This project was put on hold - new finish date is sometime in 2011