Patrike
June 27 2010
I wanted to start a new section for repairs and keep them seperate for camping pictures
Below --
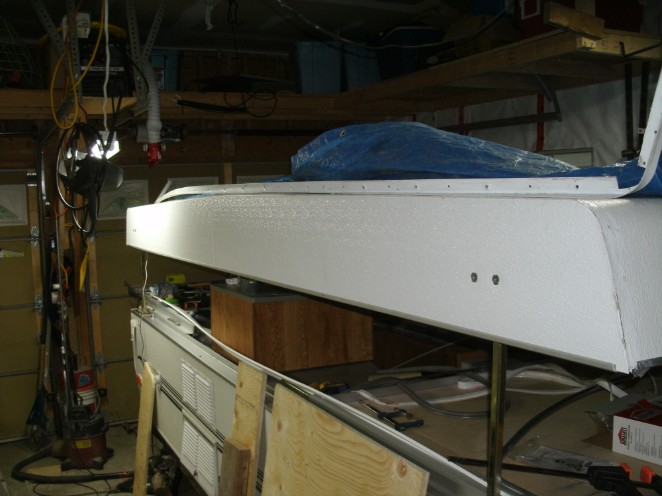
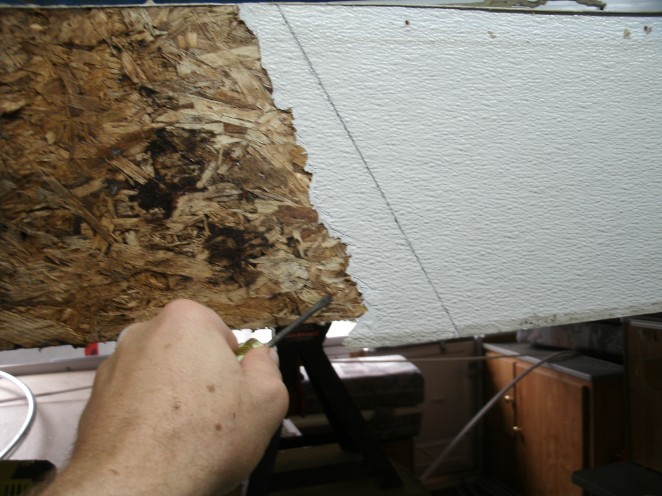
Here I have started taking the trim off -

Below
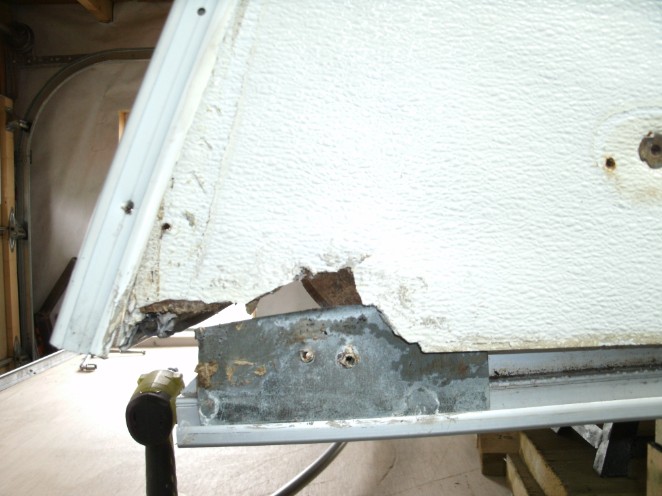
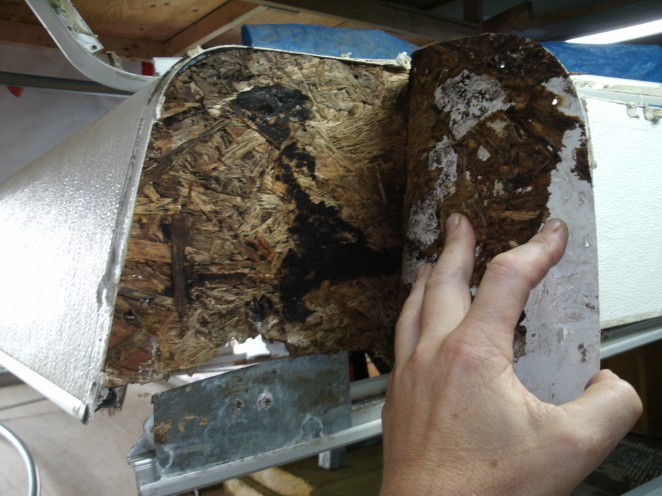
A closer look - it is amazing what water can do when it gets in and sits there. Considering how much adhesives, glue, trim and caulking they used, water found a way in.
The lower trim was actually glued in between the outer laminate and the wood structure. They used a rubber substance that was still quite flexible. It was hard to pull down this lower trim due to the rubbery adhesive. My original theory of the water getting into this lower trim wand woring up is gone - after seeing the rusty screws I pulled out from the top trim, the water is definately came in from the top and sat in the lower corner slowly rutting away the wood.

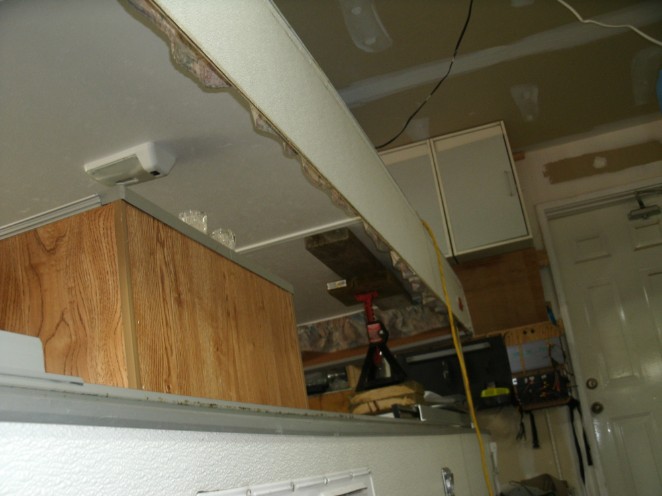
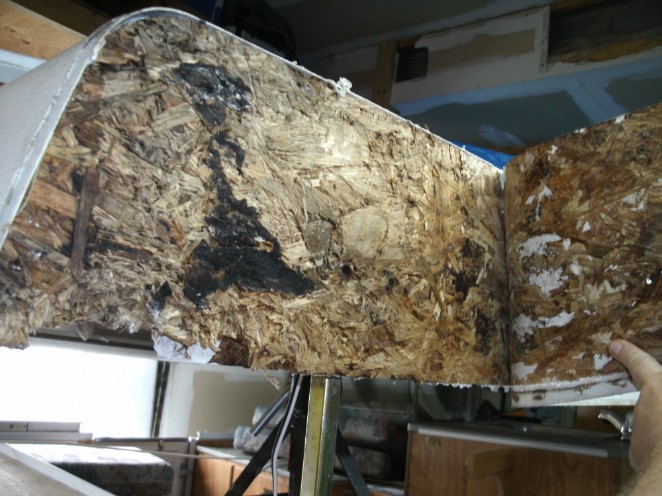
Above and below - pics of the interior view
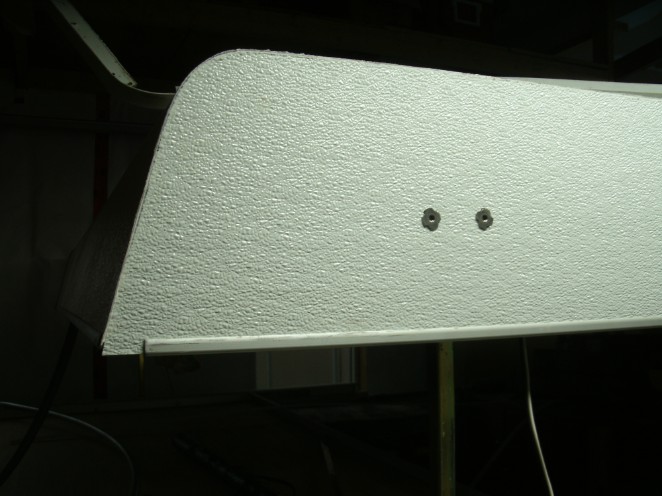
Below -- 2 pics showing bracing roof to lift support bolts.
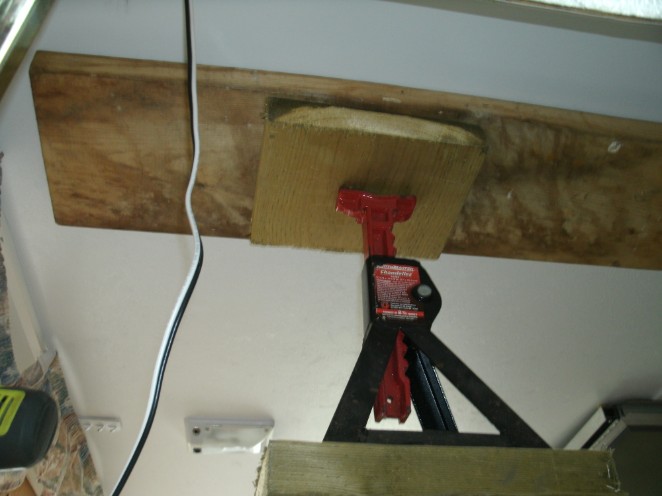
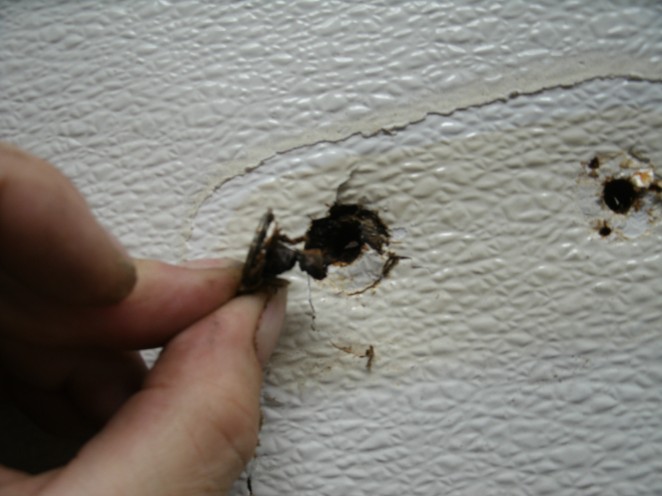
Below - once the lift support screws were removed I took out the furniture nuts (thats my name for them) and one did not have much life left in it.
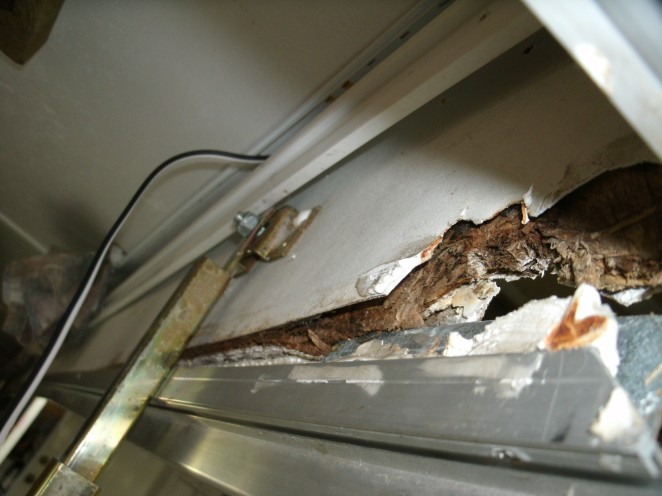
below - next 2 pics show the upper tirm coming off - the cualking was still very pliable. Makes my wonder how the heck water got in?? Must have been from the top becuase some of the top trim screws were rusted. Water gets in and very long time to dry.

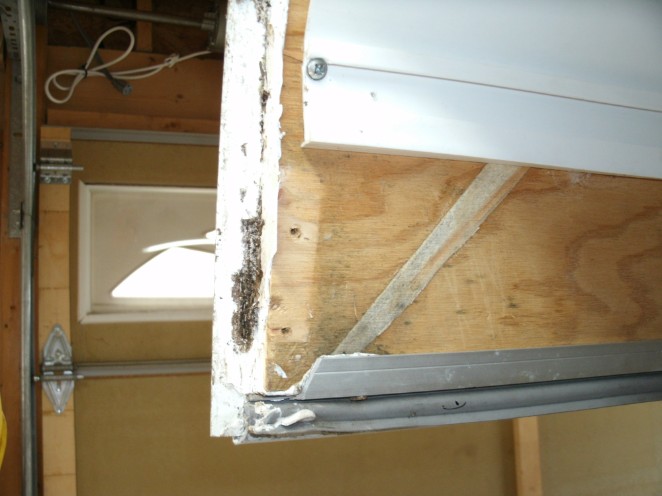
Above - some colateral damage to getting off the lower trim - I will probably just cuttoff a piece above the wood and put in new piece and just caulk the crack. KISS
Below - did some probing to see where the rot ended and good started
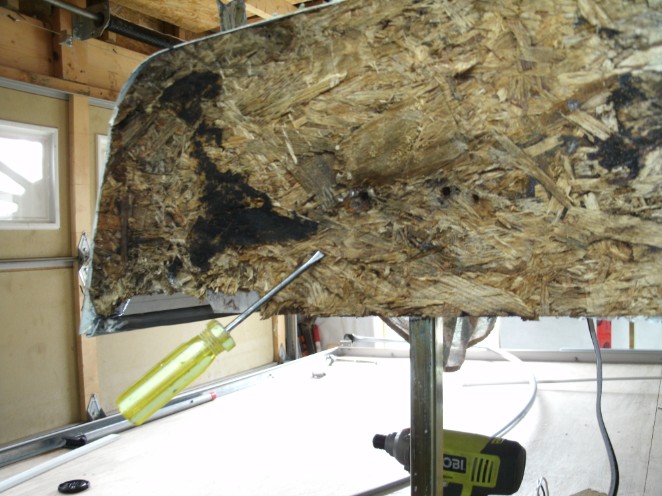
above -- start of good wood.
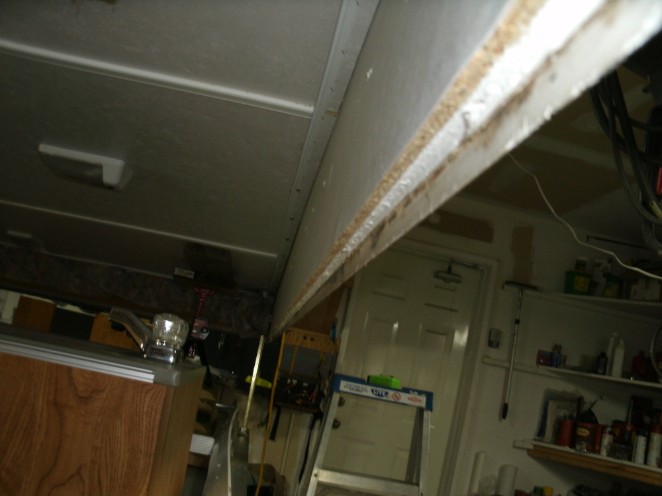
Below -- bad section cut out - I will put in new ply wood not the chip board used before -- I will also add some dowelling to hold both ends together.

above -- front wood (ply!) is good. the dark spots are mold on the caulking and never made it to the wood. Once I got it all the caulk off, that was verified.
below- will have to clean off old caulk off bottom before putting metal trim back on with new caulking. Same for the top trim.
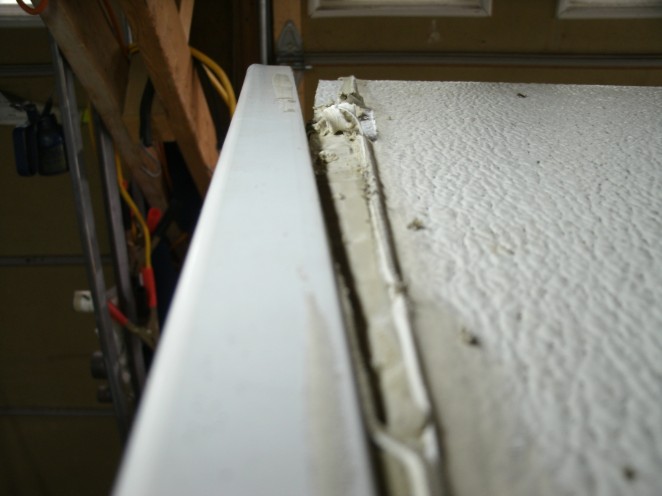
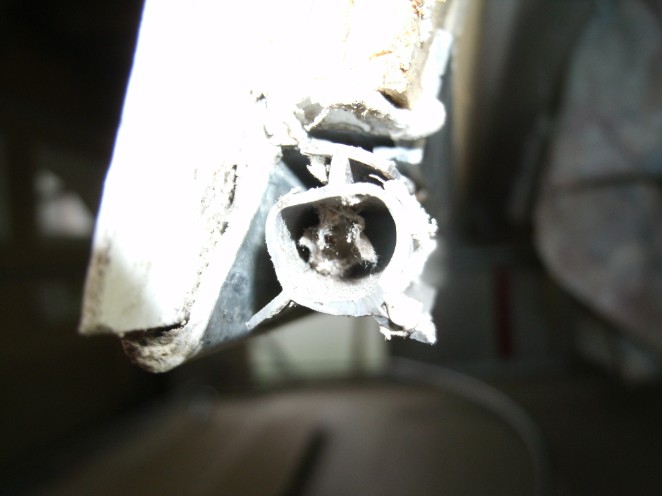
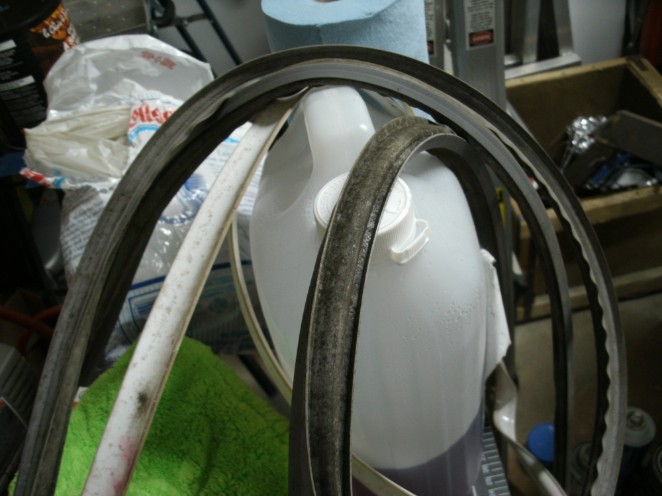
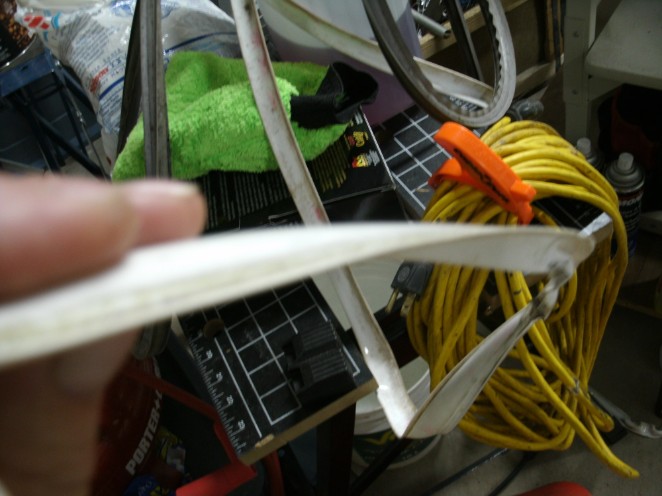
Below - next 3 pics are trim I want to replace - 1 and 2 are the main roof seal - been looking and not able to find this pattern yet.
3rd is the stuff that came out of the upper trim - I think the only thing it did was cover screws
Above and below:
As of last Tue (jun 29) - Kimberly at Globetrotter RV place has not called me back with pricing for the part # I gave her from Viking for the seals - I left 2 messages - not good service.
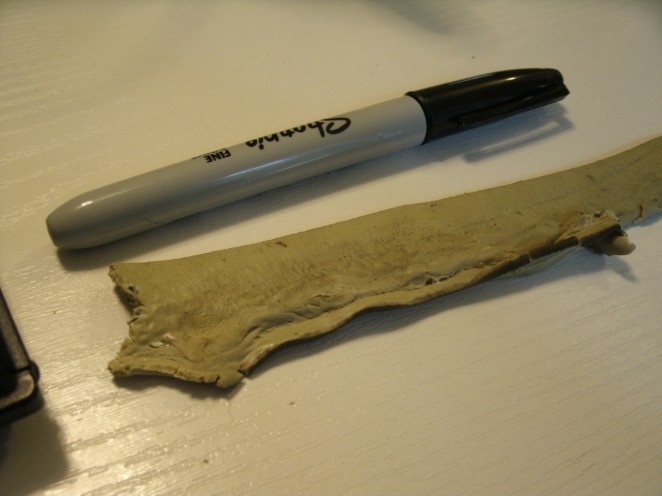
Above: July 9th - this is the old stuff - I found some Butyl but not the width I was hoping for - will have to double it up.
Below: I got pricing for some new paneling from one of the recommended places here but it was too much- aprx 100$ when shipping was done - no glue. I got lucking a found some FRP at home depot - looks same on suface but much thicker - it was 0.09" where the other stuff is 0.045" - it fit and looks the same, thats all I cared - and at 56$ for 4x8 ft sheet before tax.
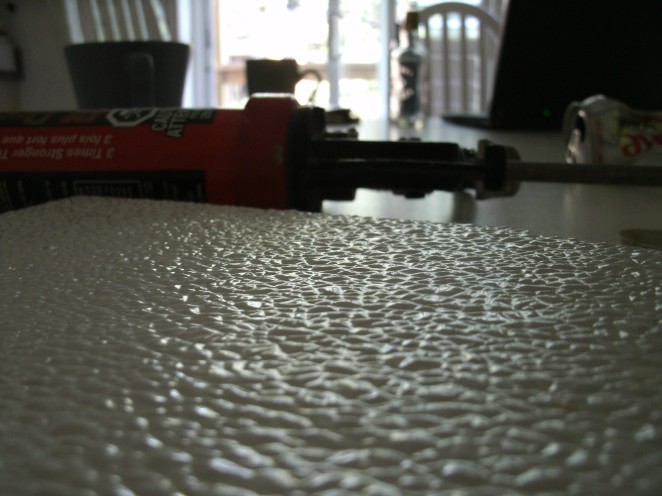
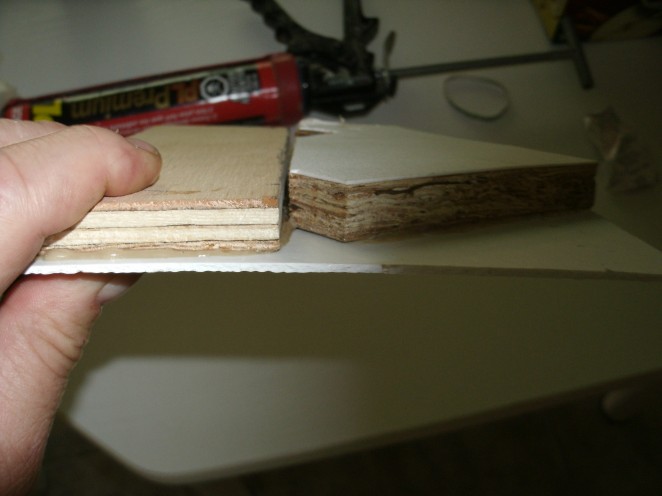
Above - I did a sample gluing of the new plywood and old press board with the Lepage PL premium construction adhesive - solid - I could not pull them off - used 2 x 295ml tubes.
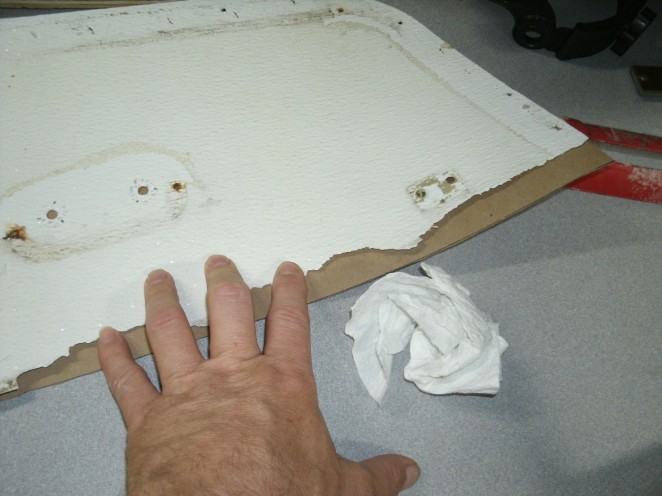
below - removal of old FRP - I had to buy heatgun - 32$ at CrapyTire - every major project needs a new tool!! It was a tuff piece of work - took about 1.5hrs to get off.
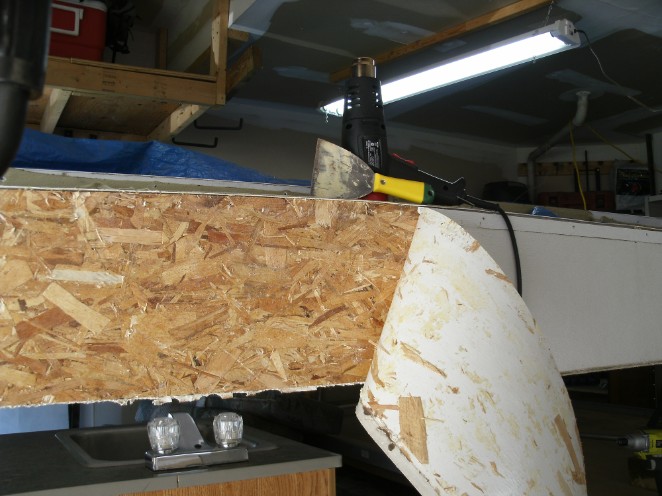
Above - all old FRP removed and in one piece for use as a template.
Below - measuring up new piece of ply for replacing old removed rotten piece - 5/8 was the best fit.
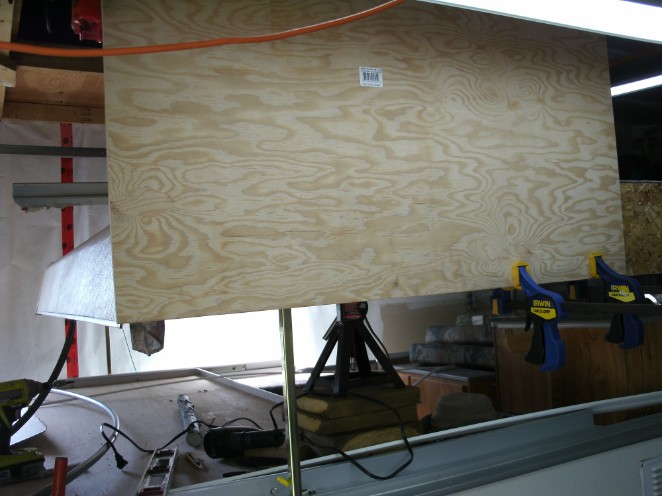
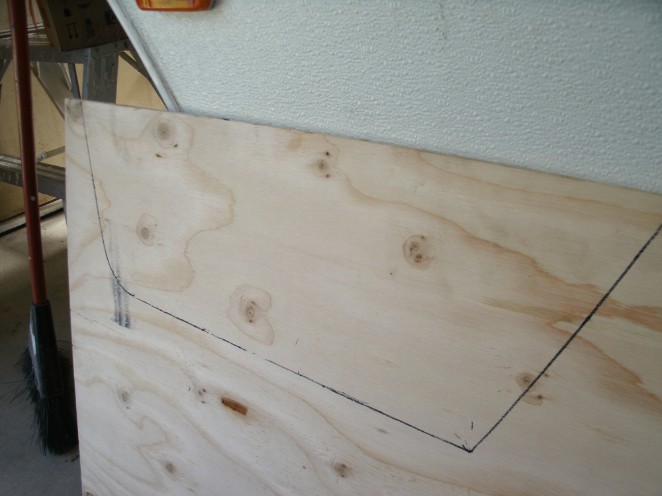
above - marked and ready to cut
Below - cut and glued in - you can see the doweling I put in - I use the PL for this as well.
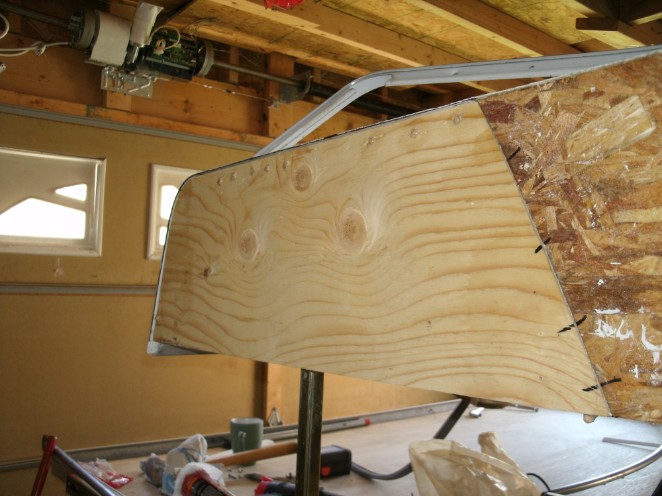

Above - closup of dowelings - Someing like 1.25" x 3/8" oak .
Below - The old FRP was damaged when I removed the lower trim - I used some thick paper to fill in.
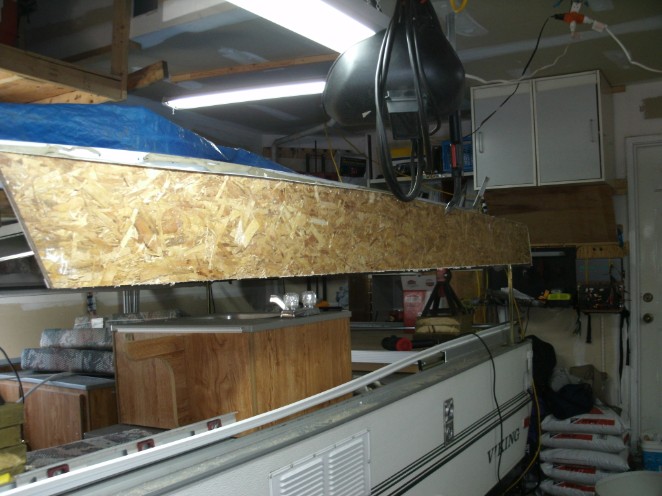
Below - New FRP in place - I put the lower trim back on 1st then put the FRP on - this created stress on the
FRP and it wanted to flex out - I cut some ply to fit - old 2x4 to hold it all together
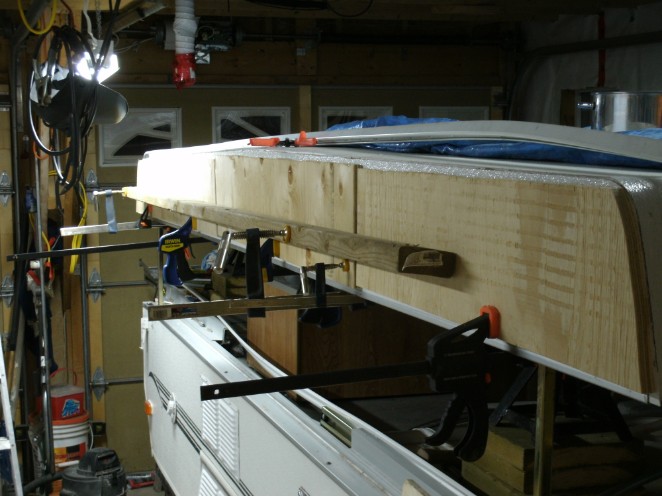
Above - new FRP in and lift suport holes drilled - I need 2 new furniture nuts for this as th old ones were rusted.
Below - the seem in the middle - 8ft FRP - 12ft trailer - some comperomise was to be expected.
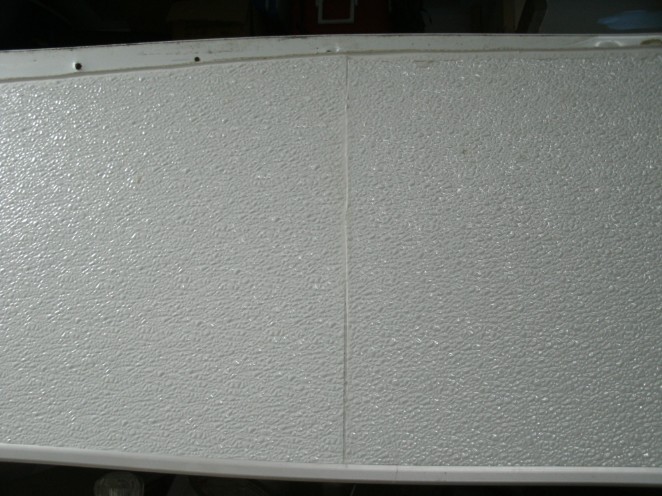
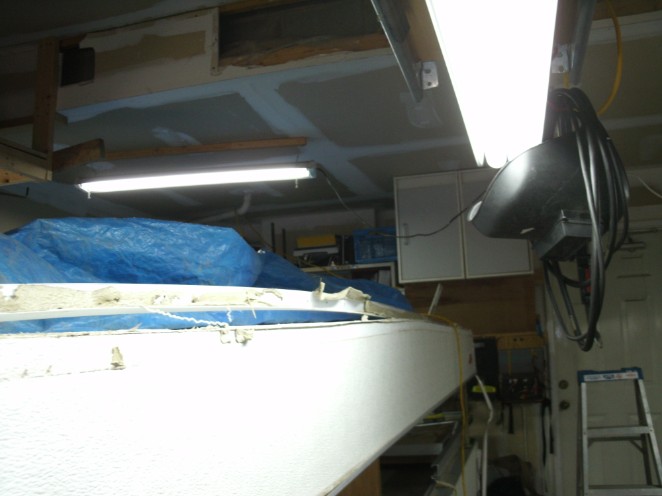
Below - Current status - July 9th - FRP in place - lift system reengaged. Still need to put trim on when I get Butyl tonight.