Electric Trailer Dolly
Aug 31 2010
I have decided to store my PUP in the back yard. No small feet with a 20% to 25% grade going to it. So I did some reserch and found out about powered dolly's.
Here is an example of one - http://www.youtube.com/watch?v=3DXE-uZIb4k This one from Parkit is 657 + 235 shipping + 195 for the super lug tire upgrade = 1087 no taxes. That was my incentive to do it DIY. If you look close the controller looks like that used with winchs - so basically they have just paired a winch with a frame and wheels. Nice set up.
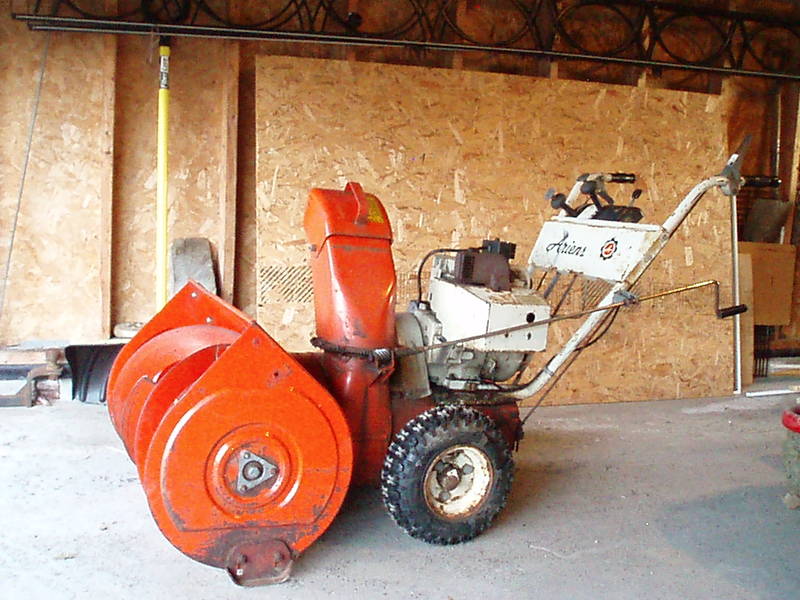
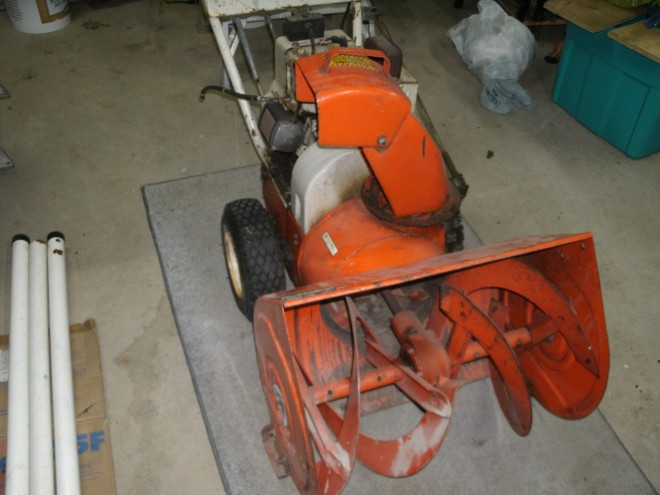
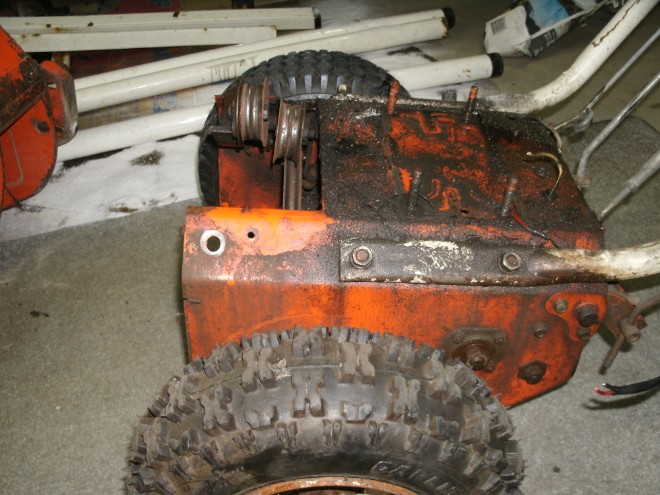
Now my original thinking was to do it from scratch - but to purchase tires, rims axle.... getting expensive all already. What could I use that has that already - an old snow blower(SB). SB's have a lot of torque in the low gear. I have read of one being used to push a car. Not quit the same as needed here but a good example. I want to take a winch - below - dismantle and put on a heavy sprocket on the cable spindle.
I figure 1500lb will do - once I put a large sprocket on the SB it should push a Hummer up a large hill - very slowly, but speed is not wanted.
The SB will need to be chain drive - well, it would make it easier - I am going to look at one tomorrow night with nice knobby tires.
Below -- The possible doner blower, will know tomorrow night. This is the best one I have seen so far and for 70$ will be a good starting point. It will take some heavy moding - wll not even look anything like a snow blower when done.
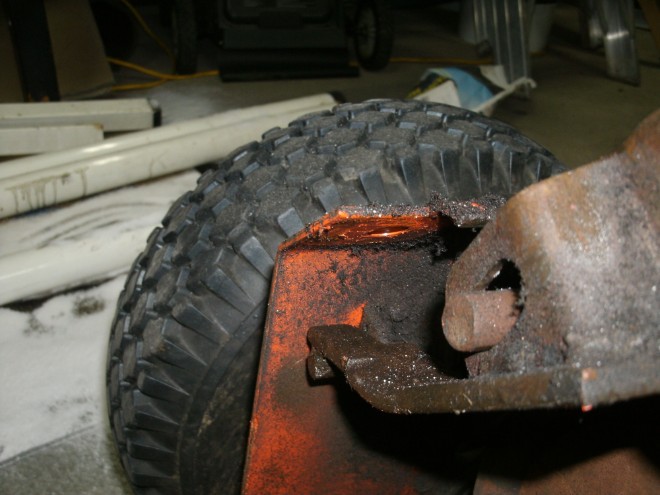
Sept 1 -- Picked up the SB tonight - bit of a drive and it only had one nubby tire. I will get another to match and tubes if possible to reduce possibility of decompression if twisted too much. Over all I think it will make a great doner - small heavy beast which means heavy duty internal components. I hope to have a good run at this conversion over the long weekend and completed by the following if luck favors the bold - or is that the "foolish".
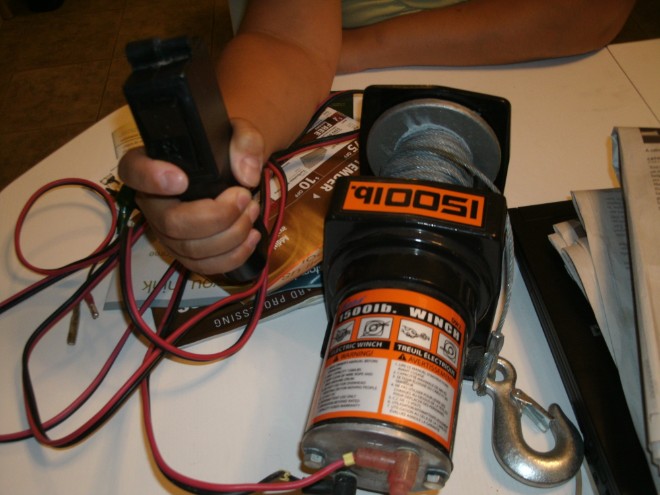
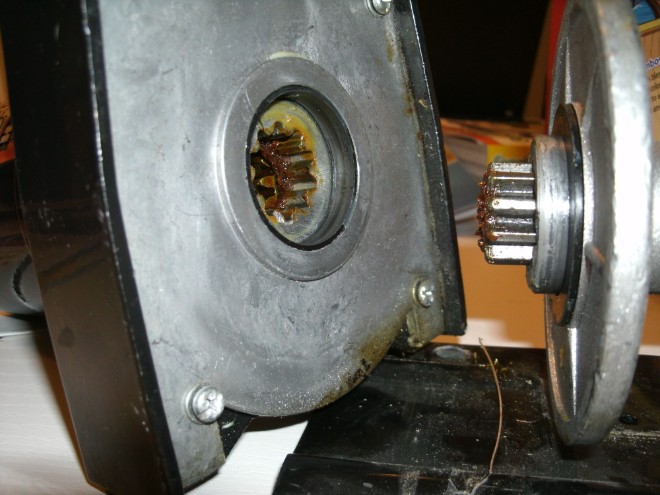
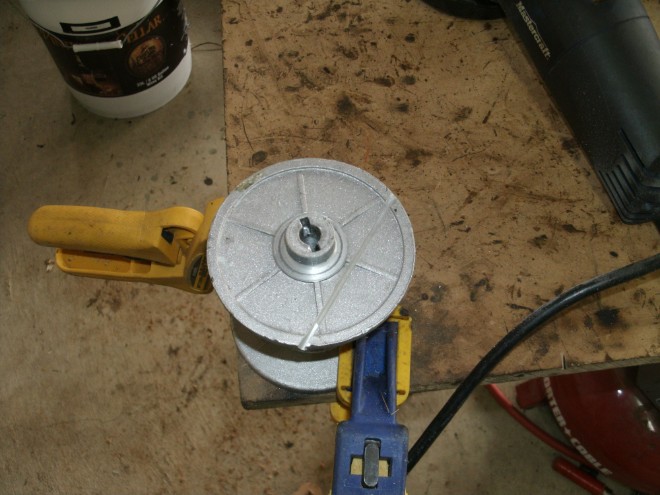
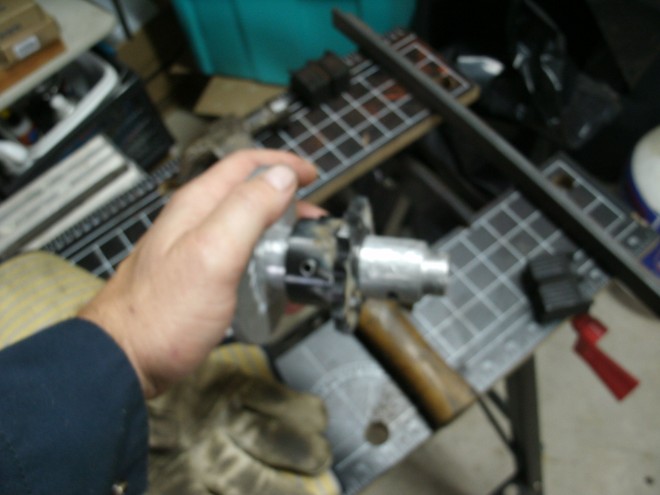
Sept 1 - late - got curious about the winch. Good news - winch does function.
Below 2 pics -- 1st, 2 screws takes apart, nice and simple - 2nd pic , simple spring loaded gear.
Bad news - the large wire spool is die cast aluminum. This means I can't weld anything to it, meaning I have no way to attach a sprocket - I will brainstorm some more on this, maybe some type of bolting option. But I may have to ditch the spool and find a sub for it. This is major hurdle number 1.
Sept 2
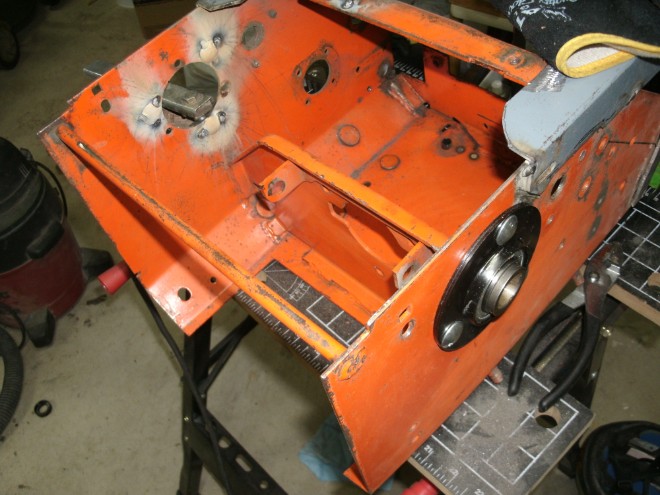
Below Cleaned up the garage enough to start teardown of the doner chassis.
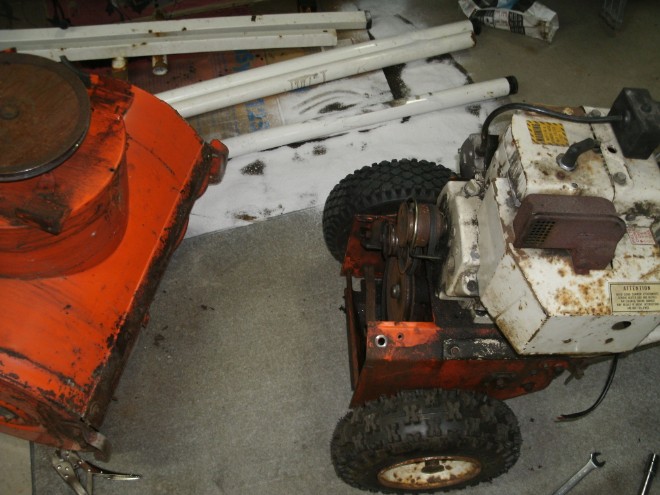
Above - 2 bolts 1 belt and front end off.
Below - 4 bolts 1 belt and 3 wires and engine off. Notice the white stuff, bit of an oil spill when I turn it on its side through the cracked block.
Above - I am going to put on a couple of pieces of angle iron where the handles are and extend them out the back another foot to increase the leverage.
Below - close of the frame - nice 1/8 still - great for adding stuff with the welder.
I will try and do a complete teardown and degrease this weekend - pretty sure both wheel shaft bearings on the side will have to be replaced - lots of play in them. Looks like a little more work them hope - might not get done by the end of next weekend as I was hoping for unless I put in allot of late nights.
Sept 4 -
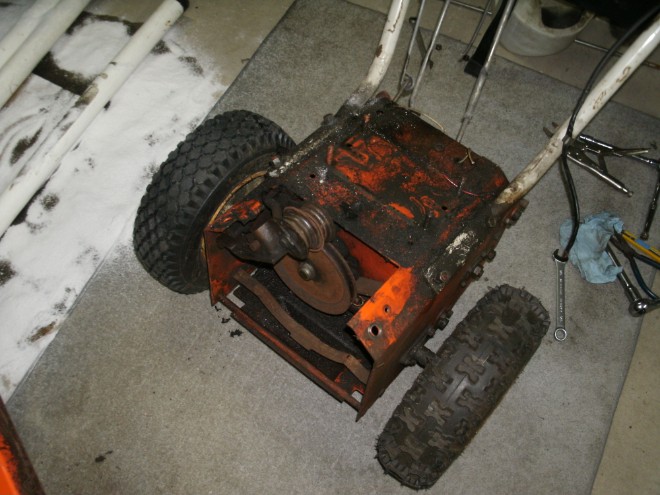
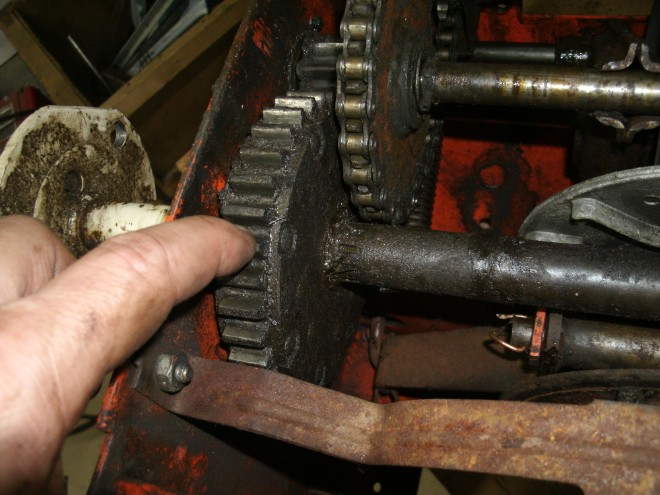
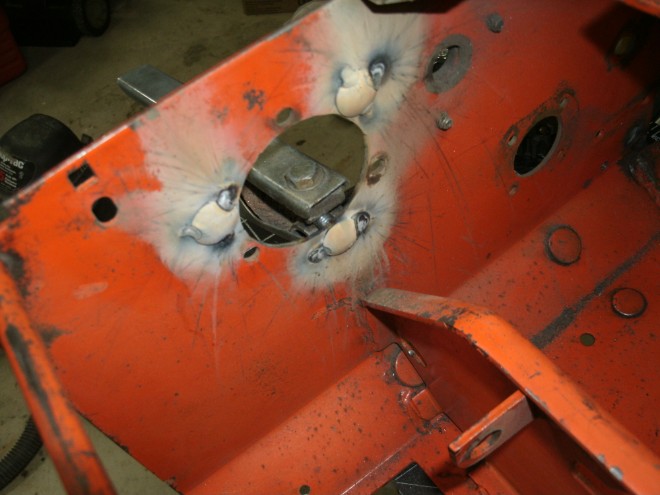
Started doing teardown - Below, wheel has a differentianl locking pin if you want to run with both wheels together.

Above - justa look at what will be taken out - the rubber wheel is the tranny - you can see the plate in the back that it rubs on - all coming out.
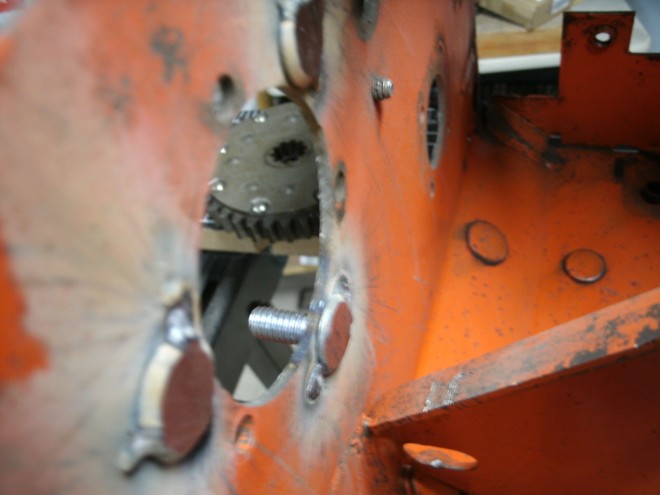
Below - This is the differential, sitting on the main drive axle - lets the wheels turn independently. This will be going back in.
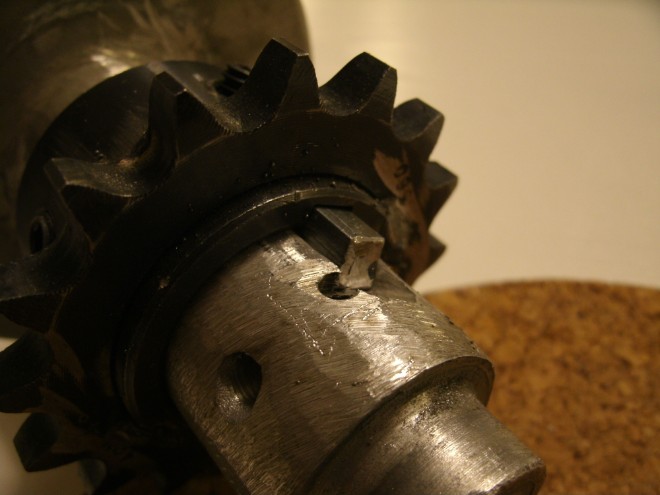
Above - starting mod of winch spool to get sprocket on.
Mon Sept 6
Deffinately behind schedual. Took yesterday off to go see a movie with the little one - she has been begging to go see Despicable Me. Good movie - 3D effects were great. This is a long weekend here in Canada (Labour Day). Then we also did some kite flying.
Below - "Some assembly require" - Got most things ready to go together. Picked the chaning sprockets and some new axle bearings. The bearings I am not sure I will use. They fit the axle nice but I will have to make the holes for the existing bearing(supports) bigger.
I could save myself 22$ +taxes buy using the old bearings. They are worn abit but this thing is a Tug - its about power, it moves slow and will see mininable duty moving the trailer about 2 times a year maybe 4 if I find it to be easy. So, it will not get any heat build up. But, the new bearings do give the oppertunity to move the axle if I want to or just put them in for a smoother ride. I kinda have a idea about how I want this to go together now so if I use the bearings they will go in the orignal positions.
You can see in the pic below the angle iron - I will be welding those on the top and some be portuding out one end to accomadate the winch becuase the large axle sprocket is so large the winch cannot fit. Back to work.


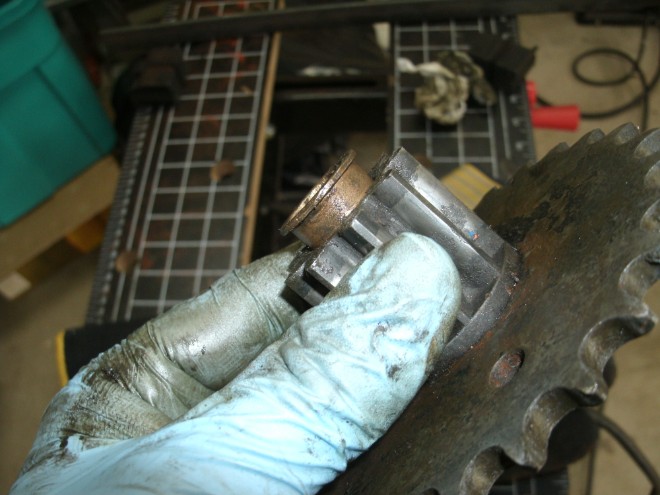
ABove: -- the small gear has a bad bushing - will take on from a gear on a shaft from one not be used.
Below: Foud and installed
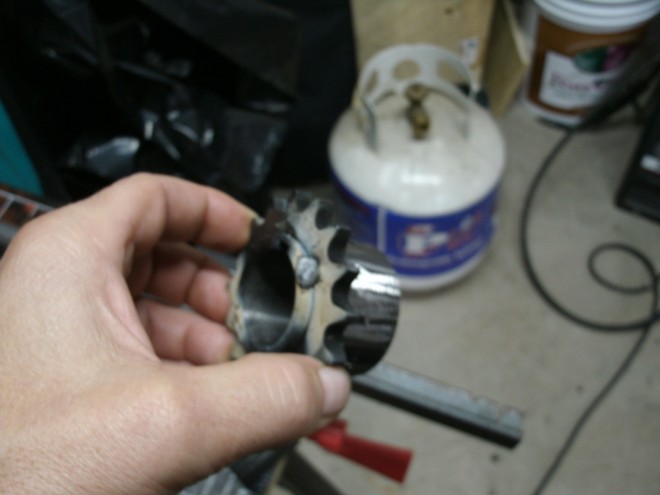
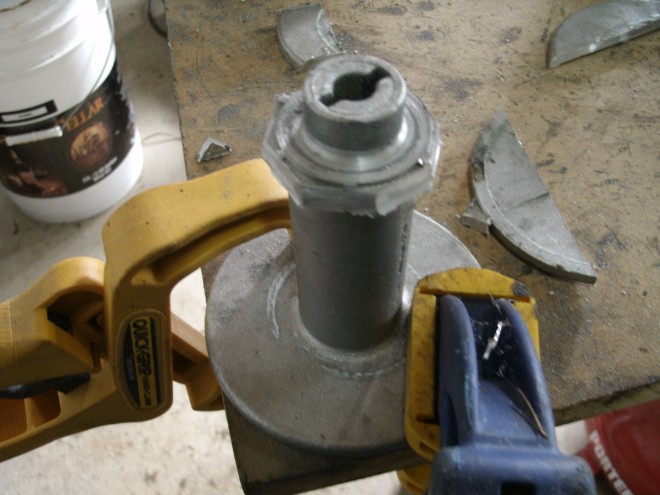
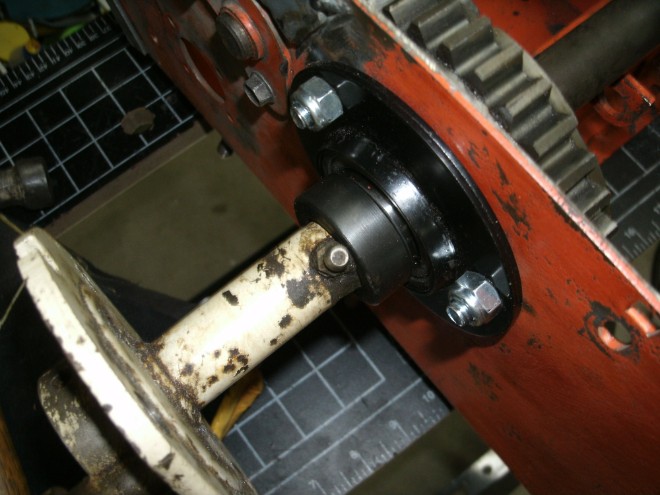
Above: This is the weld on collar and sprocket going on the modified winch spool. I cannot weld the steel collar to the aluminum spool, nor can I drill through a whole for locking pins/bolts or I will lose free wheel ability so a locking key grove will need to be cut.
Below: fitted on the spool but still need to cut locking key grove
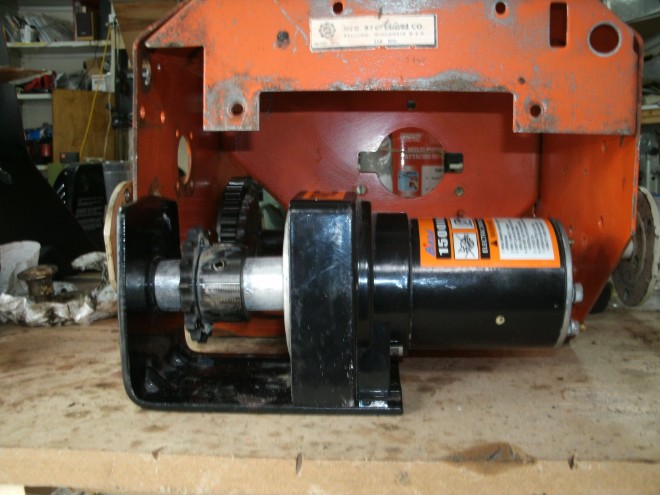
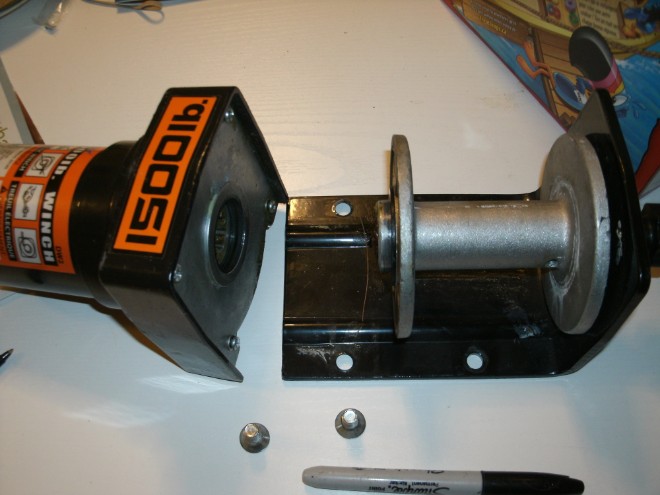
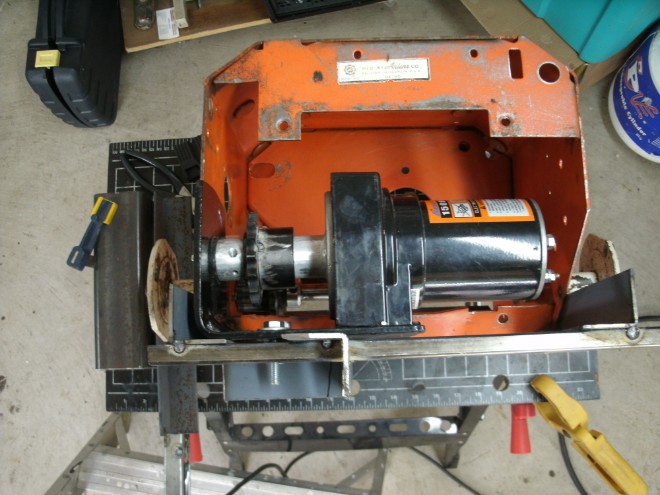
Above: This is the position I am going to try and mount winch.
Below: Rails tacked into place to put winch on. At this point I am still thinking on how to mount the winch to these rails. As to be done so that I can tension the chain. I am confident that I will have a working (without loading) Frankenstein Tug working this weekend.
I am fairly that this thing would have the strength to move up the grade i have but never the traction needed. I will be devising a method to lower down and pull up the hill with a another winch mounted on the van and use the FrankenTug to get it into position.
Sept 13:
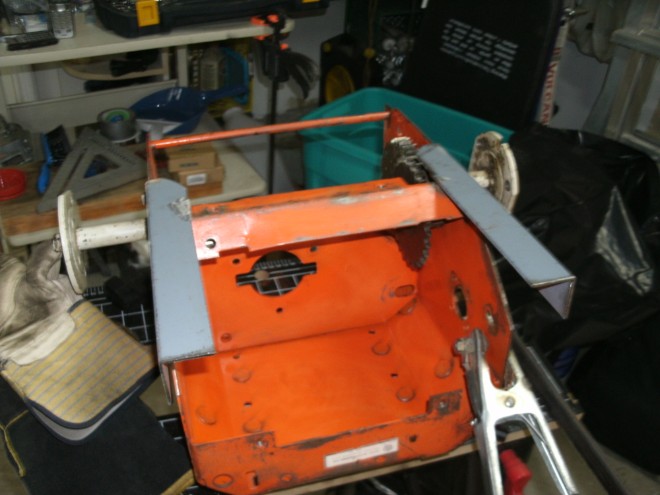
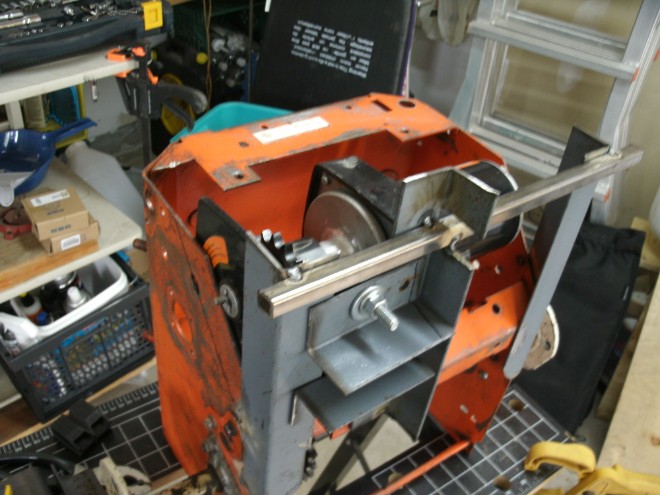
Above - Got some work done but due to having most of Friday night and Sat off with family stuff I did not get it up and running. Basically I have the mounting of motor mostly figured out.
Below - 2 pics of the mounting but it has been moded some what with support bracing.
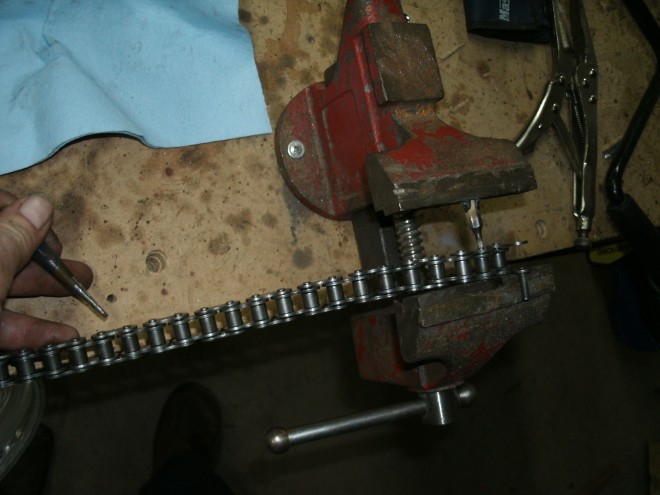
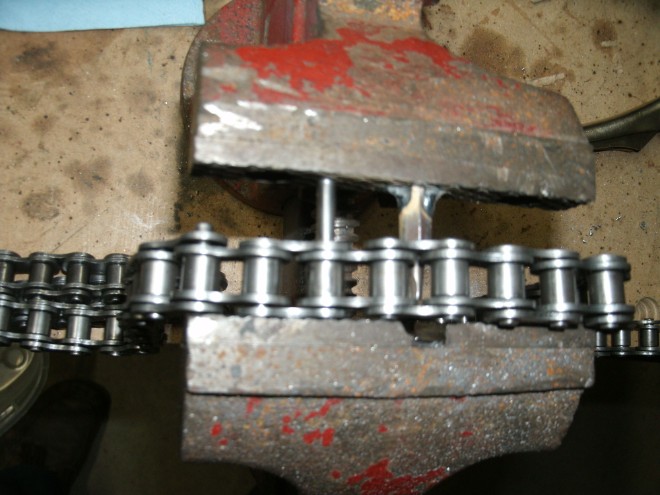
Above 2 pics - I did not buy the expensive chain tool thinking I might beable to get away with using th eone for my bicycle - does fit so I made on out of an old piece of crap vice I don't use any more.
the 1st shows how I push most of it out then move over to the hole on the left and push further out with punch - don't push all the way, just enough to get link out.
The 2nd link show how I push back in, again I have to finish with the puch. This is not as easy or niceh as the tool would make it but I did not want to spend 50$+ for the tool.
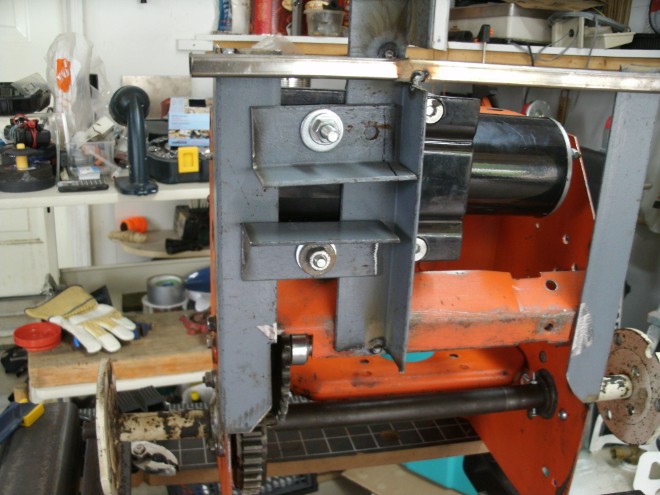
Below - I got tired of holding the bolts when taking the motor in and out so I welded them in place on the Winch.
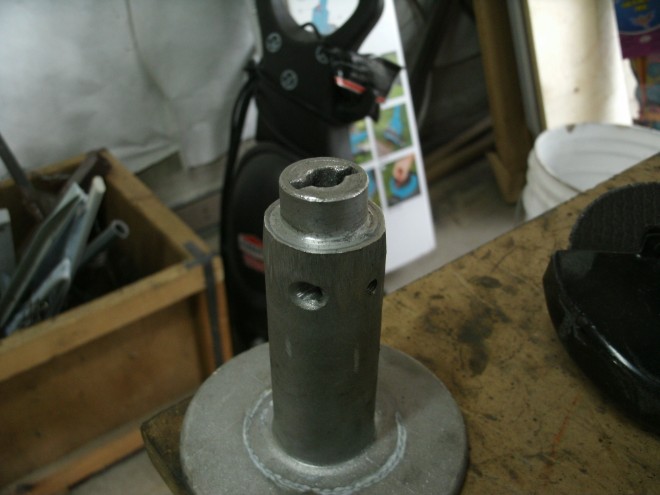
Things still to do. I found that I tacked the spocket on the winch spool crooked so I have to take off and redo and then I may be able to do a test. I also still have to finis the key seat on the spool this is taking time as my dremel is battery and it keep dieing.
Sept 20
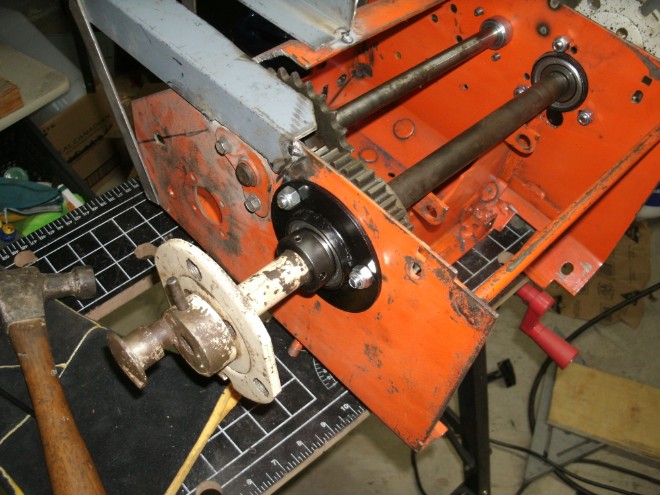
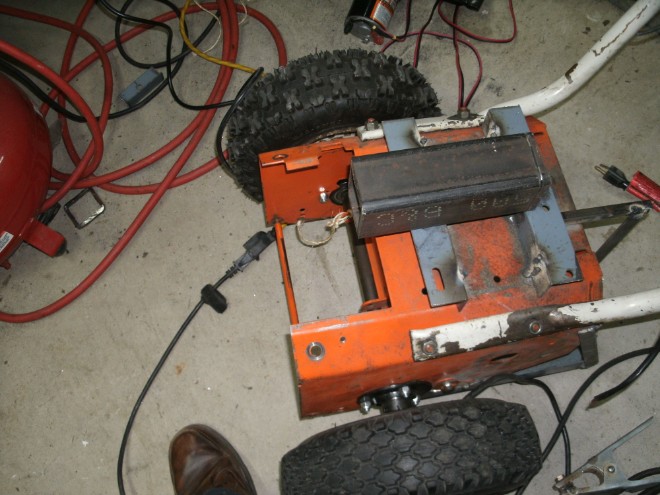
Way behind schedule. This past weekend I wanted to be trying to pull the trailer around. Did not happen. I decided to put new bearings in for the main wheel axle: Above and below pics, resizing holes.
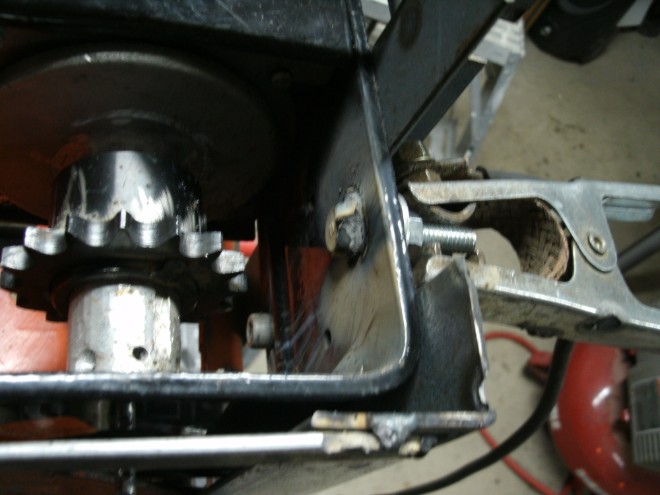
Next 3 pics - I had to weld in bolts on the side with the differential and then grind them down do to the clearence issue.
Next 2 pics - new bearings in and running smooth. Pic 2 shows how close to the grease nipple I got.
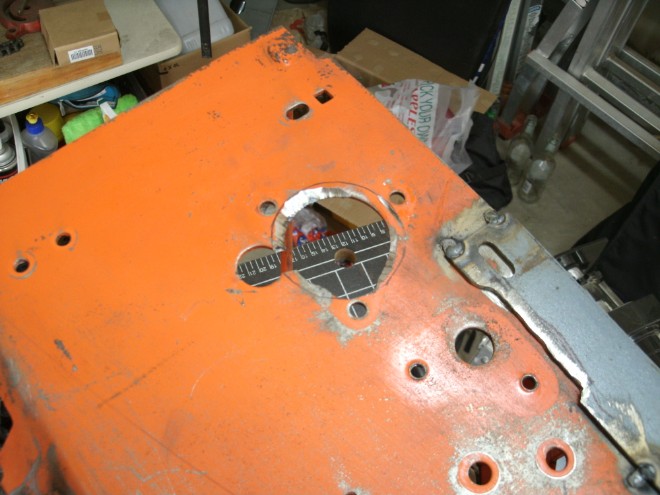
Next 2 pics - putting in frame to hold hitch ball.
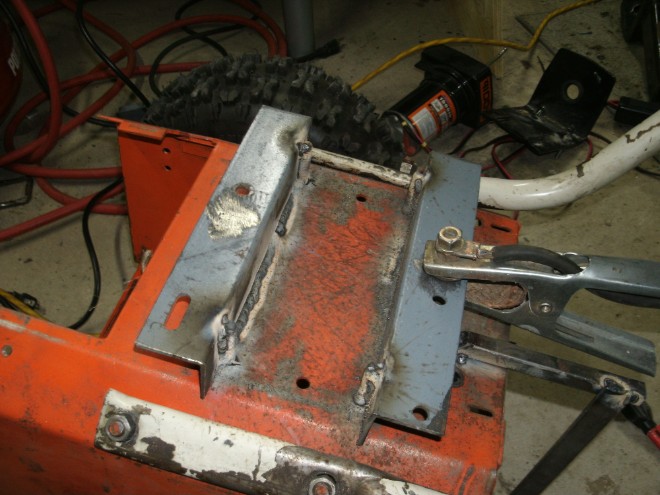
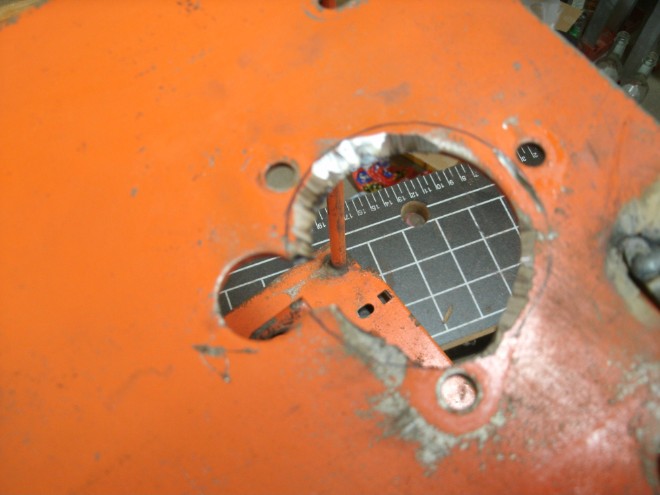
Aug 21 - below pic, got the locking key stock fitted - tomorrow night the hitch ball support.