The seat
Warning : EMT / Electrical conduit coating when welded will emit some nasty stuff that will hurt your lungs severly - it is TOXIC. All welding fumes are not good for you but this stuff is really nasty. Grind the coating from the weld area and be careful not to breath that either. Wear a fume mask and be in a well vented area. I use a fan to blow fumes well welding any material. I use flux core in my MIG welder and it is very tolerent to the fan blowing across unit unlike true MIG welding with inert gas where a small breaze can blow away the gas pocket to protect the weld from oxydizing air. You can get a nice simple welding fume mask from from Canadian Tire and maybe HomeDepot -- for about 10-15dollars. They look like the white dust masks but thicker and rated for welding fumes.
Well - I scrapped the original seats. I will finish them and then try to sell them or maybe use them on a kids bike. I found them so small and not very comfortable. As well I thought they were a little diffucult to make-more of mess issue with having to spray glue - cut foam. At the end of the day I found them to be to small and I did follow the dimensions given. Found my but hanging over the sides and the back rest did not come up high enough or give lumbar support - which I really need.
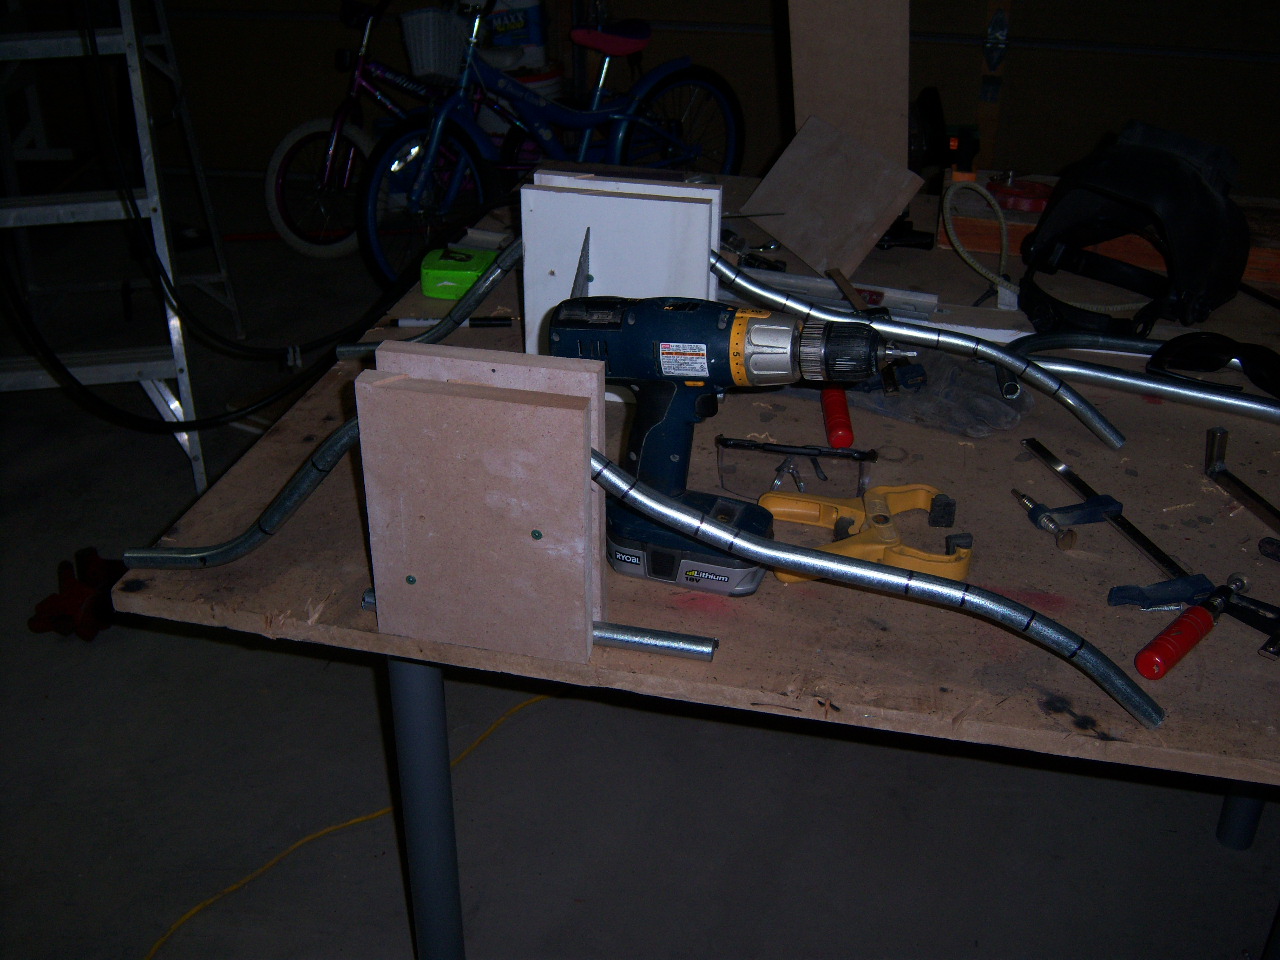
So I decided to go with plans that someone suggested on the AZ site on Recycled Recumbents - see links page. Below are some pics of my first frame. I tried making the bracing as suggest with the 3/4 in conduit (EMT) but I did not like how hard it is to get the width I wanted. Thus I went thought up a couple more meathods. One with 3by1 rectangular tube that I have not tried yet and one with 1/2" square tube that I have done.
Above and below are some pics of the frame set up with the 3/4" EMT braces just to see how they fit but at this point I decided it was alot of effort to make those braces and then proceded to make the 1/2" square tube (ST) ones.
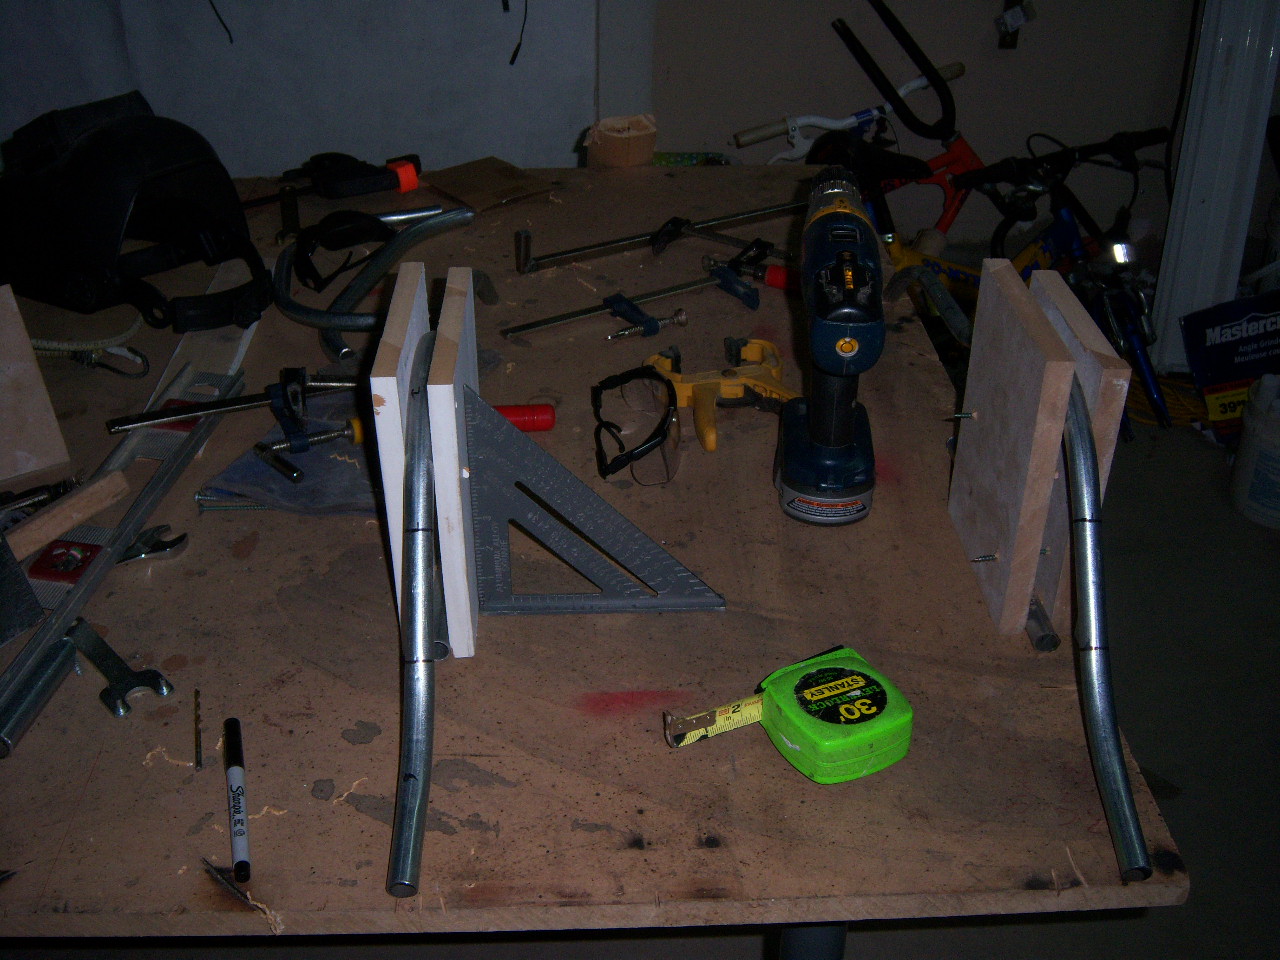
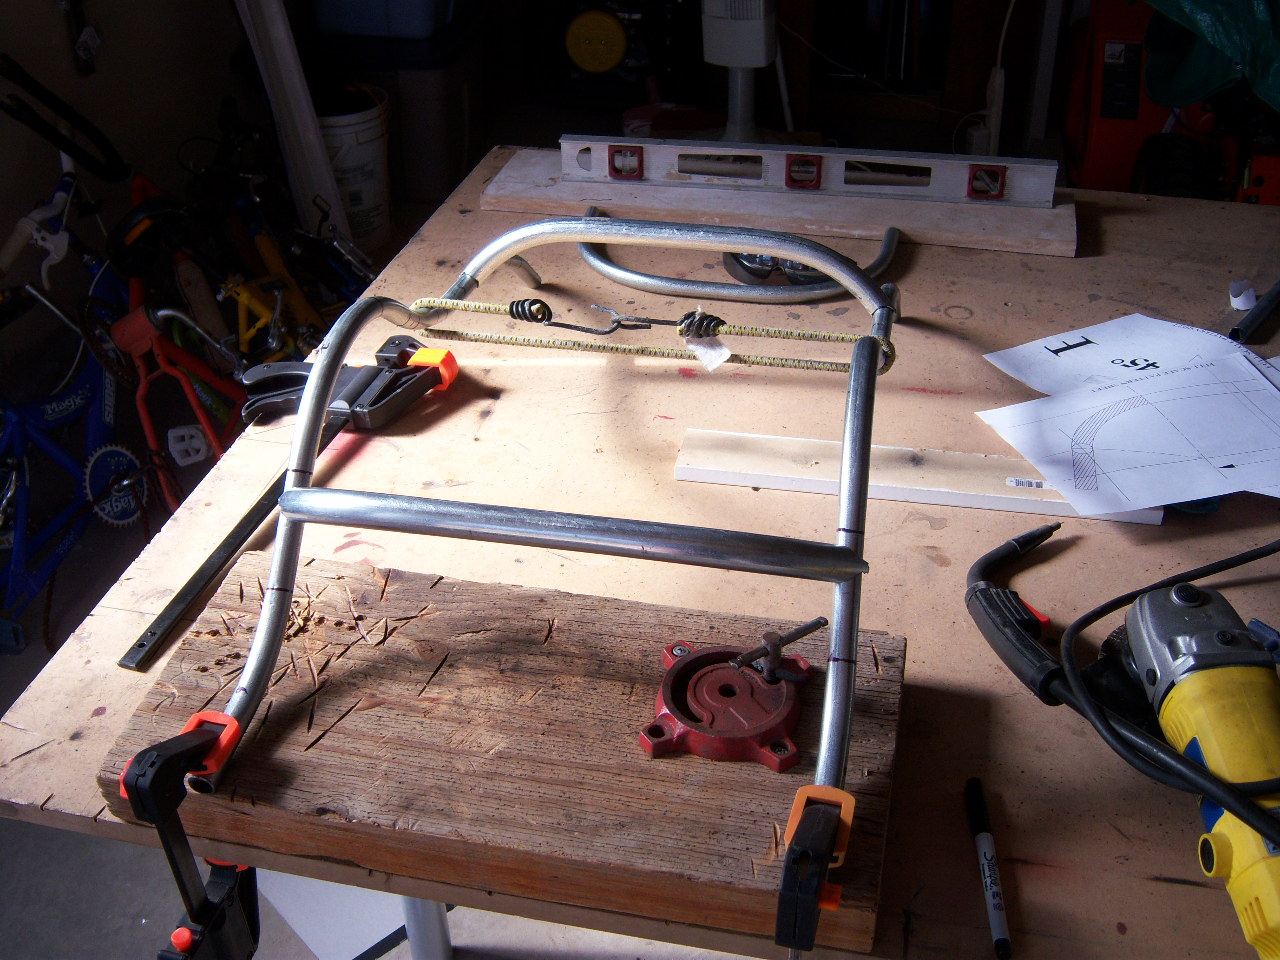
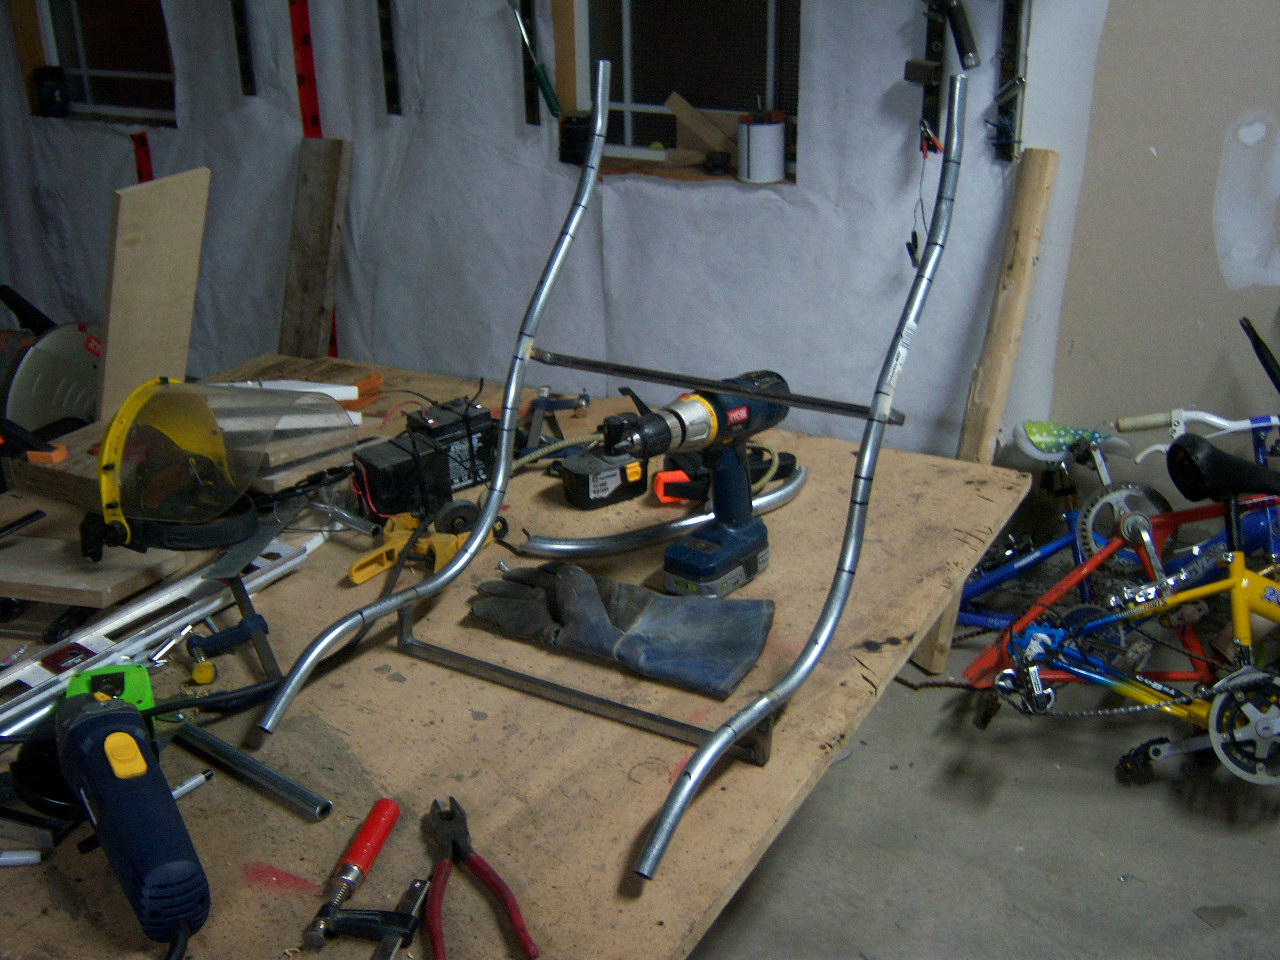
Above you can see the 1st 1/2" square tube(ST) brace sitting in the back ground - I was getting ready to put it on and I had to find a way to stand and align the main tubes. My temp solution was some cut pieces of 3/4" MDF and just screwed them together (not enough small clamps-never enough clamps) at the high points and you can see the spacing 1/2" tube on the one on the right at the bottom. I plan to make this my main seat meathod so I will make a nice metal jig.
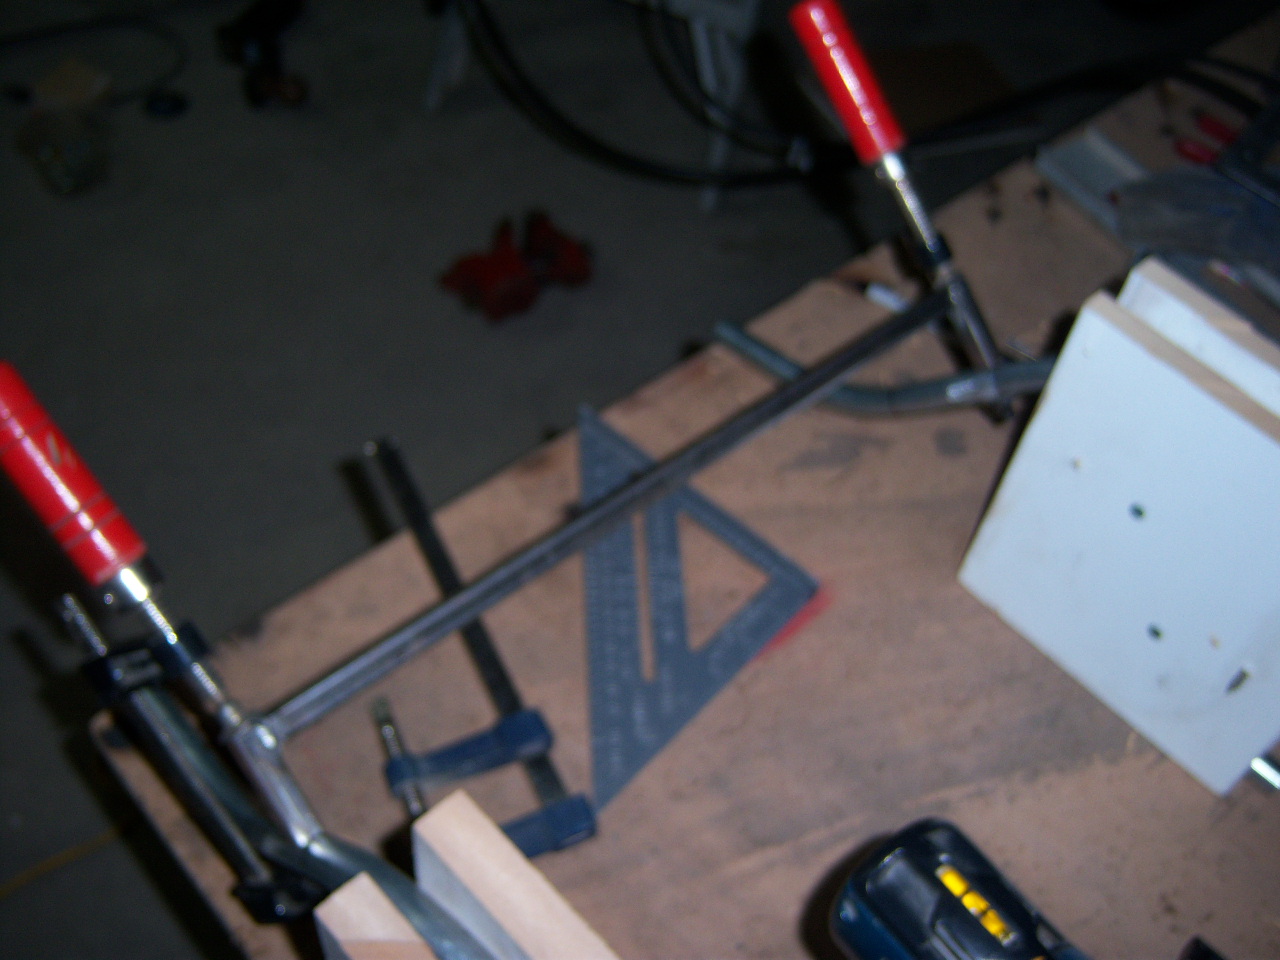
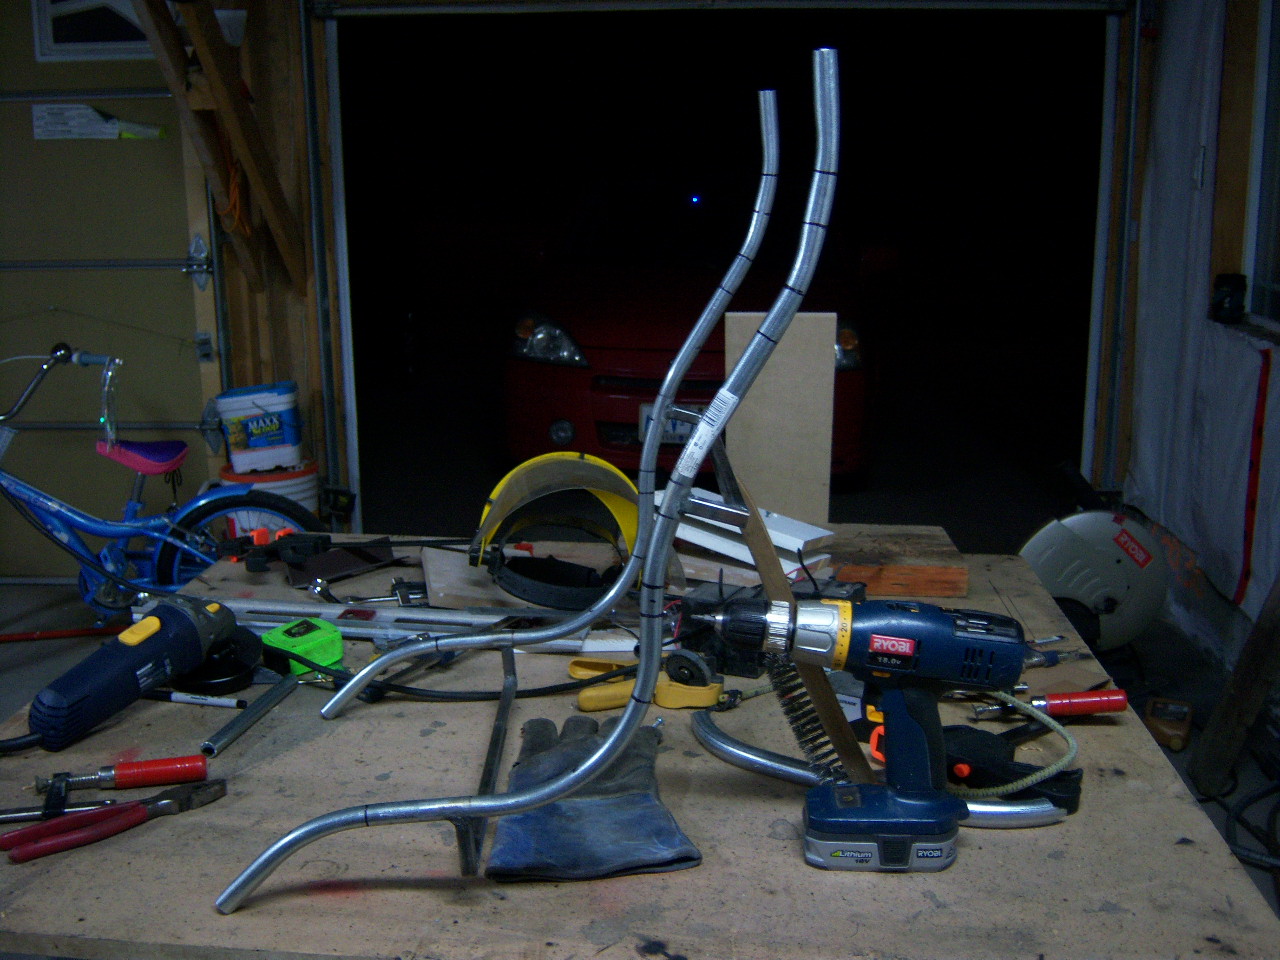
Above - a nice blur of the intial setup with the 1st 1/2"ST. I did not notch it so it made it harder set up and weld.
Above 2 pics shows the setting up of the 1st lower(under the butt) brace. I ended up taking off and grinding off the EMT outer coat before welding. I did not notch this brace and it made it harder to set up.
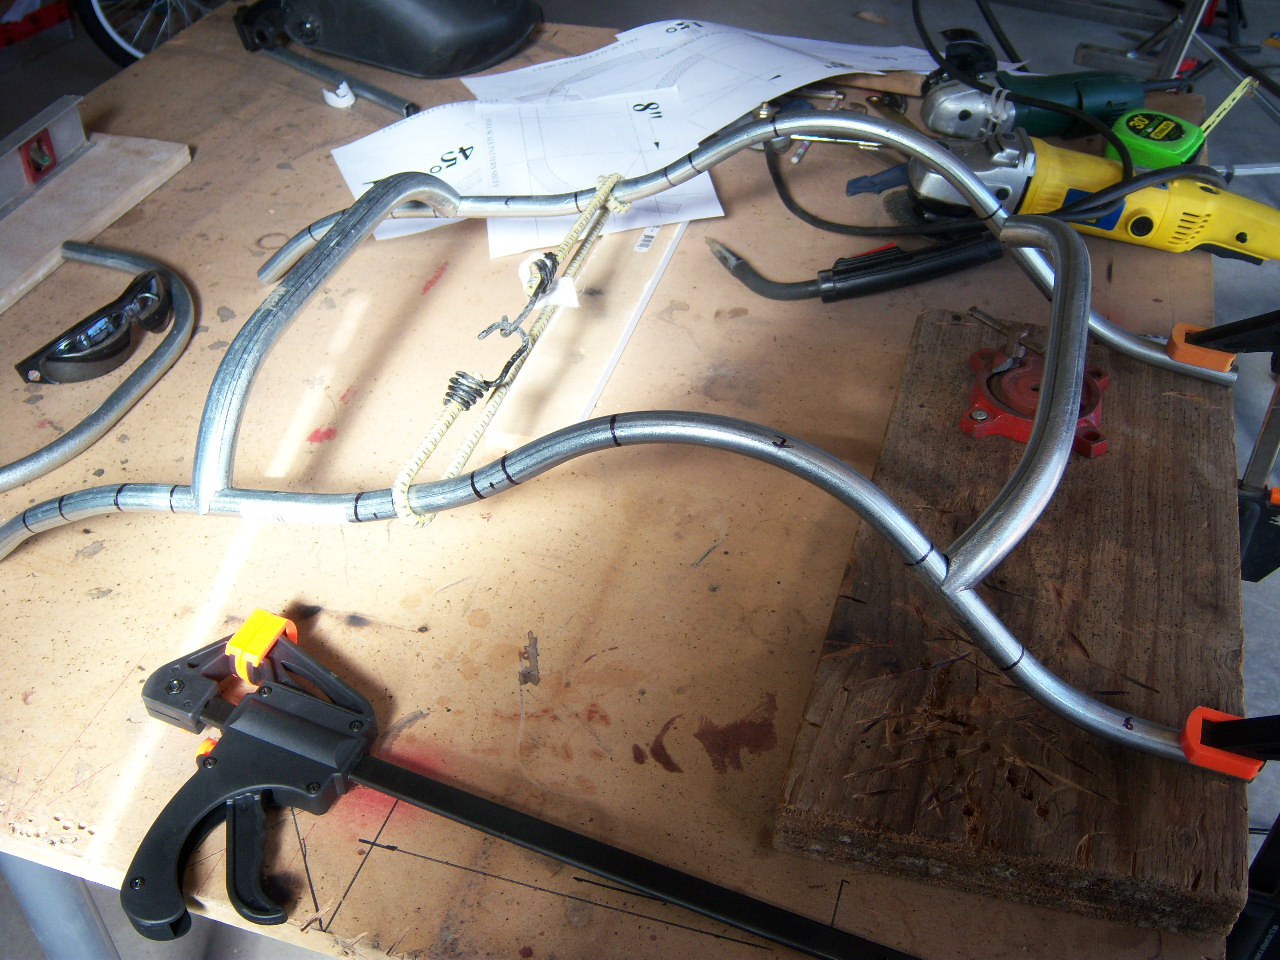
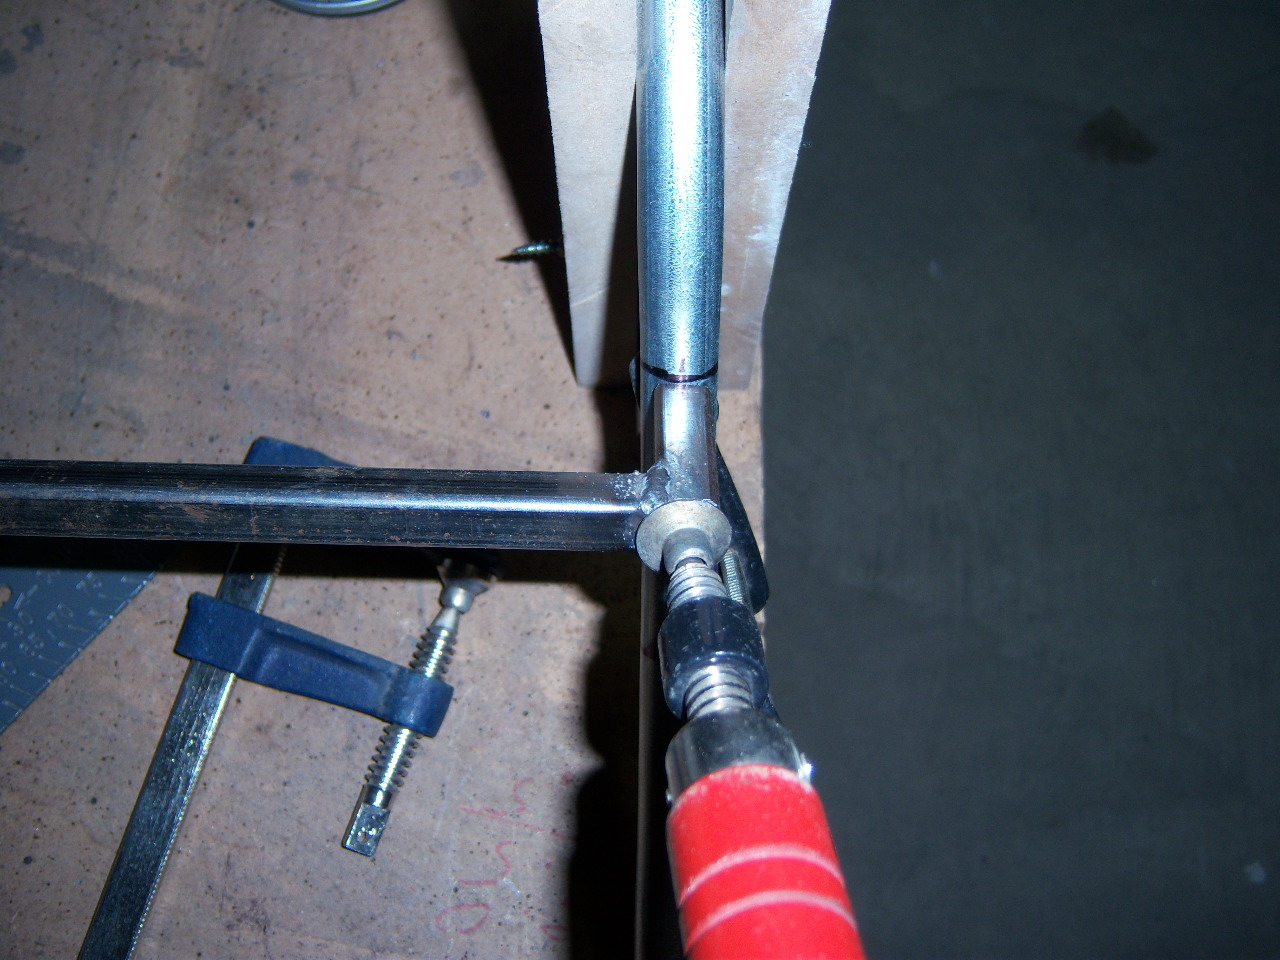
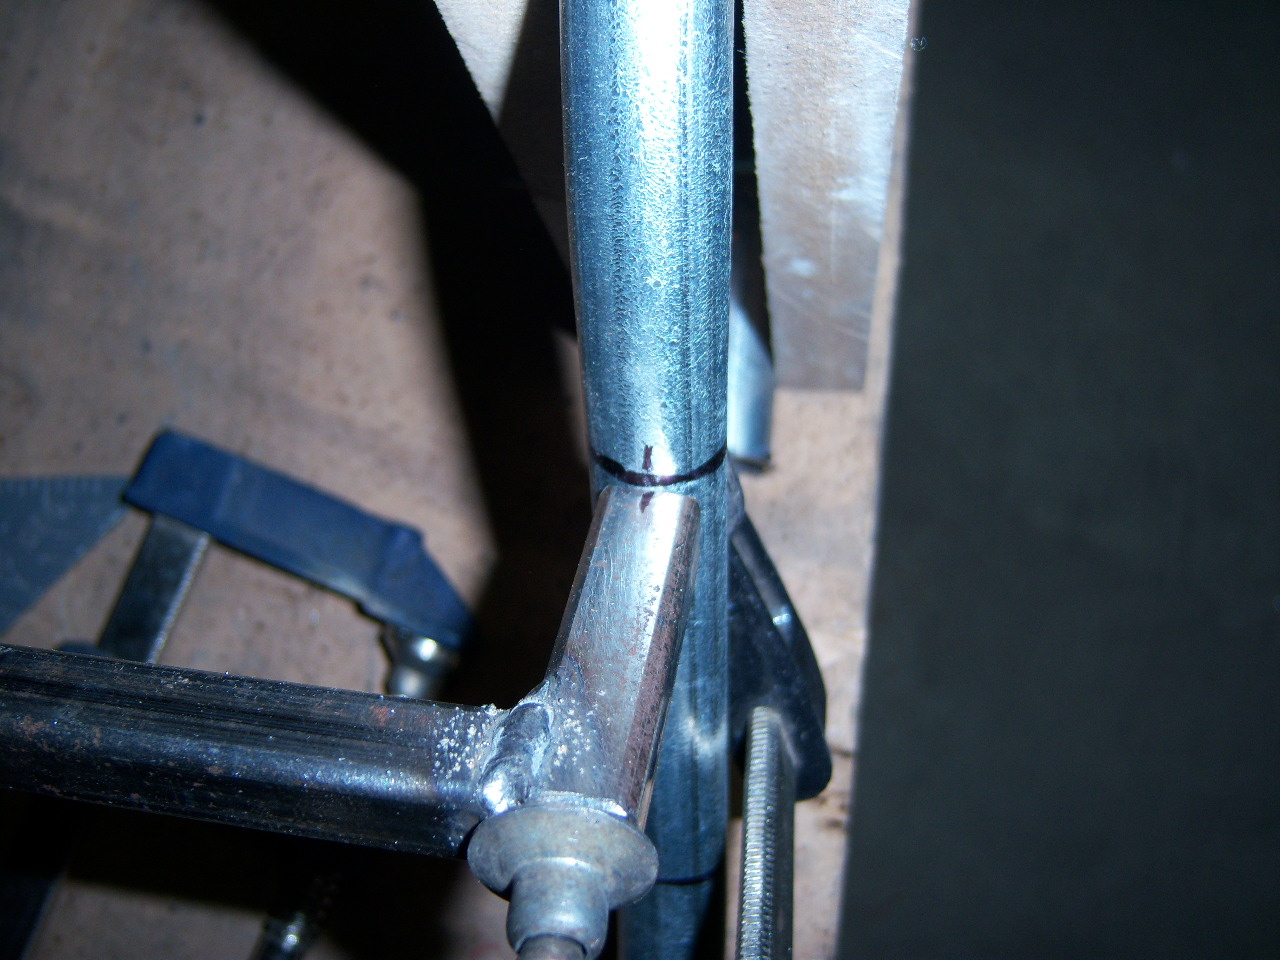
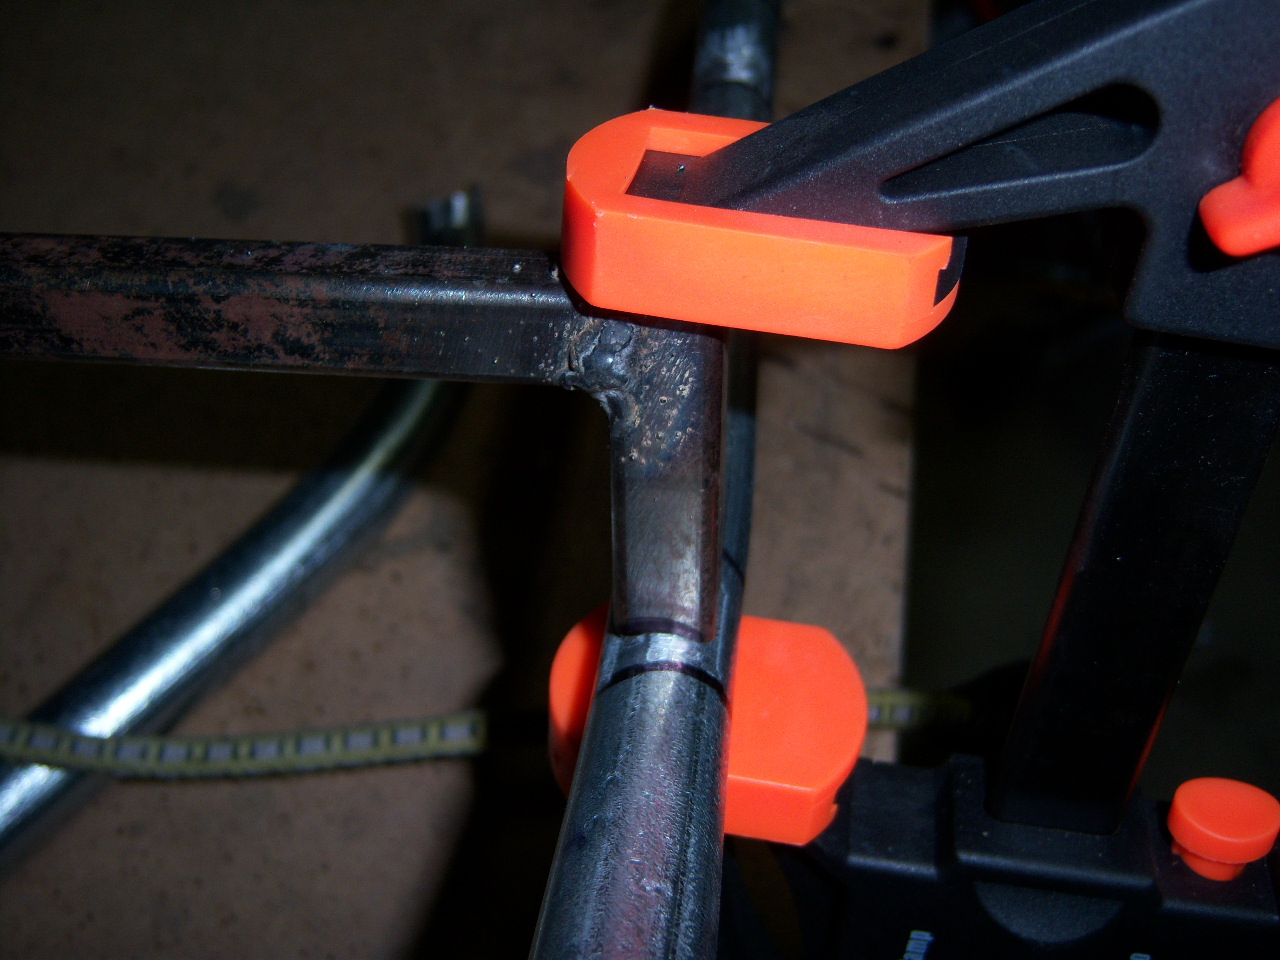
Below is the upper (behind the back) brace. I notched it and ground down the EMT prior to mounting this time -- the small simple notch really helps seat it nicely so you can easily clamp it without much effort. I have a metal clamp on the otherside which I welded 1st then move it over to this side before welding. Plastic clamps don't last long when used close to the welding spot. The notching also makes it easier to weld.
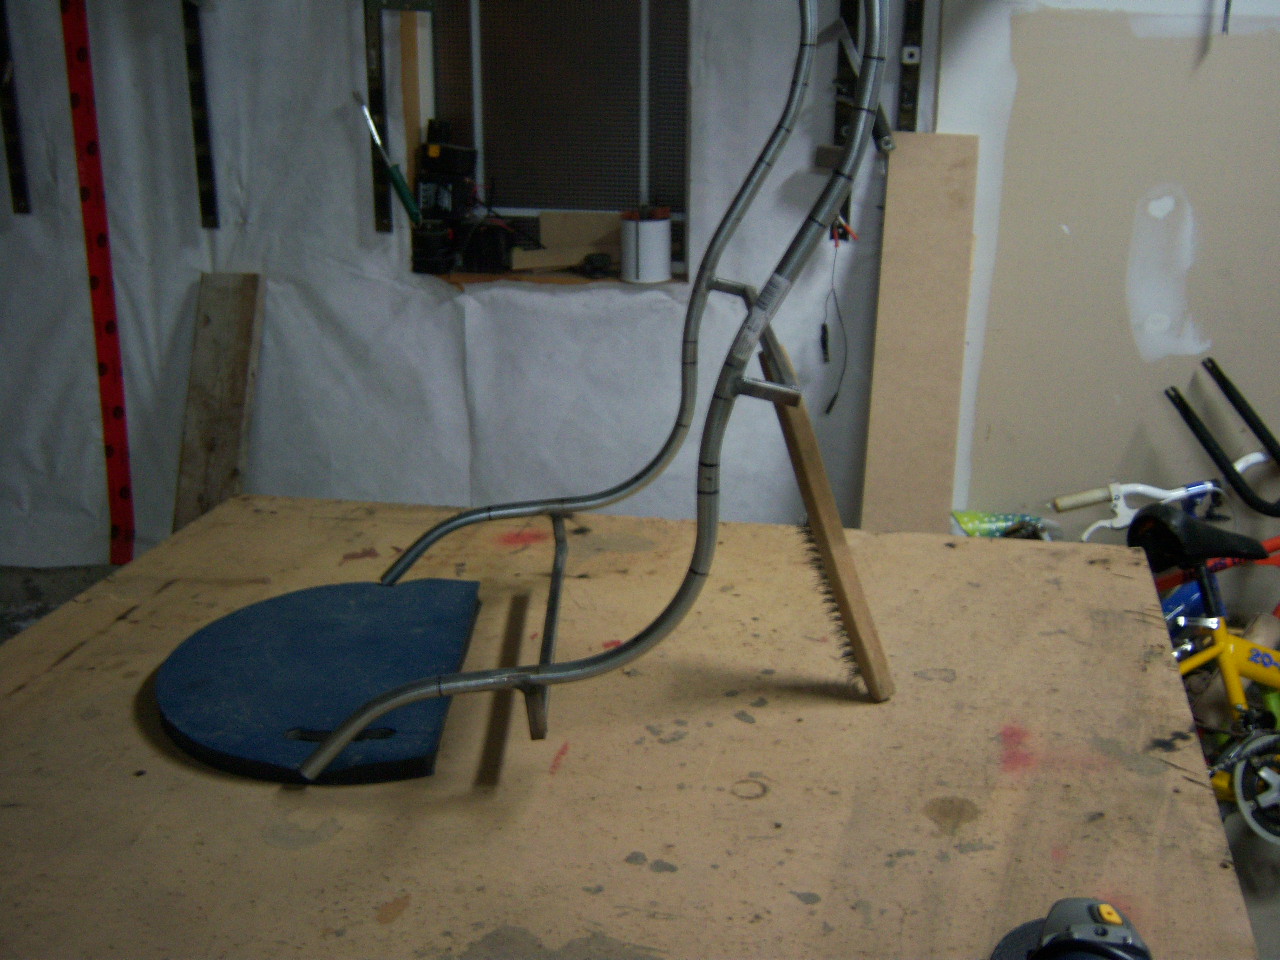
The next 3 pics show the braces on -- I now have to make the pivot flanges and the pivot bracket for holding to the Kyoto.
At this point I am happy with the square bracing. They are probably 2 times the weight of the 3/4" EMT but probably twice as easy to make so in my book it works out even. I prefer doing something the easier way if it is not a one off scenario. If I was a weight weeny then I might go for the EMT! I will use the EMT braces I made and put that seat on the the Patrike- maybe.
The main frame sections came out a bit out of wake -- this will improve with time as I make more. When the fabic goes on you probably won't even notice -- I hope!
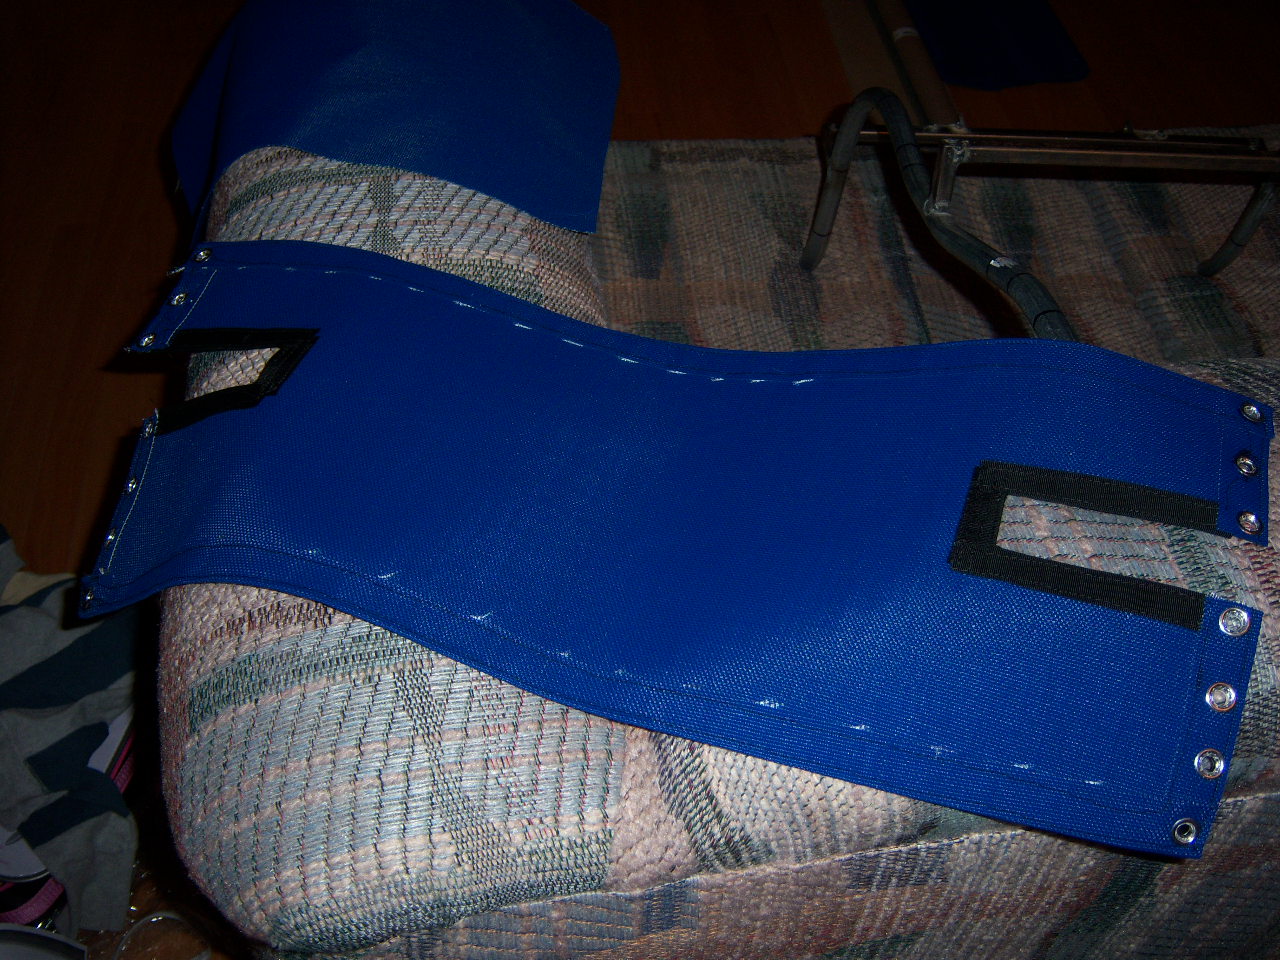
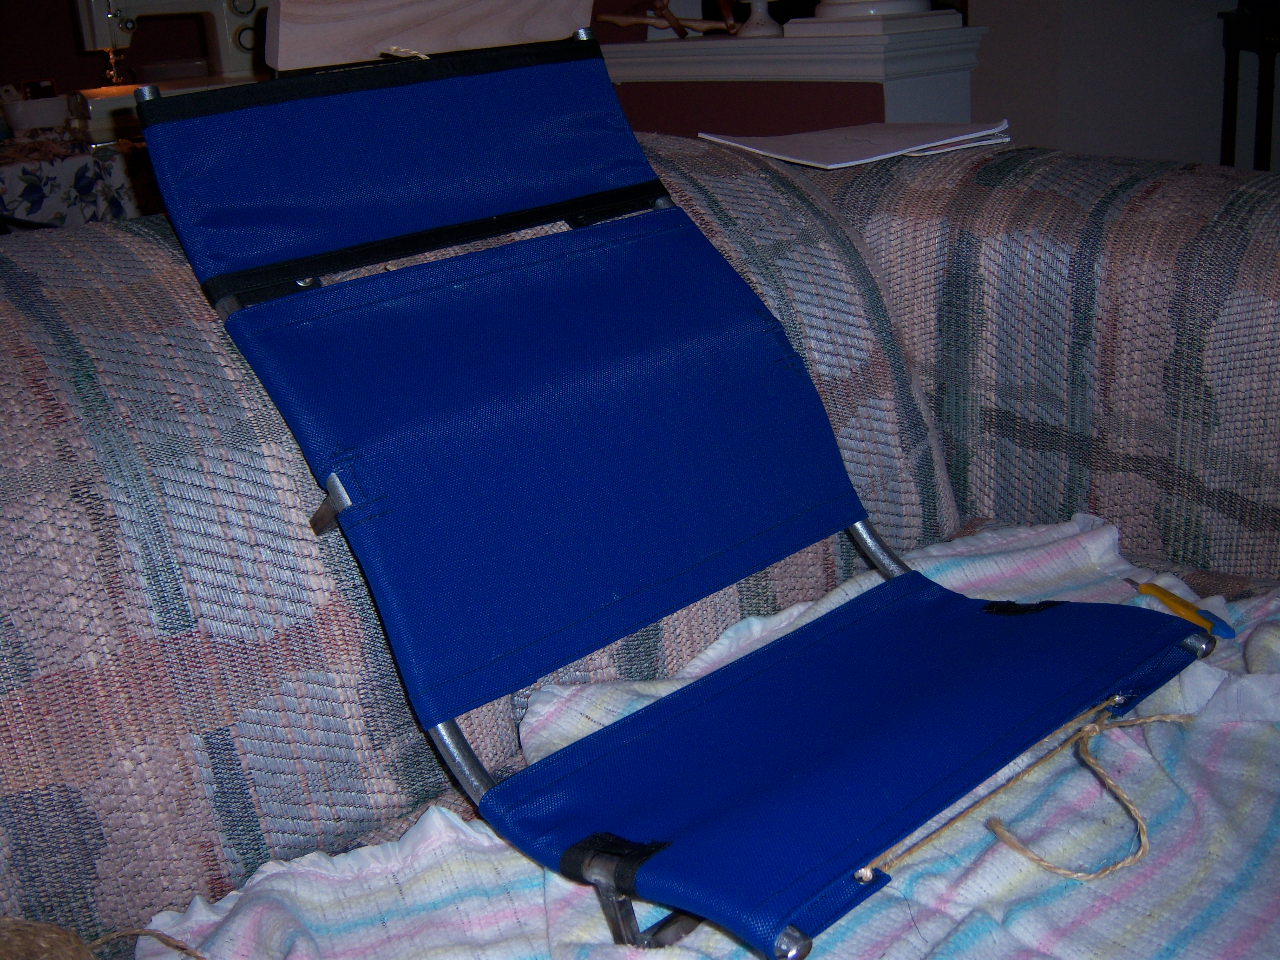
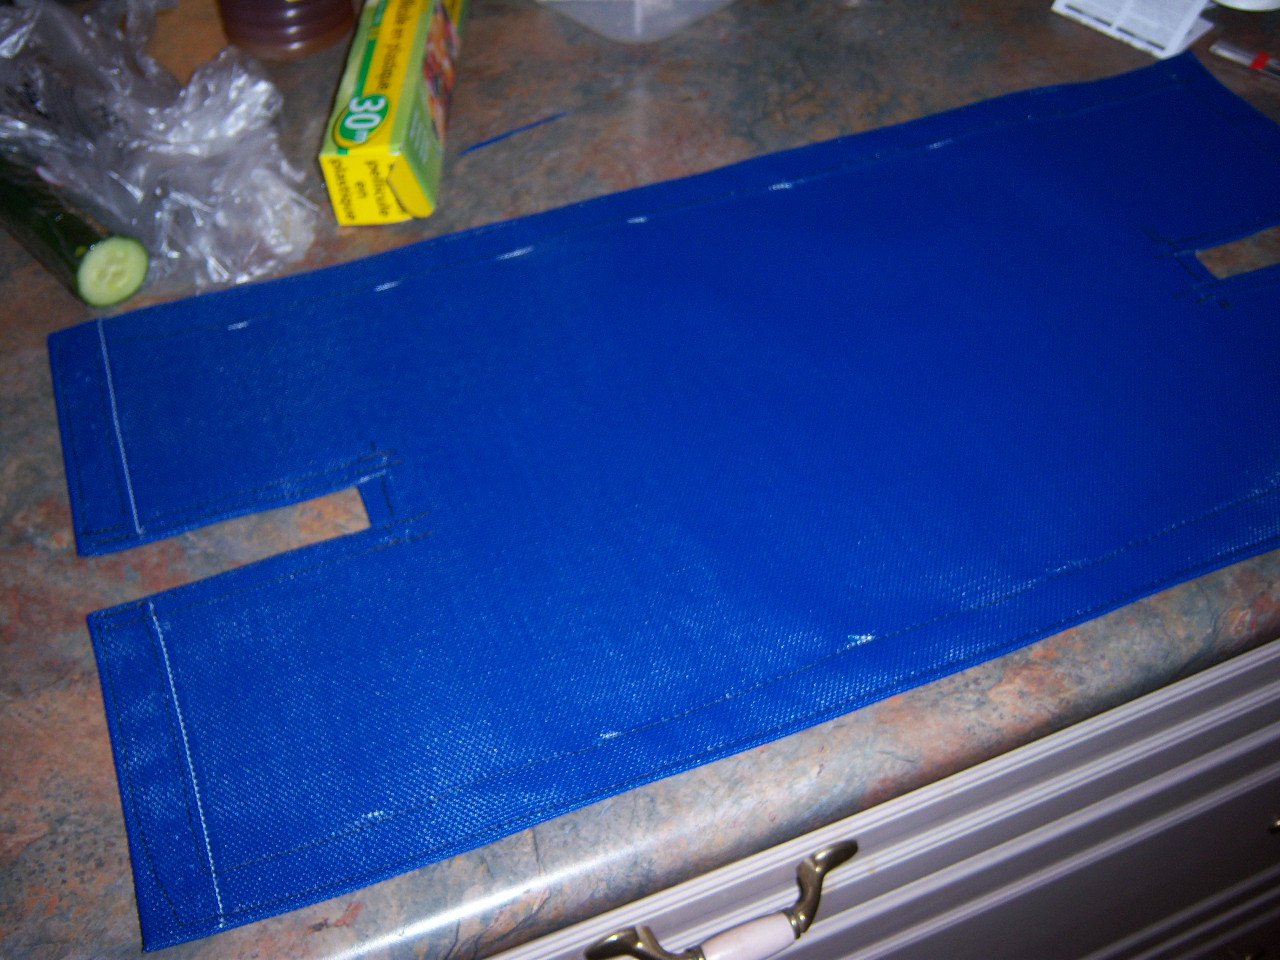
Above is the start of the seat cover, below is the bottom. I started out trying to do it in one the whole piece but found it frustrating to work with the stiff material. This made me decide to break it up into sections. This creates more work on one hand but lessons.
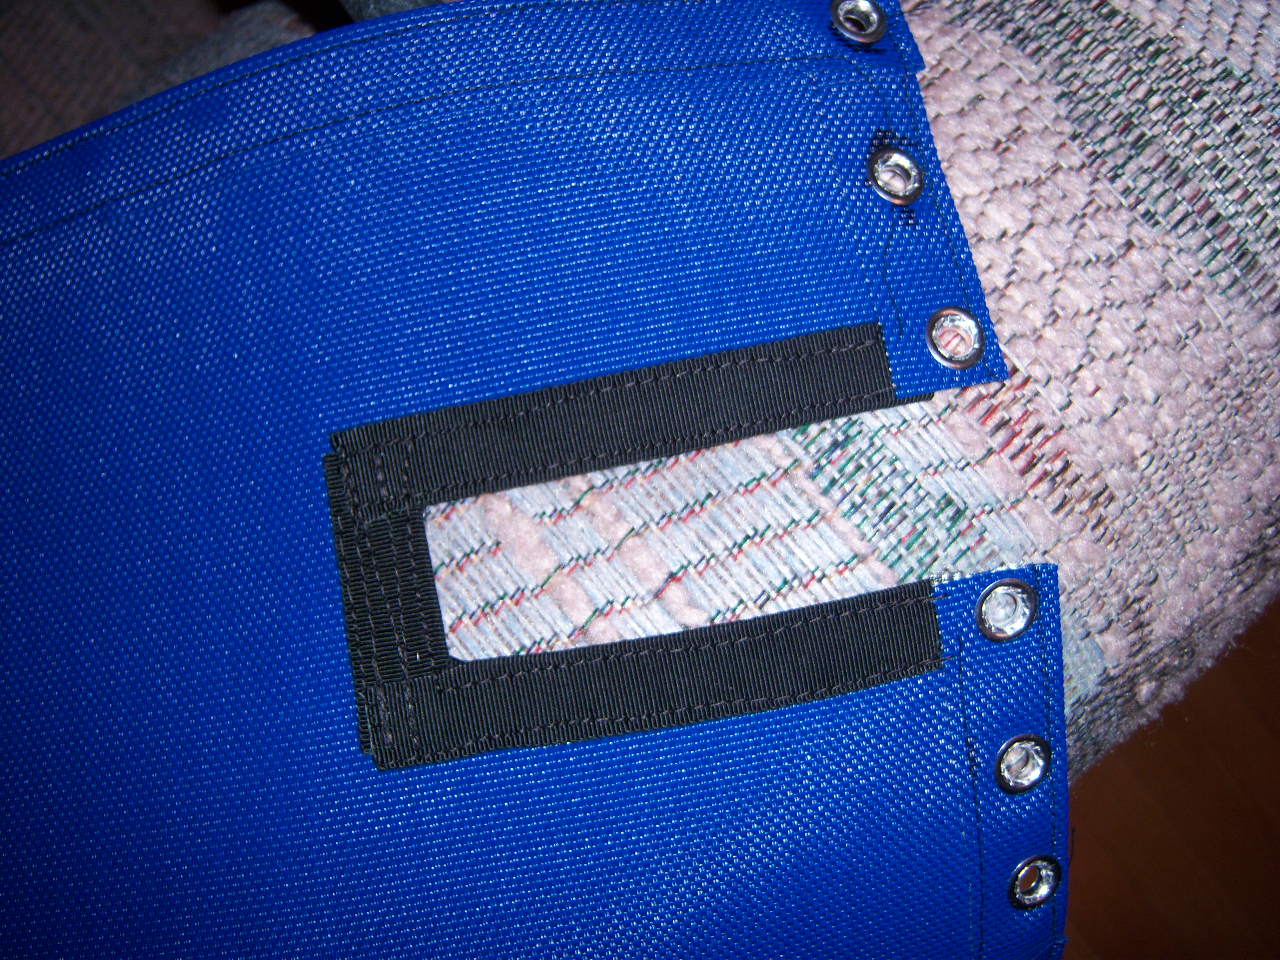
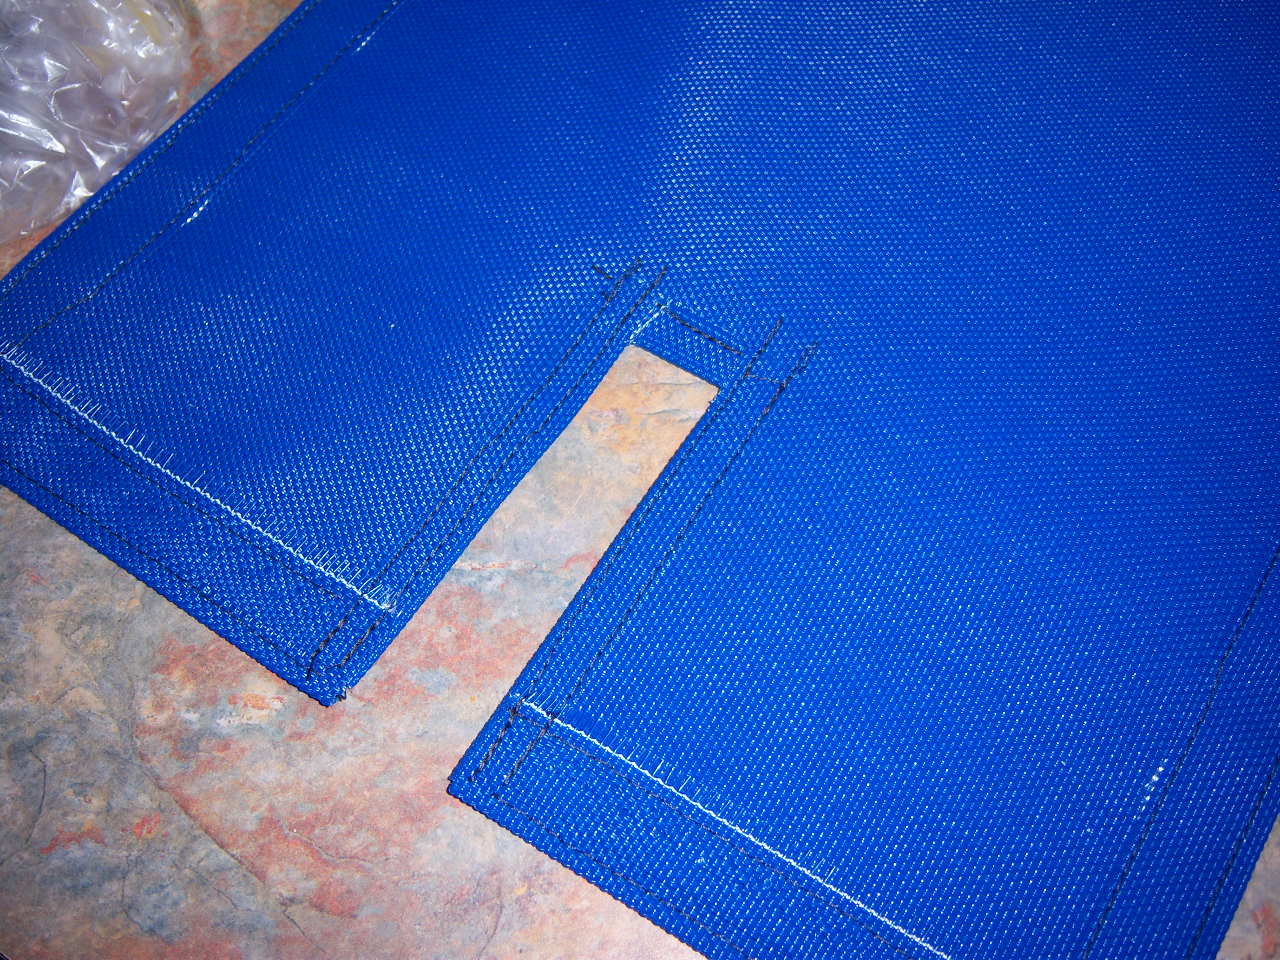
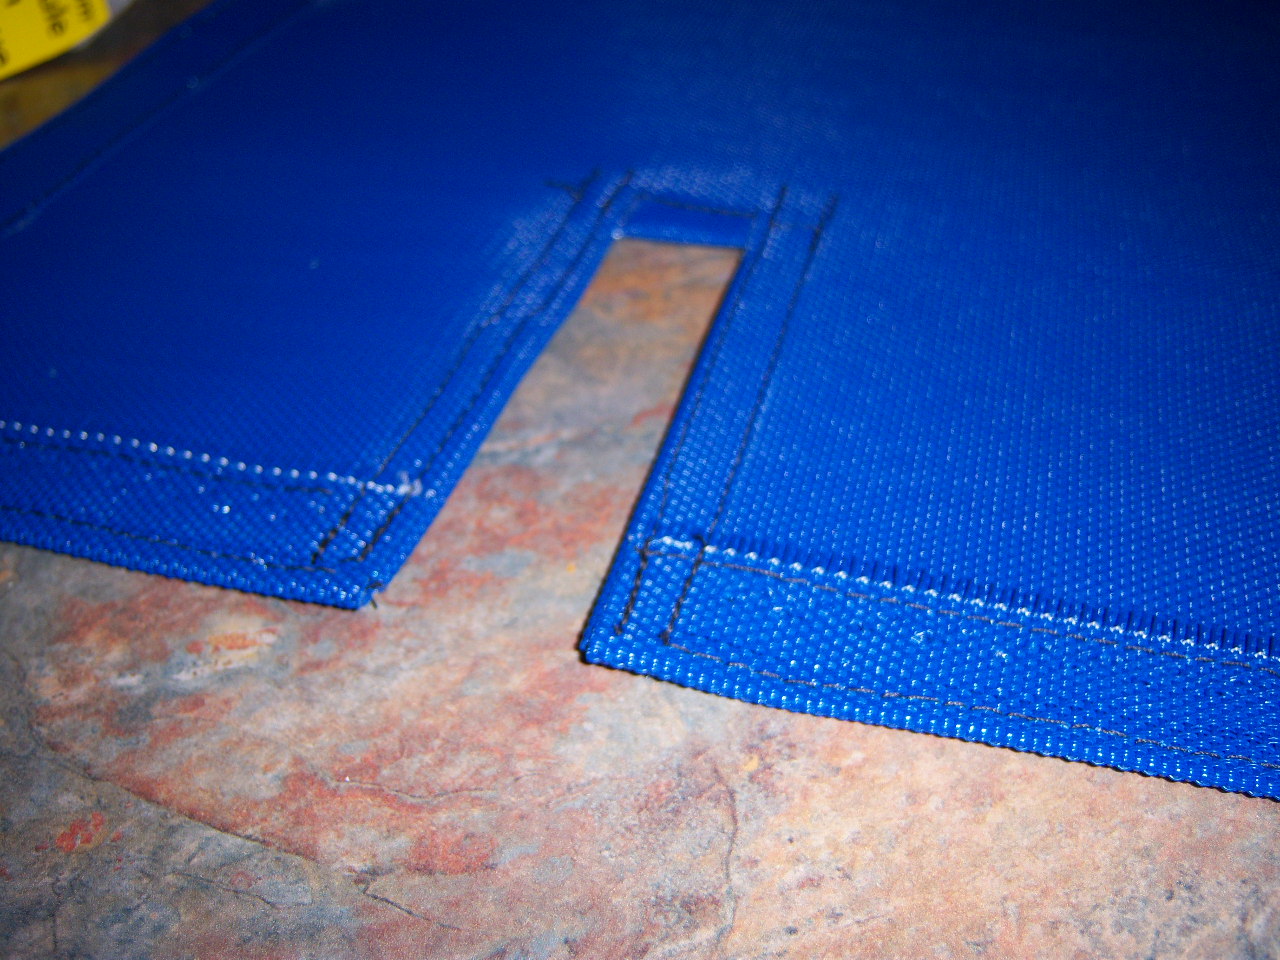
Below shows a close up of the black trim reinforcement around the cut out. Reinforcement is neccessay to prevent tearing and fraying of the cut out. You can also see the folded which do the same thing. For the cut out area I guess you could cut out the material in such a manner that would allow the folding over like the outside edges those eiminating the need for adding the extra material. I will try this later when I get better at sewing. The fold over method is also dependent on the material -- I found some very large holed open weave that will require trim on all the edges.
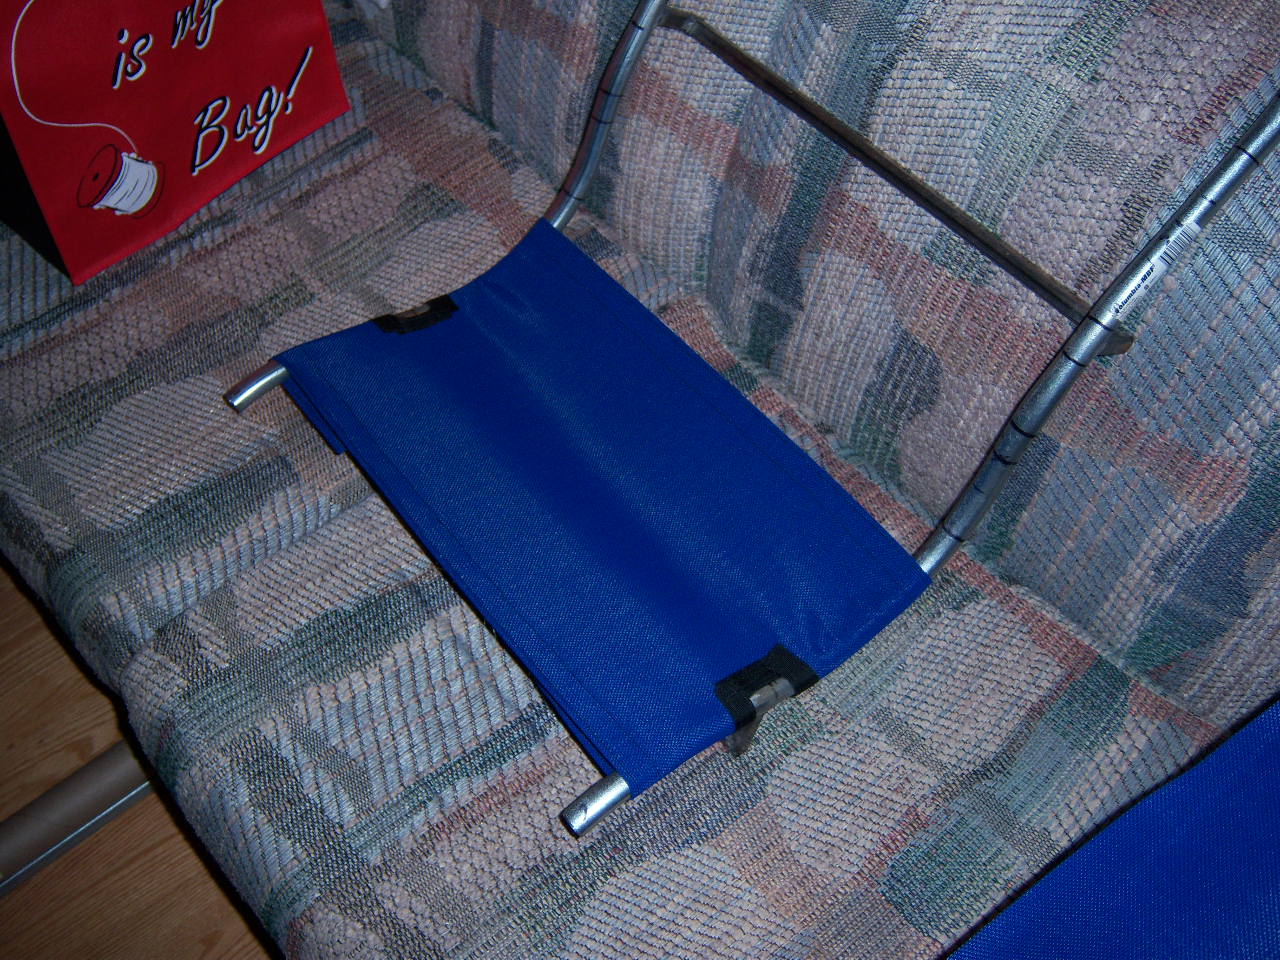
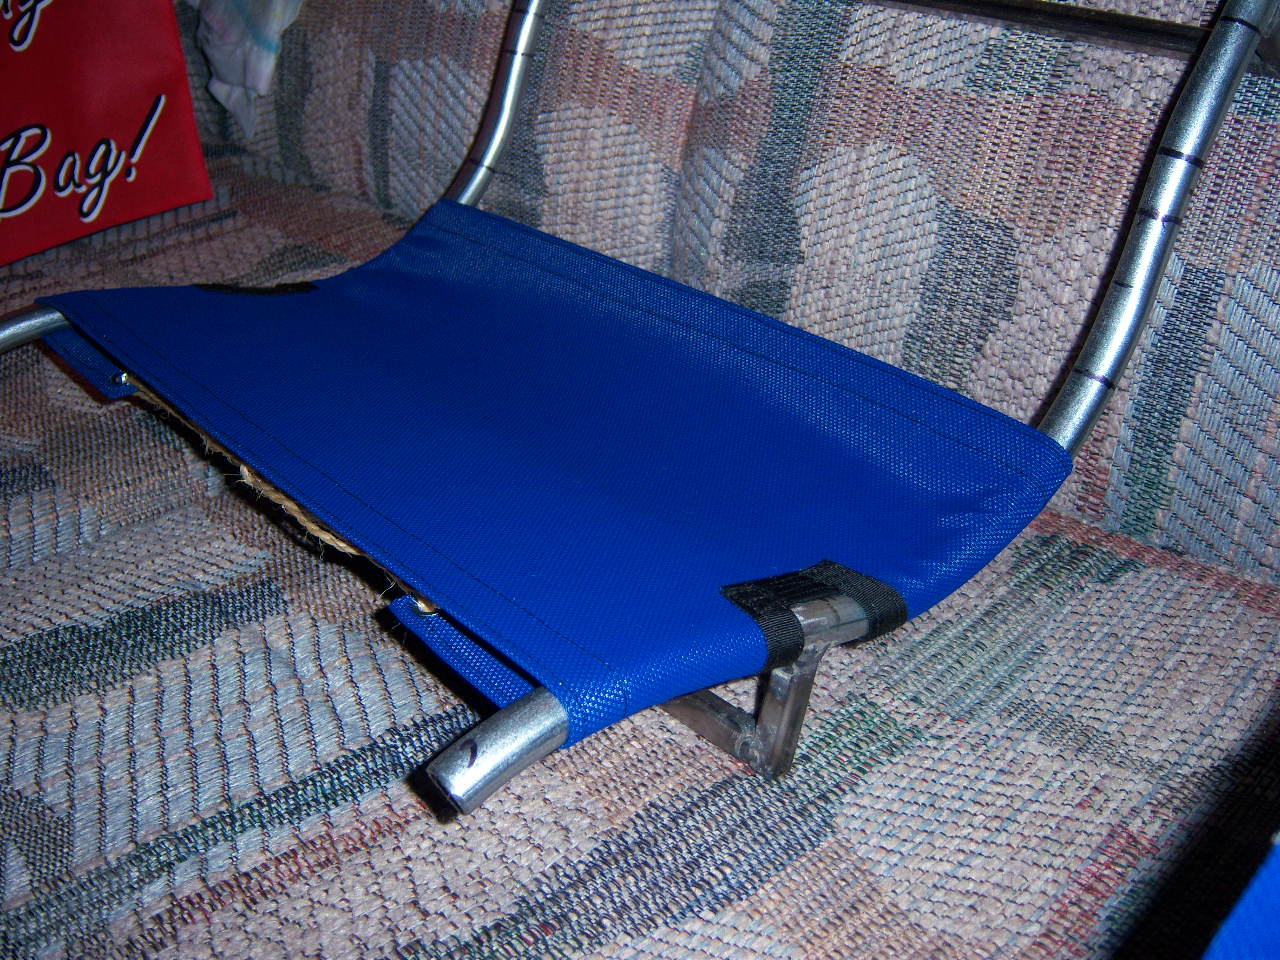
Above is the bottom piece temp tied into place -- looks good I think. I had wanted to cut the brace cut outs deeper but miscalculated. The idea was to kind have holes to look through the seat, a design flare thing! I was thinking of rounded ends as well but I don't know how sew trim into curved edges- yet!
Above and below are the middle lumbar support. The next 2 pics show a close up of me using some of the seat material to reinforce the brace cut - I only have black nylon thread for the black trim so it stands a bit.
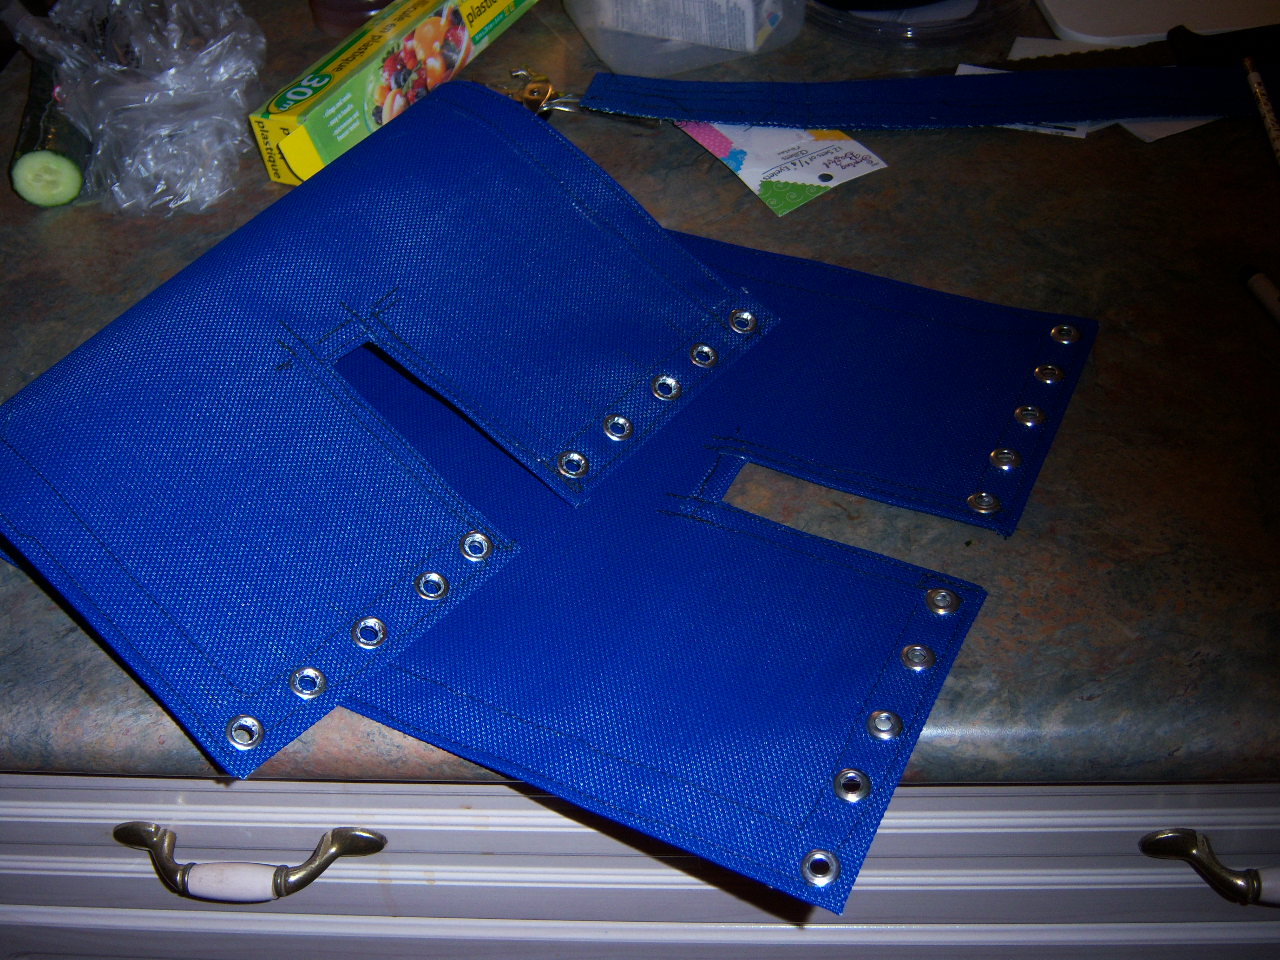
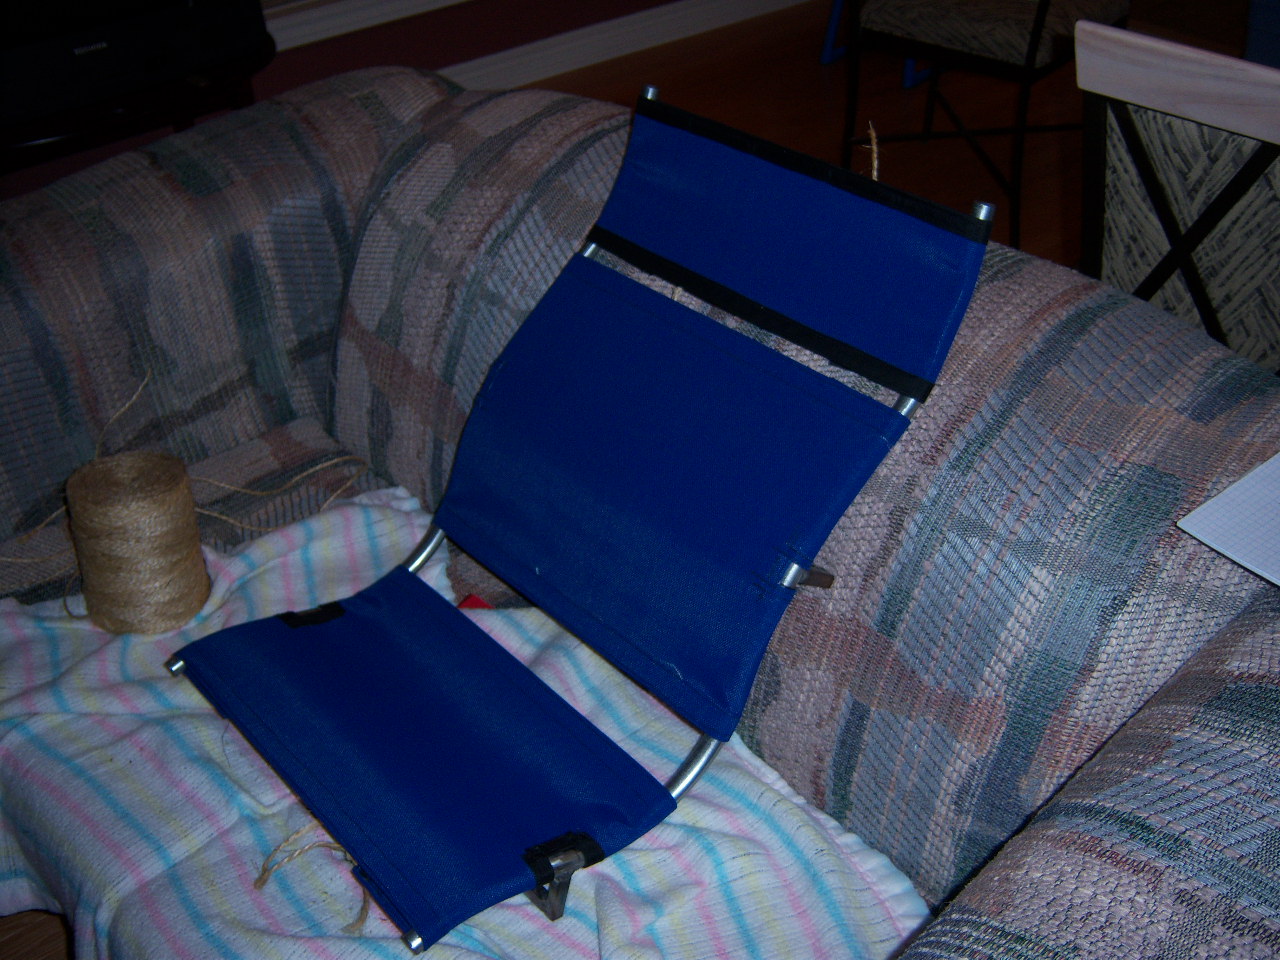
Above are the eyelets added to the lumbar section. Below are pics of all the sections on. The top section I added trim to the upper and lower sides instead of folding over. This was more for seeing how it would look, rather then for practicality. I am not sure if I like like it.
Sunday Apr 26/09 - I have to work on support braces before I can really do a sitting test. I will not be doing another up date for some time. I am behind schedule -- this seat took all week and then some working here and there.