The Deck
Spring 2009 - we were thinking about getting a pop up camper to do some camping this summer. Then I got thinking, the was the 1st mistake. With the new small tax incentive we came to the conclusion that it would be better to put money back into the house this year to save a little. We would do some painting, new doors on the closet when you come in the front door - and the biggest mistake was a deck. I have built a deck before but never got a premit and it was low to the ground. This one is going to be 7 feet off the ground and 12 by 16 PT -- ok , so not so big, but it will get the job done.
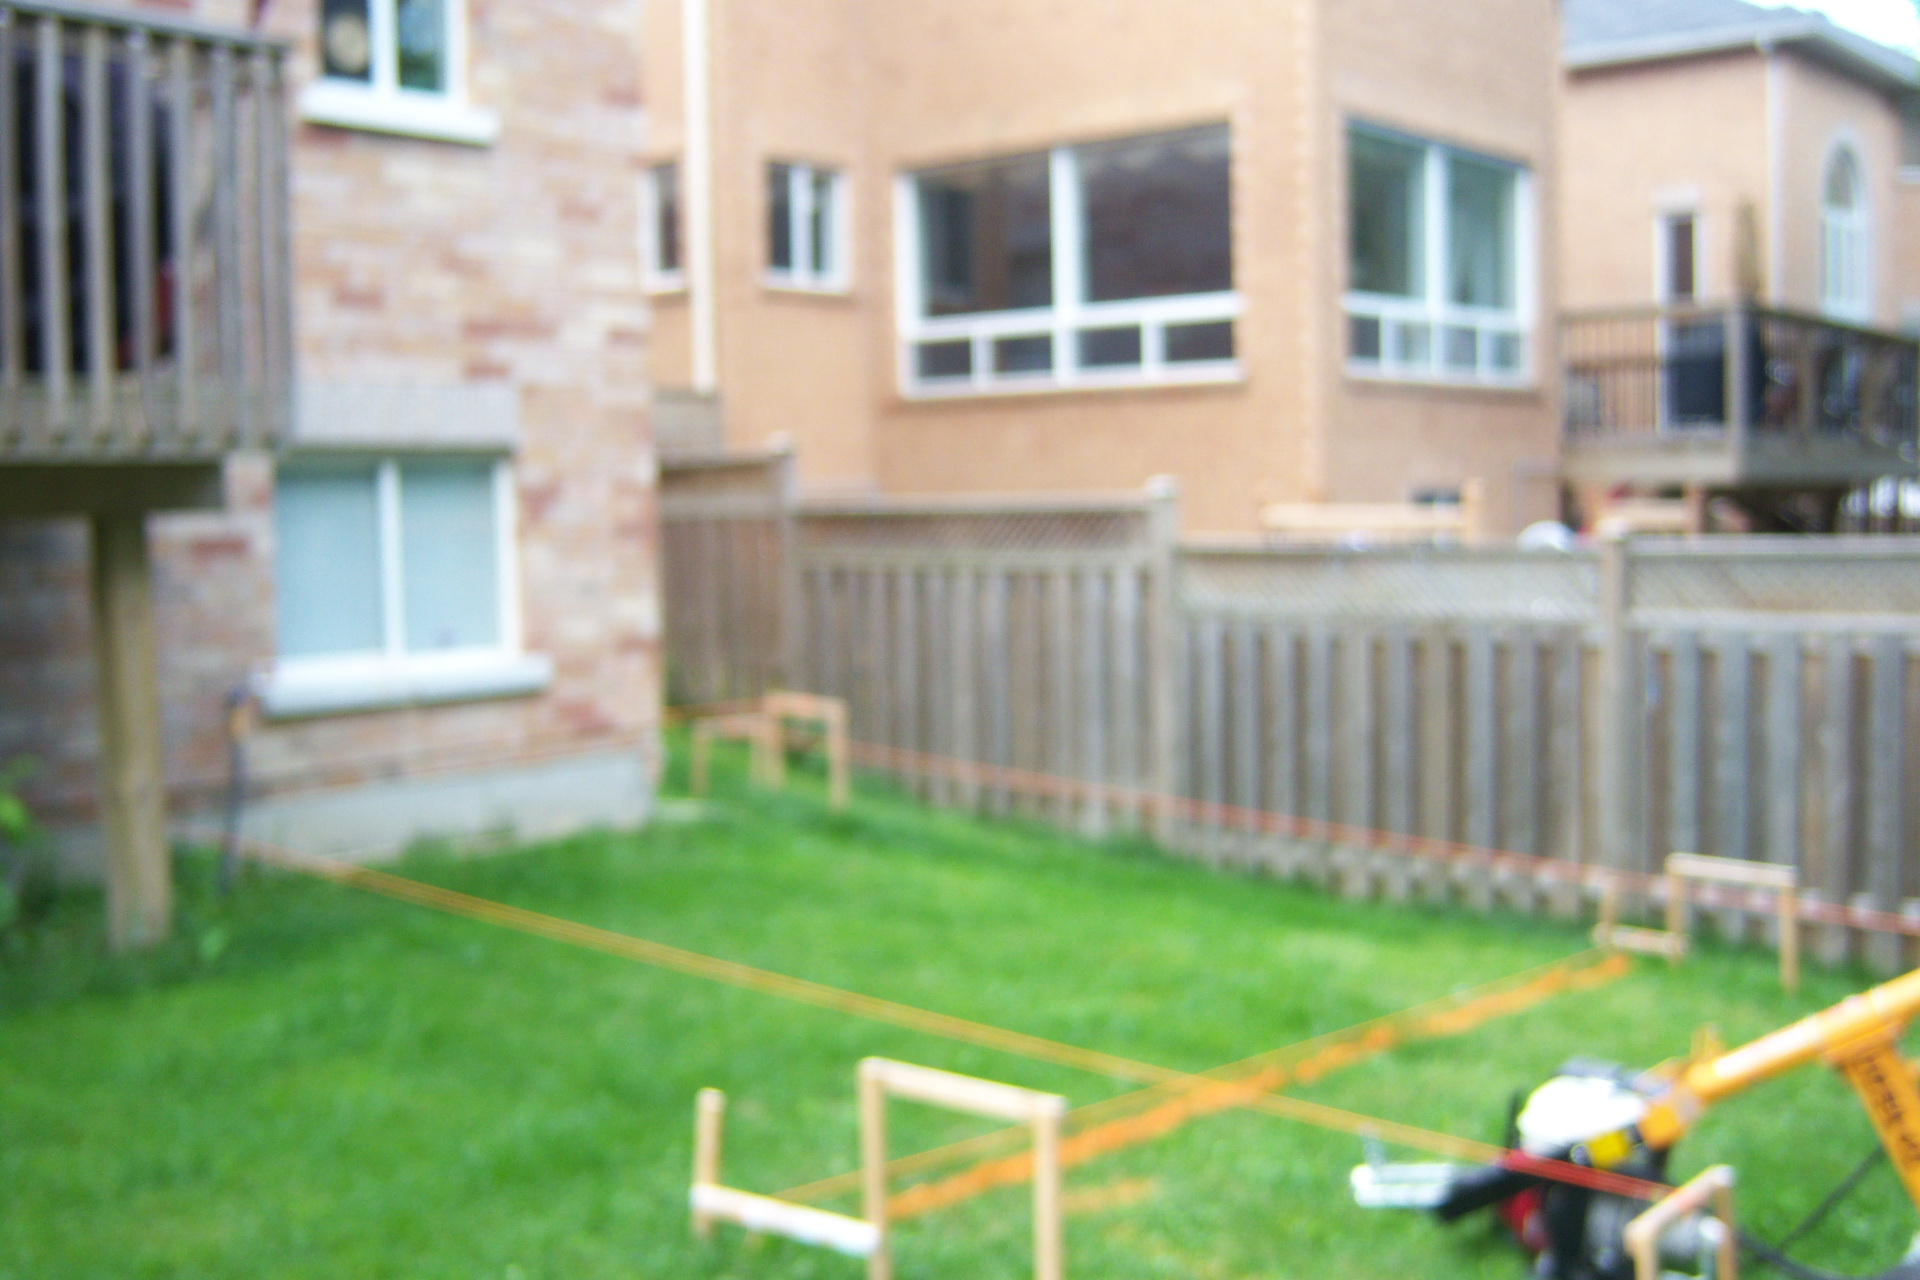
Below is the lay out of the lines and marking the holes. This can be the most critical part to make sure your going to get a straight deck. Very blurry!
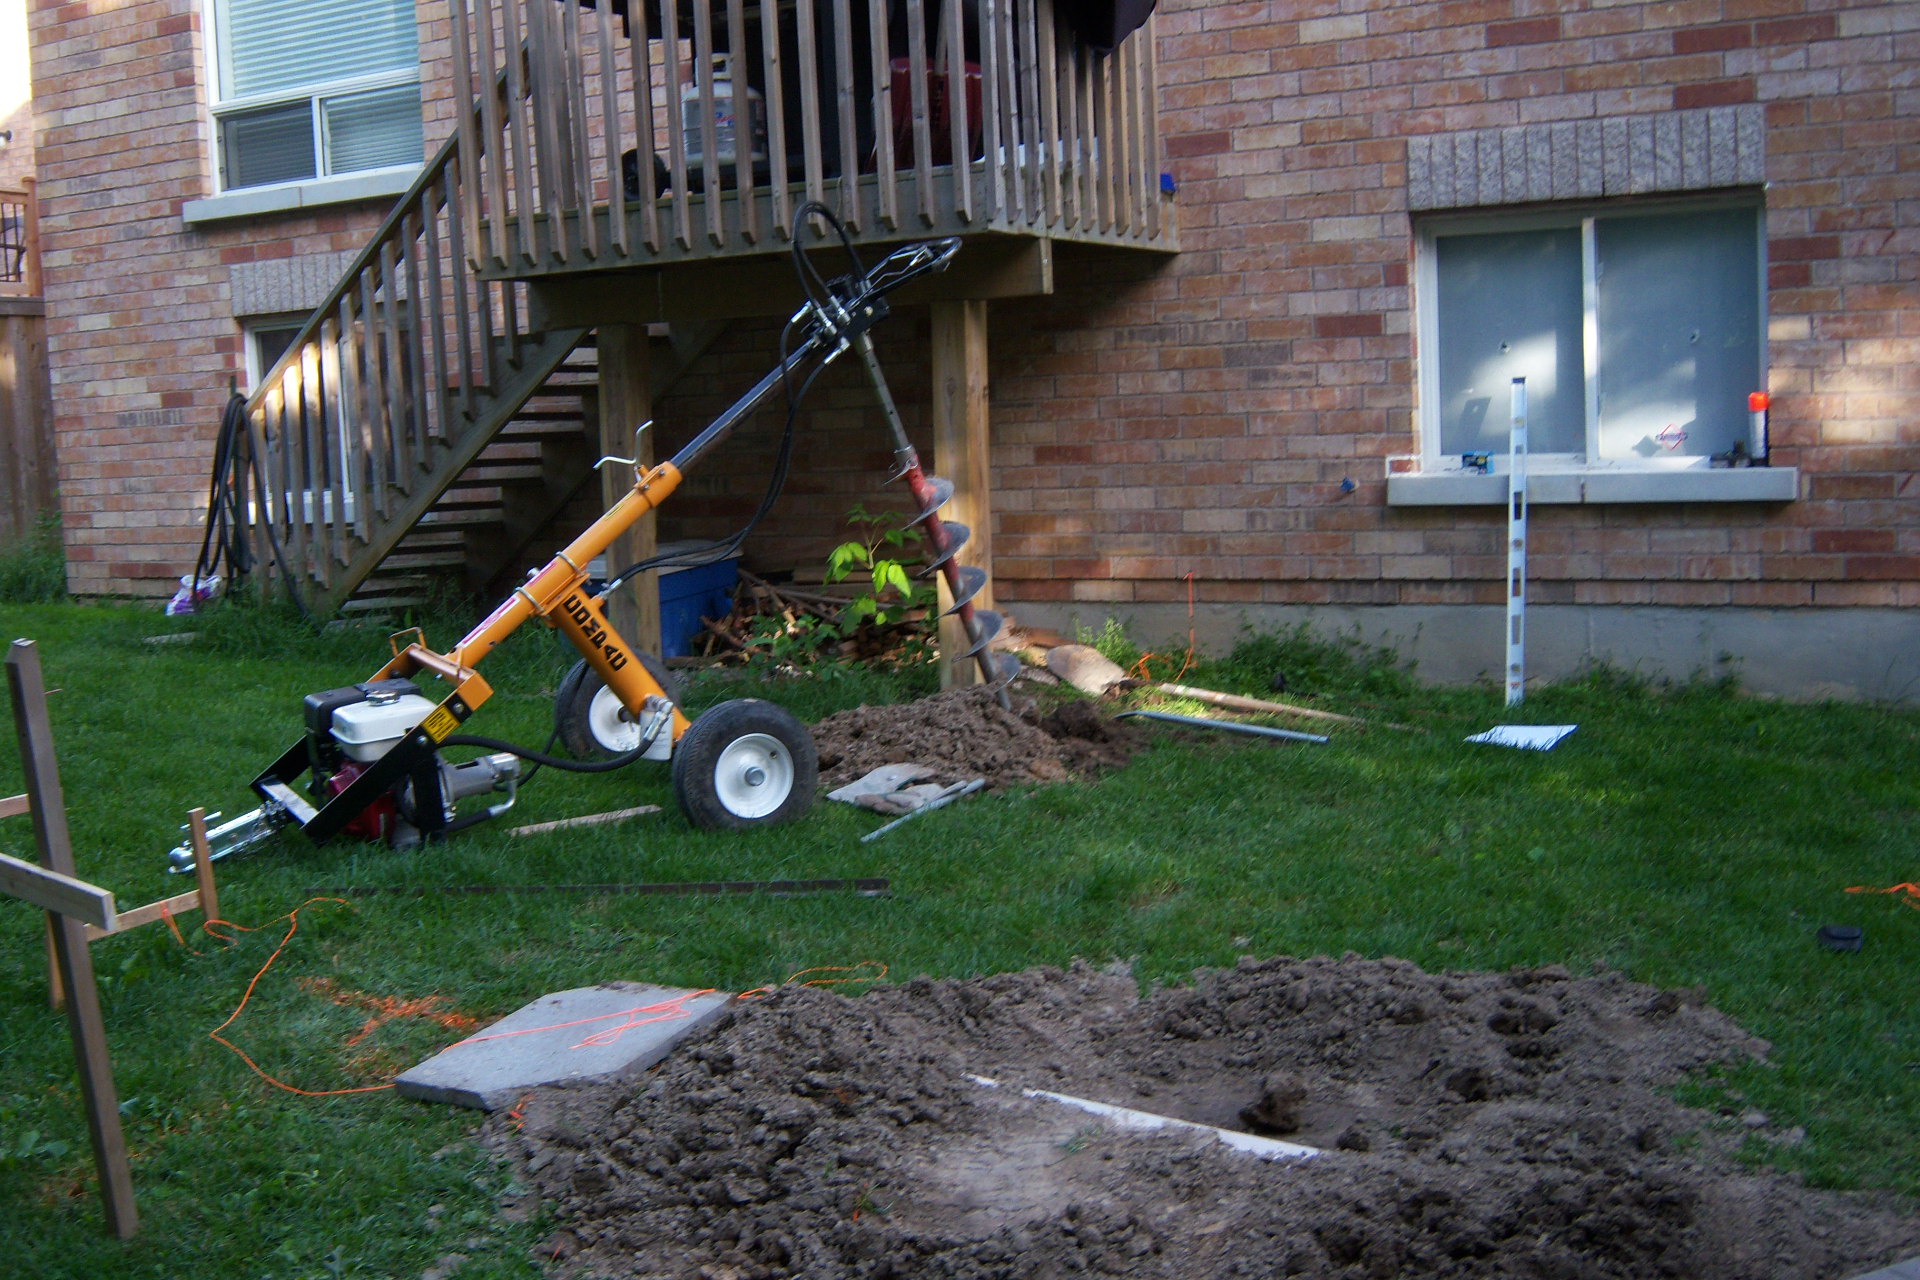
Below is the auger I rented from homdepot - 108 for the day + taxes. 1 person can use it on level ground but to will make it easier. Lifting the dirt out of the holes can be hard if you don't have someone on the other end acting as a counter weight - I had to get my wife to help.
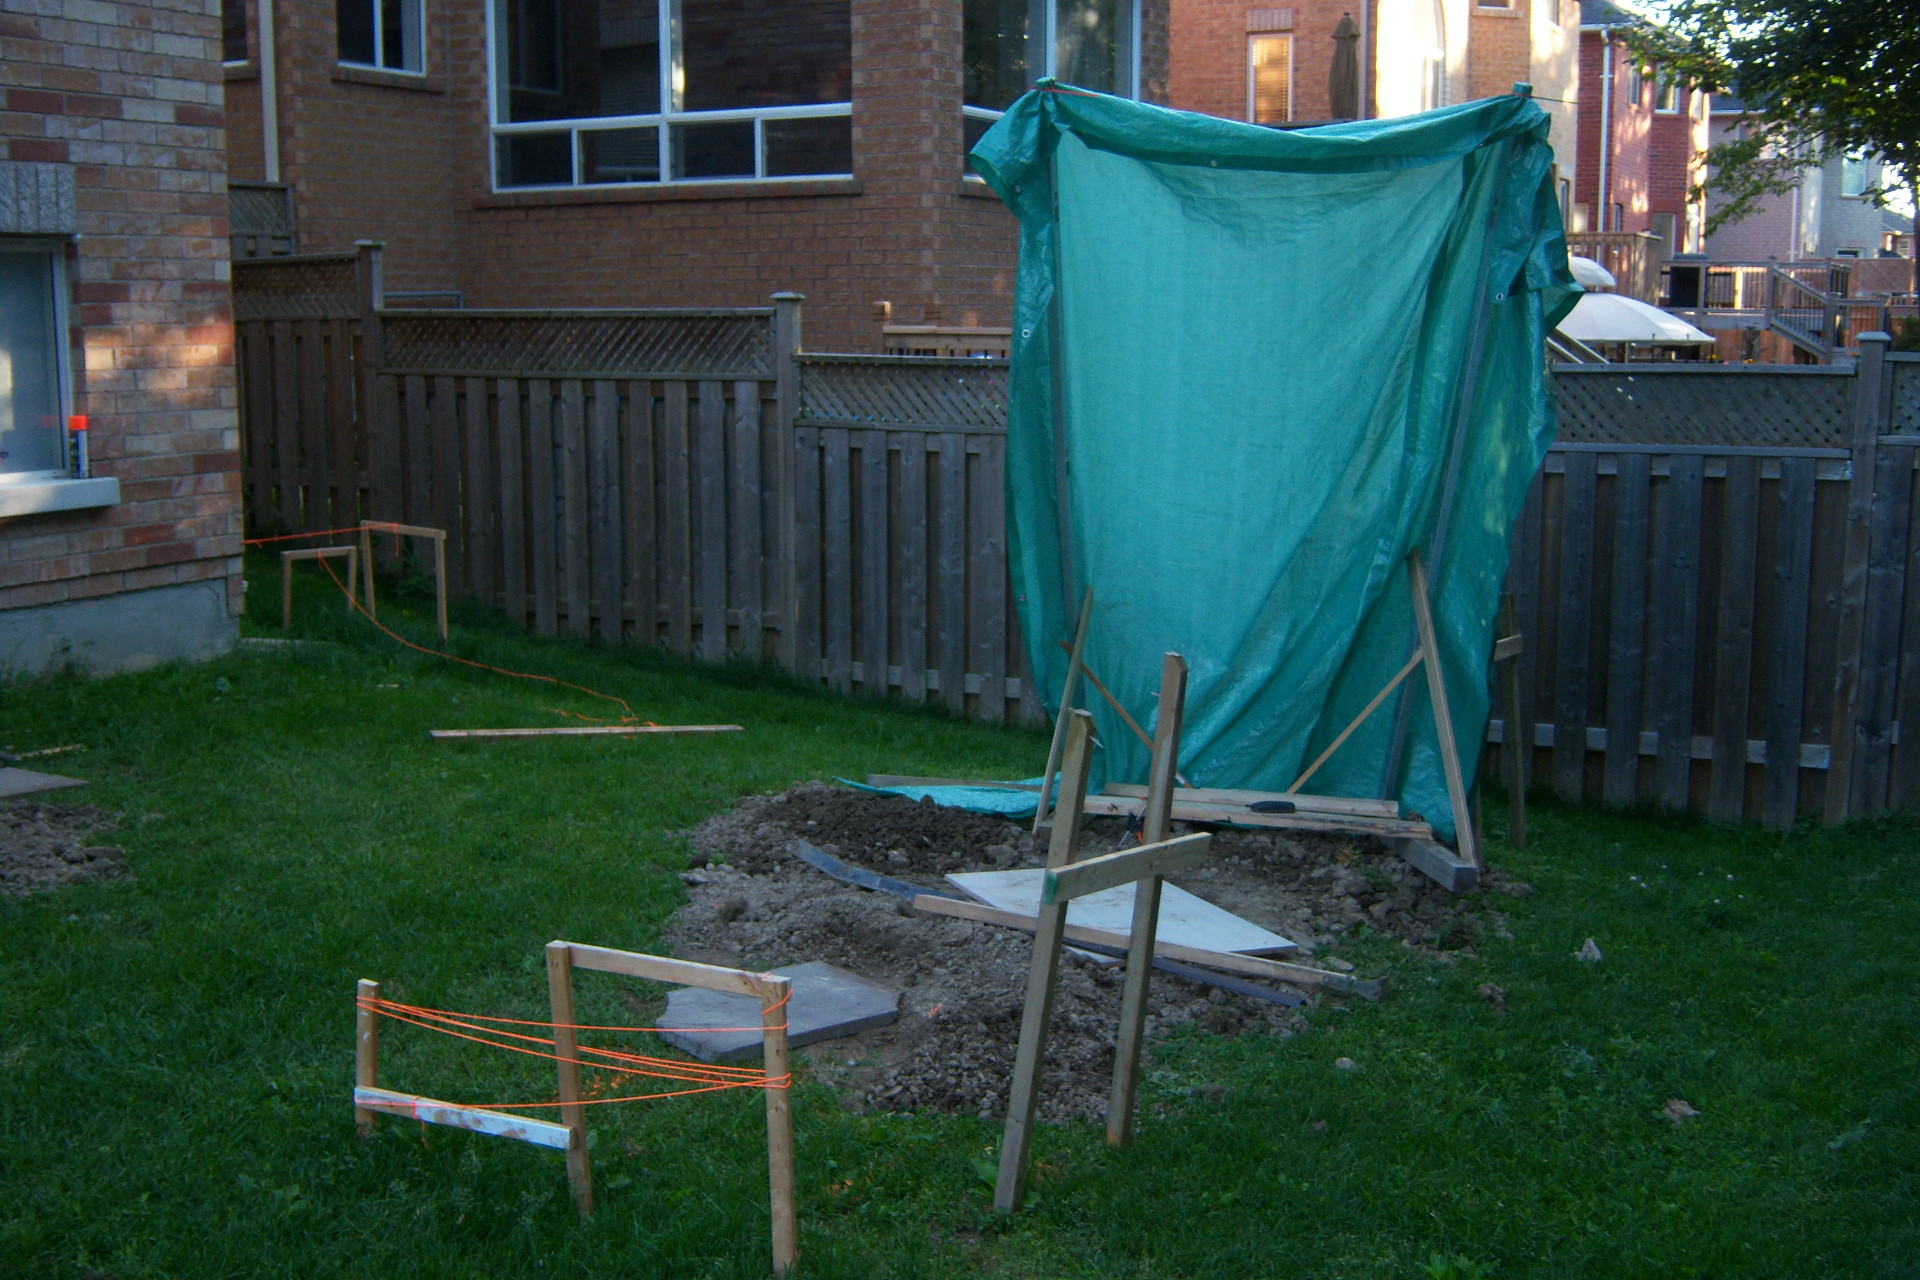
Above is a shade thingy I built for when I was tapering the bottom of the 8 inch wide holes to 13 inches wide as per the city. I they tell you that this has to be done, as if you can make bigger holes and maybe add and extra one. I think it would have been easier to have done that then tapering.
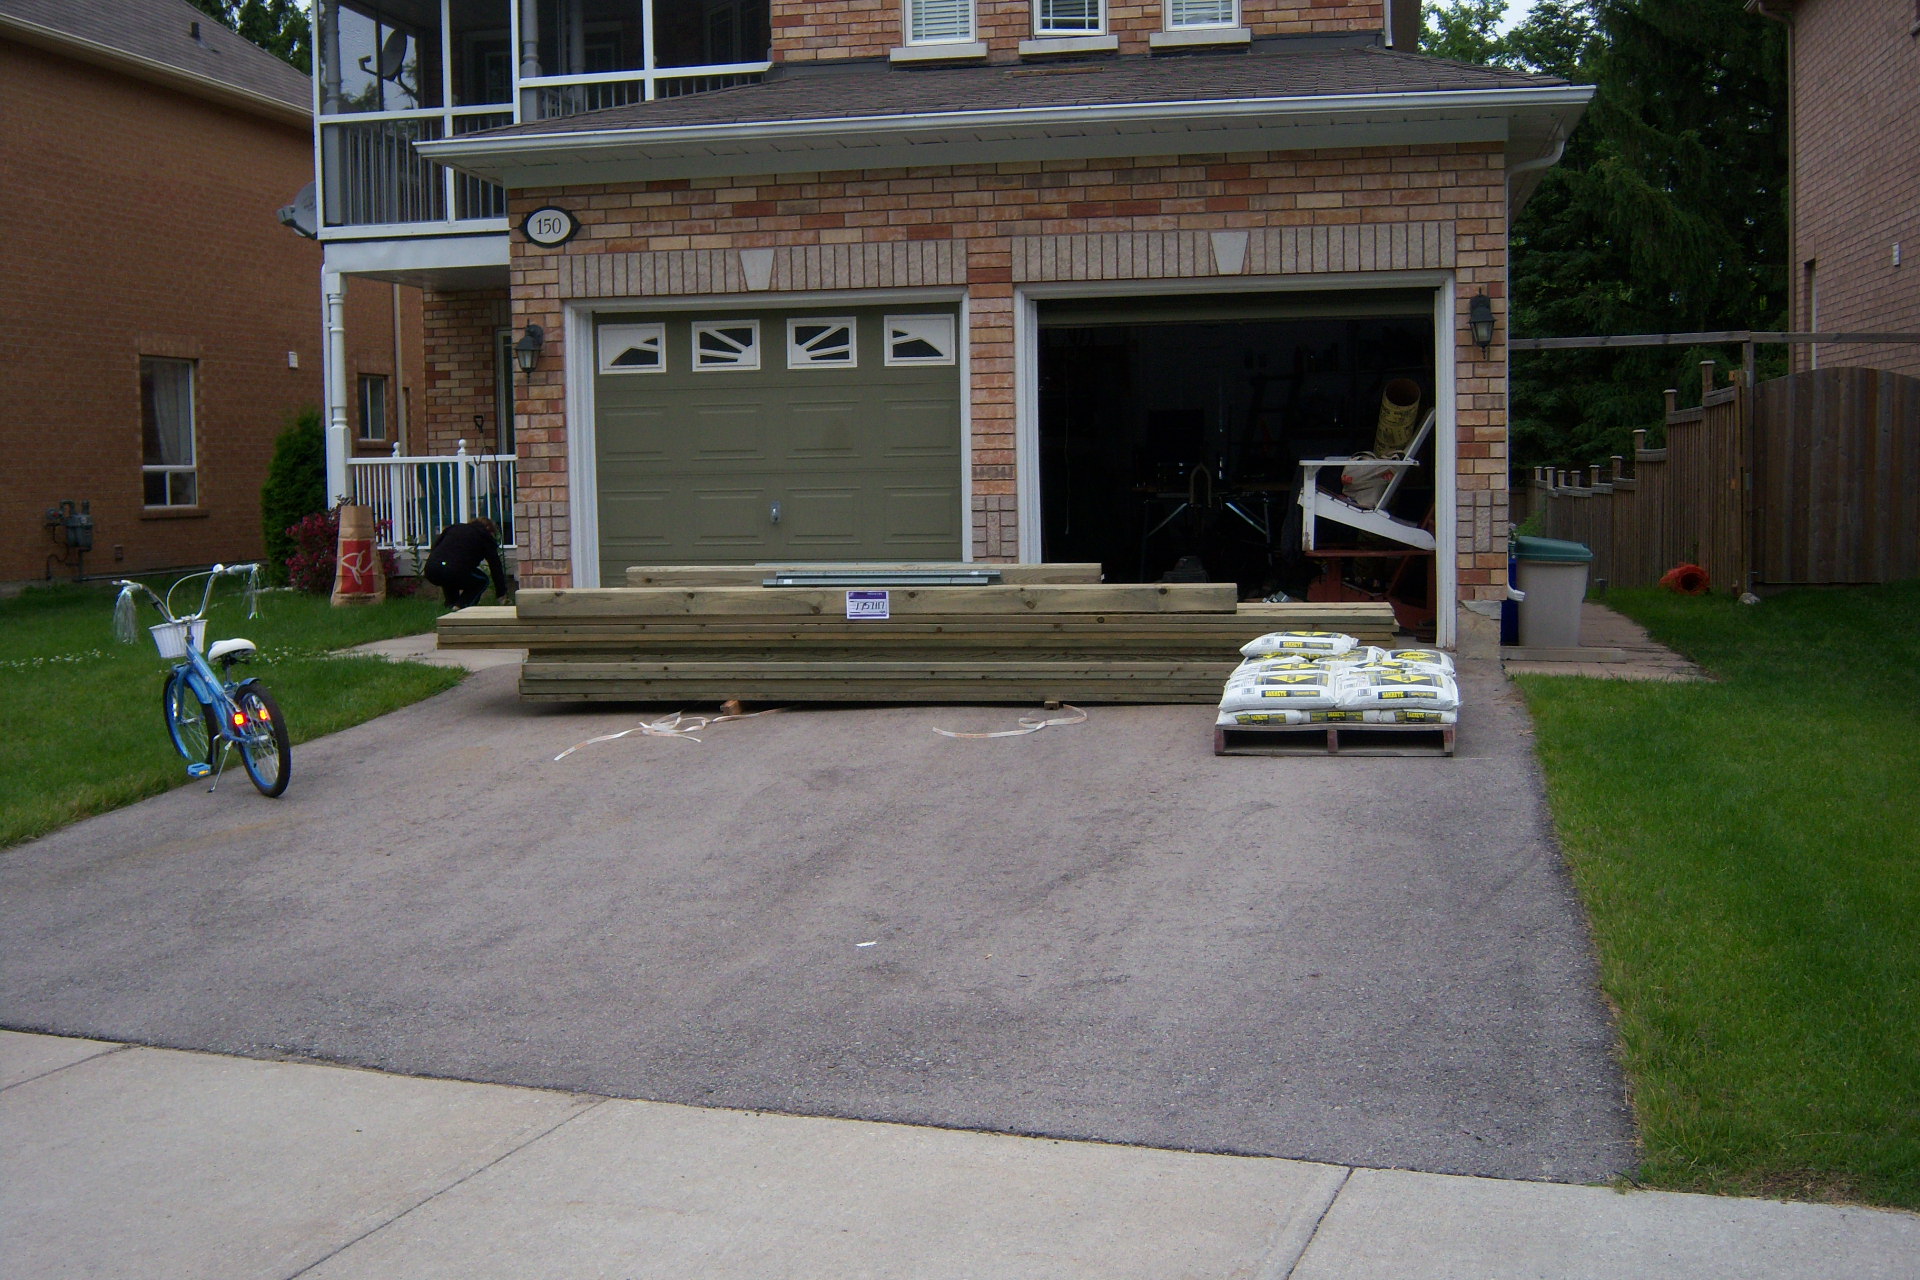
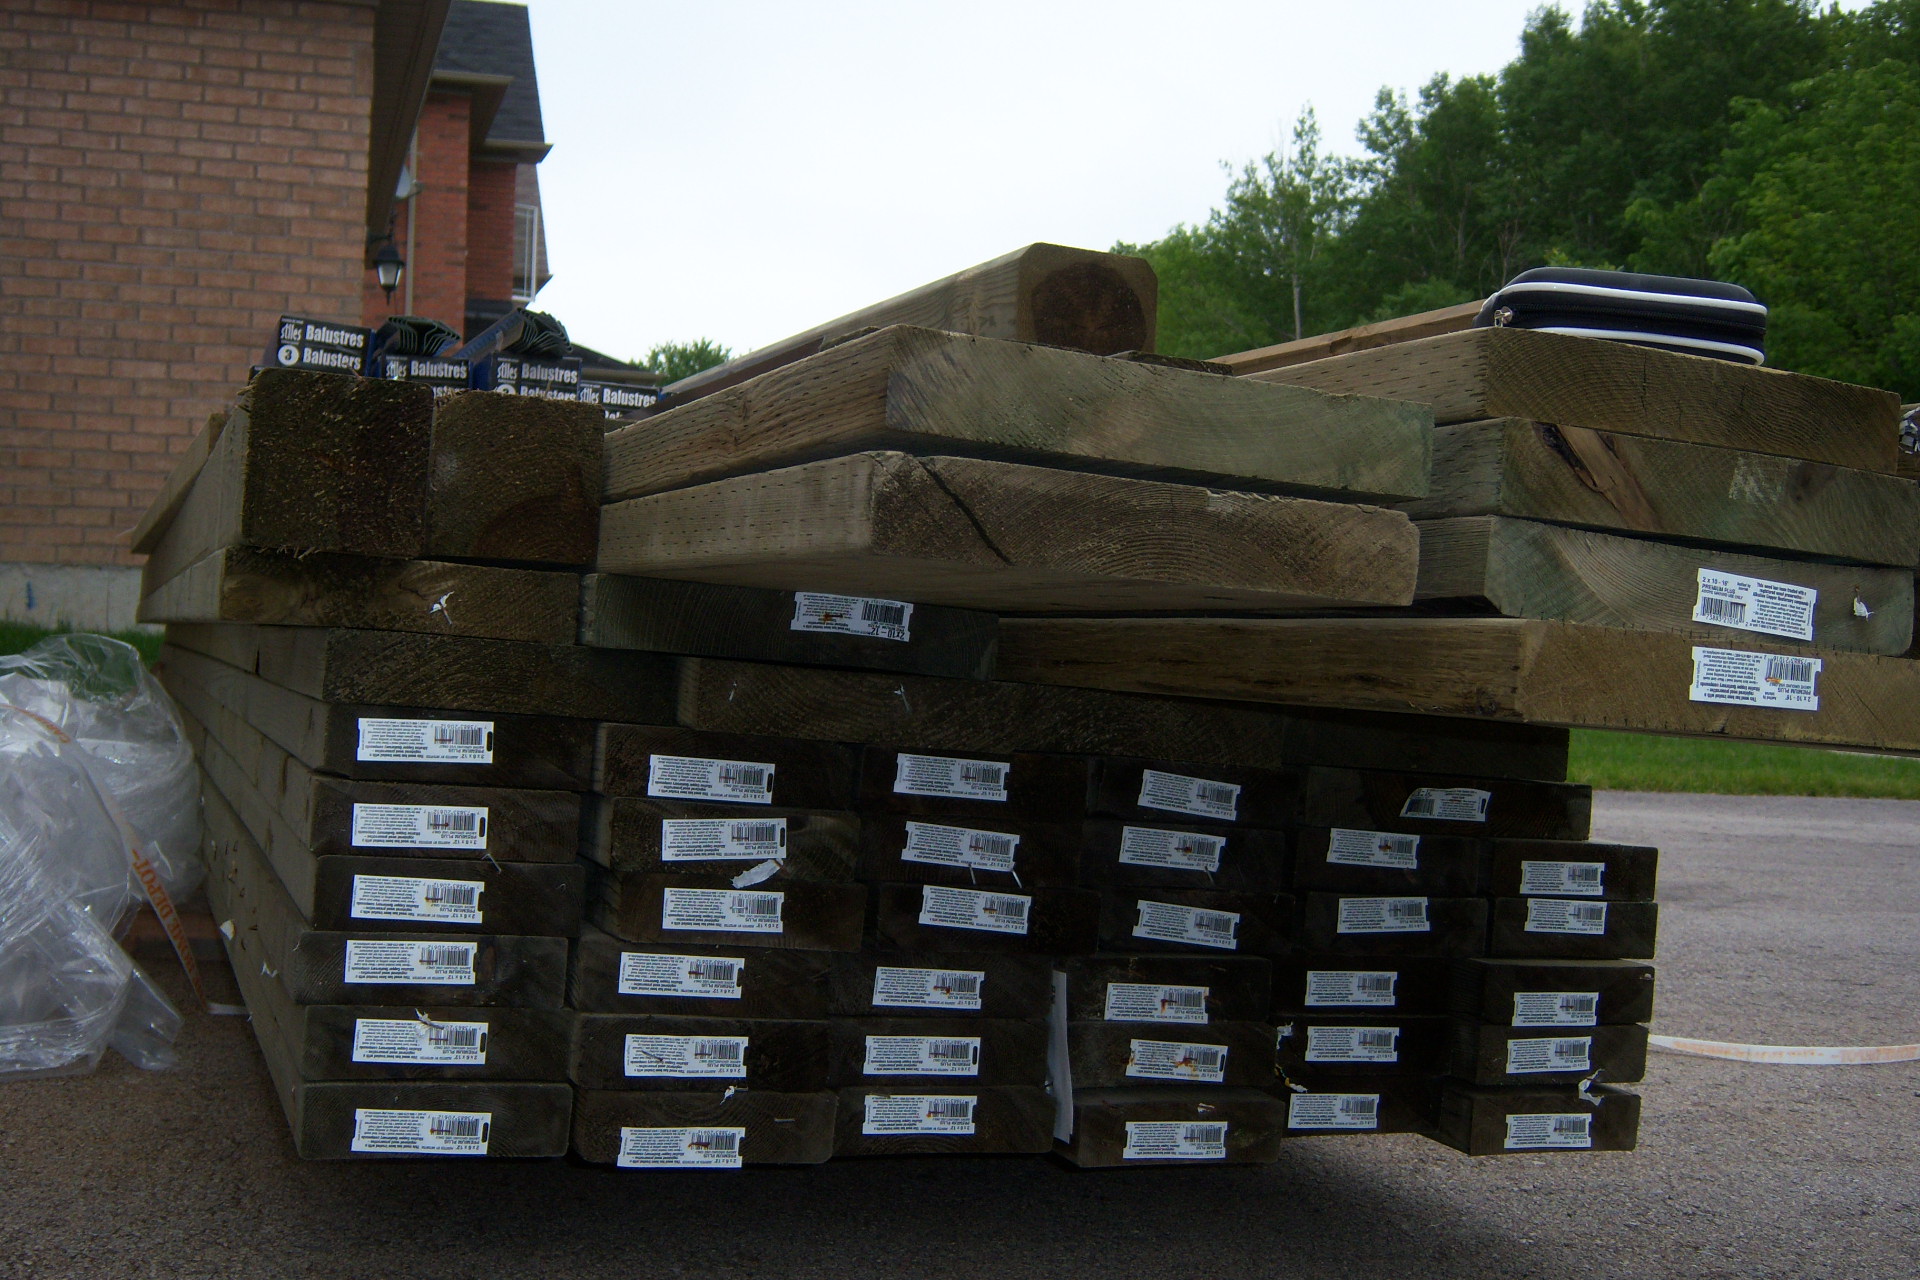
Below 2 piccs are the delivery of the lumber -- don't let homedepot pick it out for you. They will give you all the crapy bent stuff. And don't listen to the driver if he says he can't wait for you to check if everything is there. If he argues with you then write on the paper that driver would not wait for you to verify all was delivered and then sign it.
Don't use thier deck building program - it is not up to Canadian building code standards and you have to change so many things it is not worth it. You can not use thier drawings for submission to the city. I drew mine up in Paint.
The next pic is how much done in the 1st week. June 22/09 - Monday, got permit and drilled holes in ground. Tuesday, Tapered holes - hard work. Wednesday started framing on house. Thursday, rain day. Friday, more framing on house and post. Saturday cut top of posts. Things go slow when working by yourself. Funny how you have no friends or family to help when you have work to do but they always call you when they have something.
String levels - if you never used one before, be cautious, they are not accurate - use a water level or rent a spinning laser to mark your post tops for cutting.

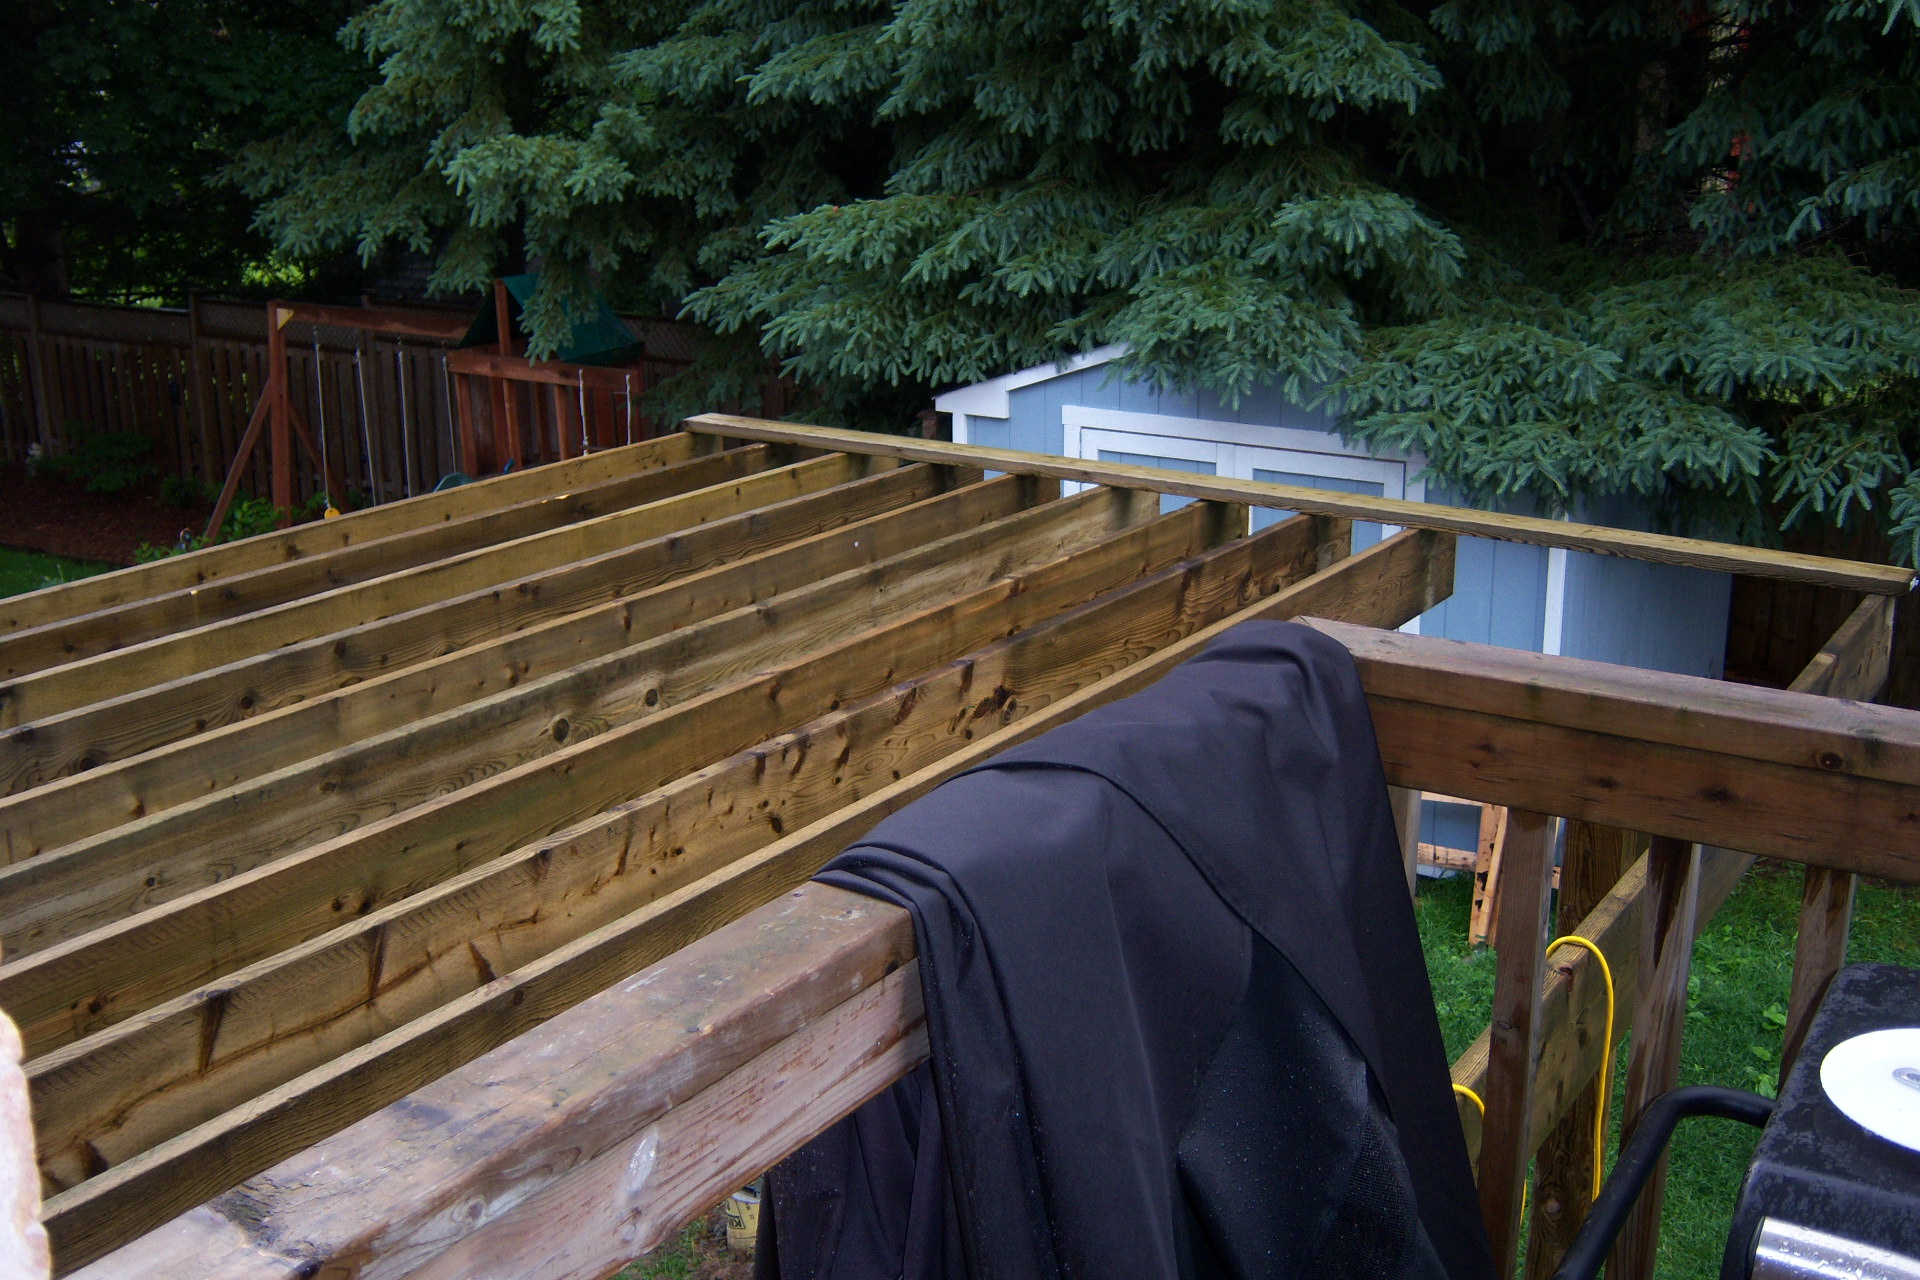
Canada Day - July 1 2009. Above - got some reasonable work done today. Ran out of joist as the homedepot was change by the city from 16" O.C to 12" O.C. I need to get 4 more joist now and some more 3" screws.
Below - seeing as I ran out of joist I put some bracing in for side loading. Over all, not a bad day considering it looked like it was going rain about 4 times -- I got that bracing on, cleaned up a little, put tools away, started the BBq and got the burgers cooked just befored it started to piss down.
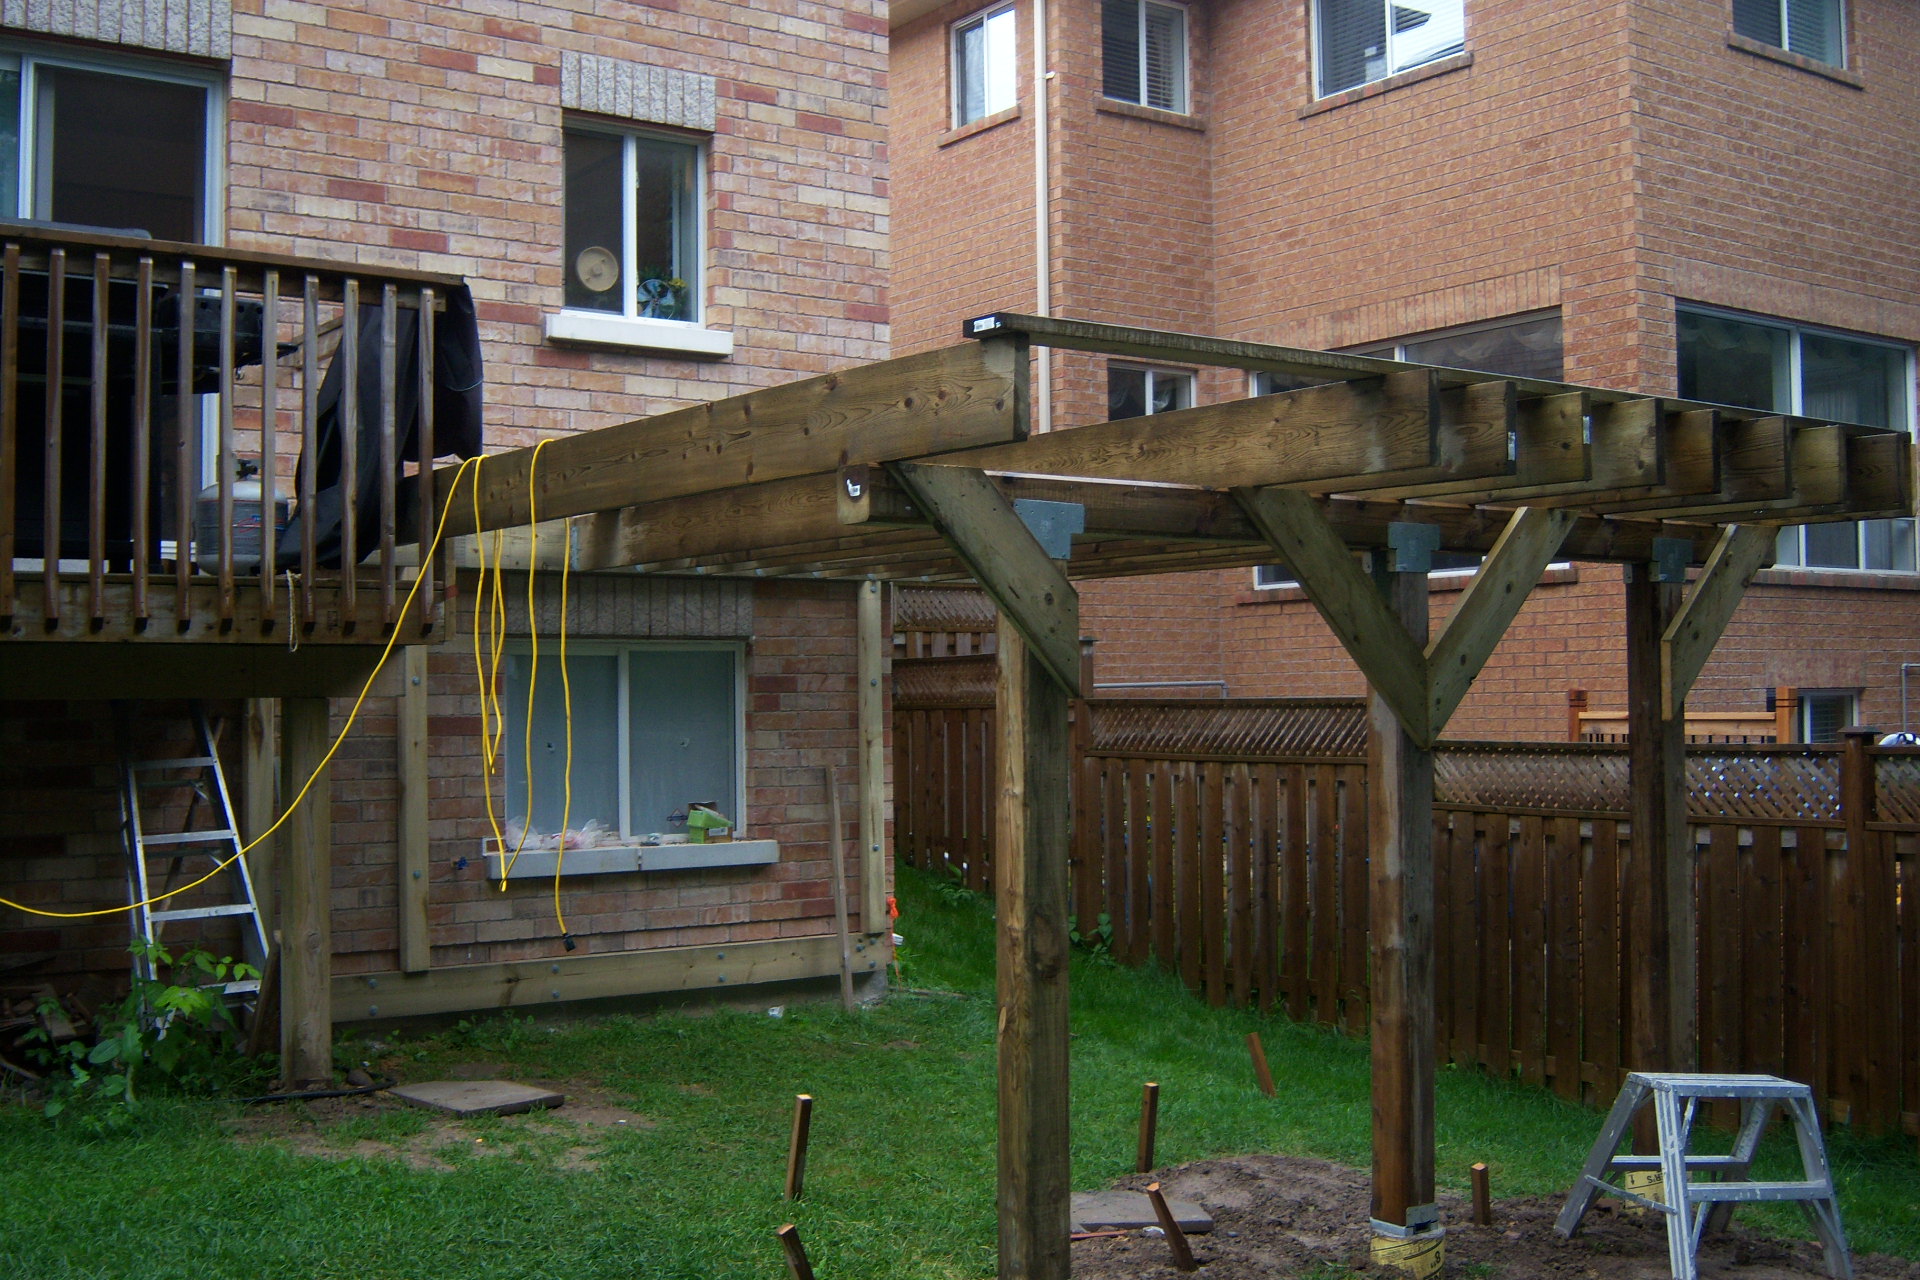
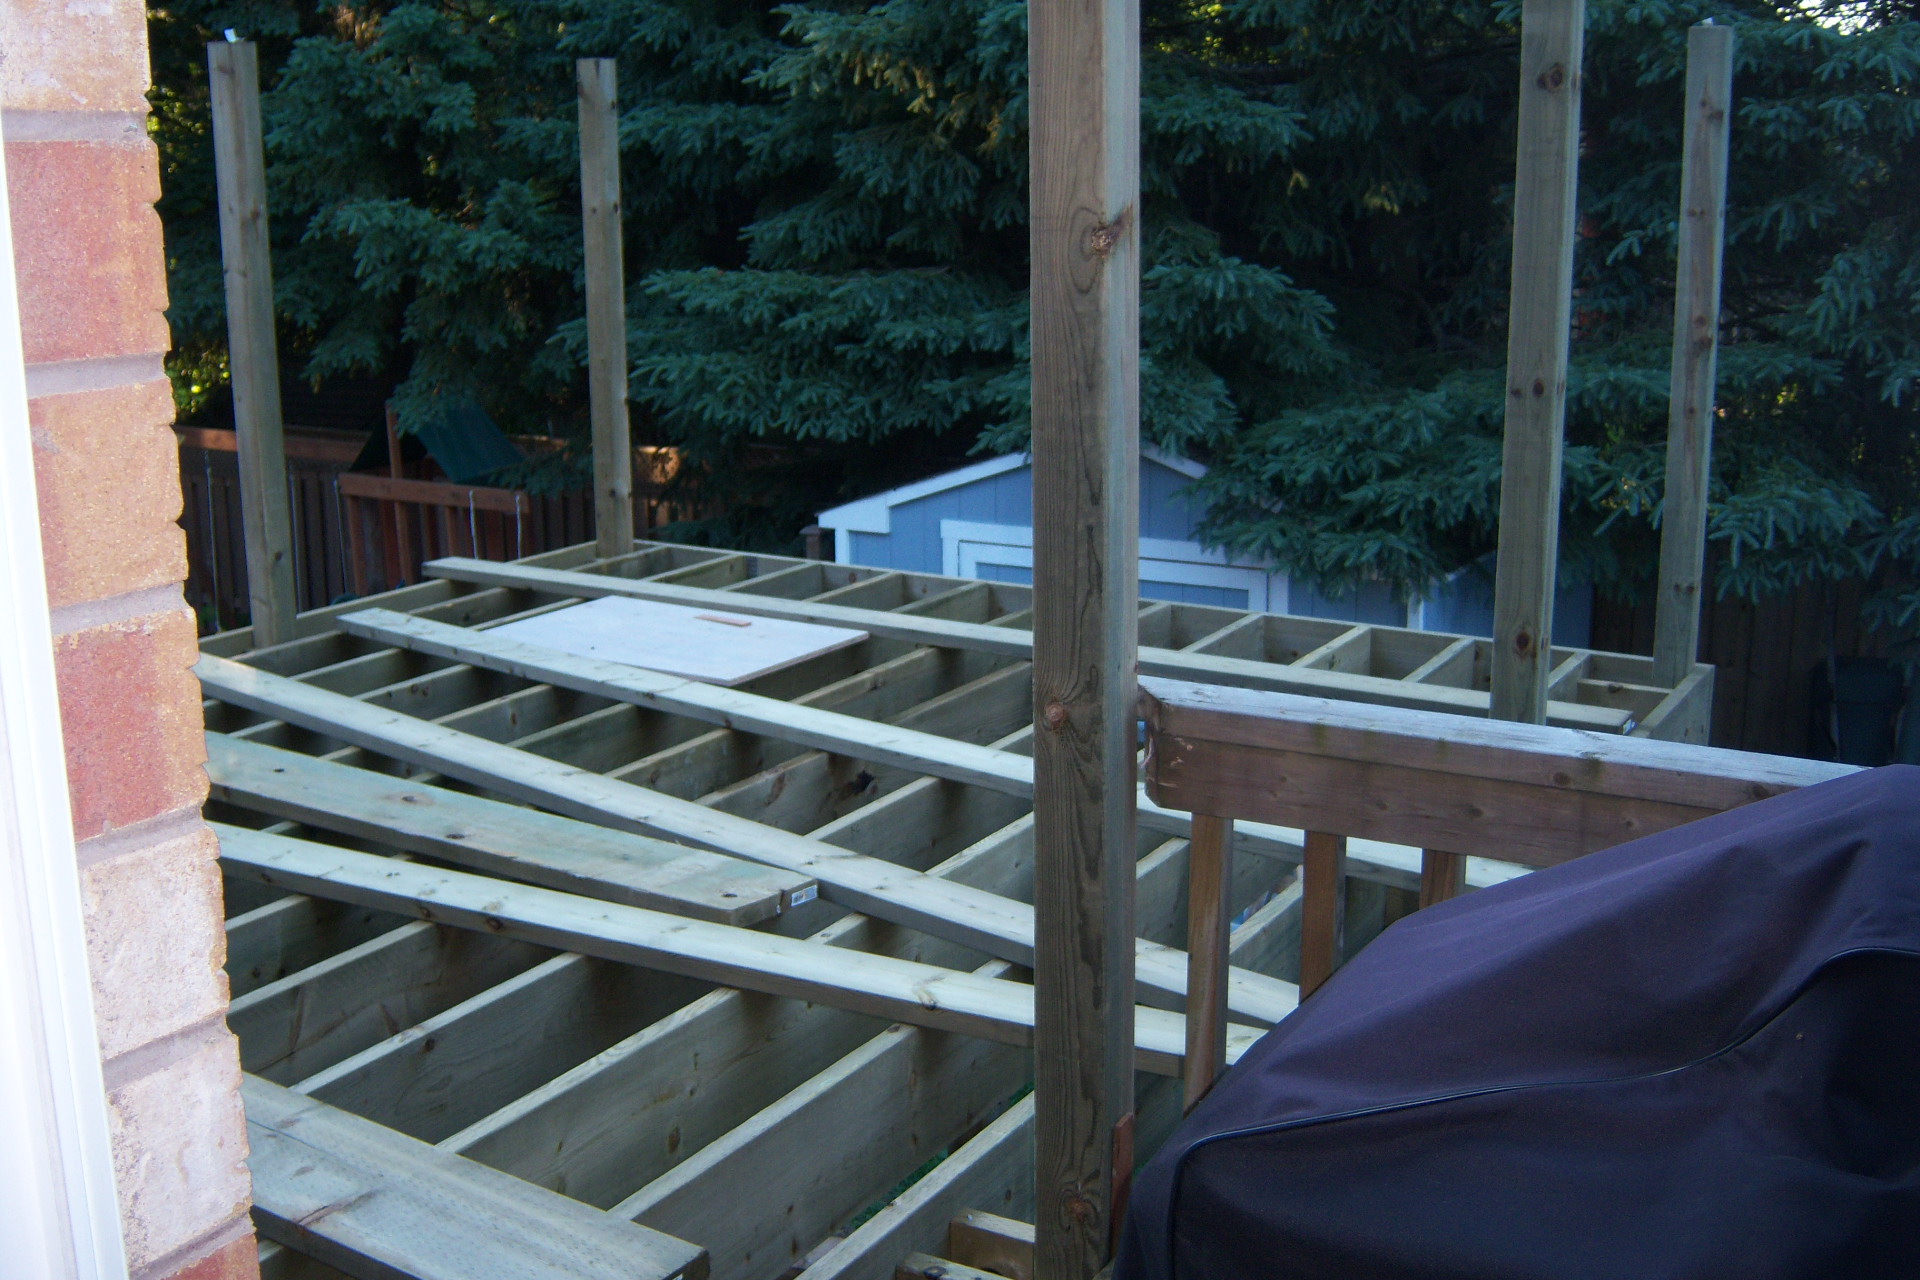
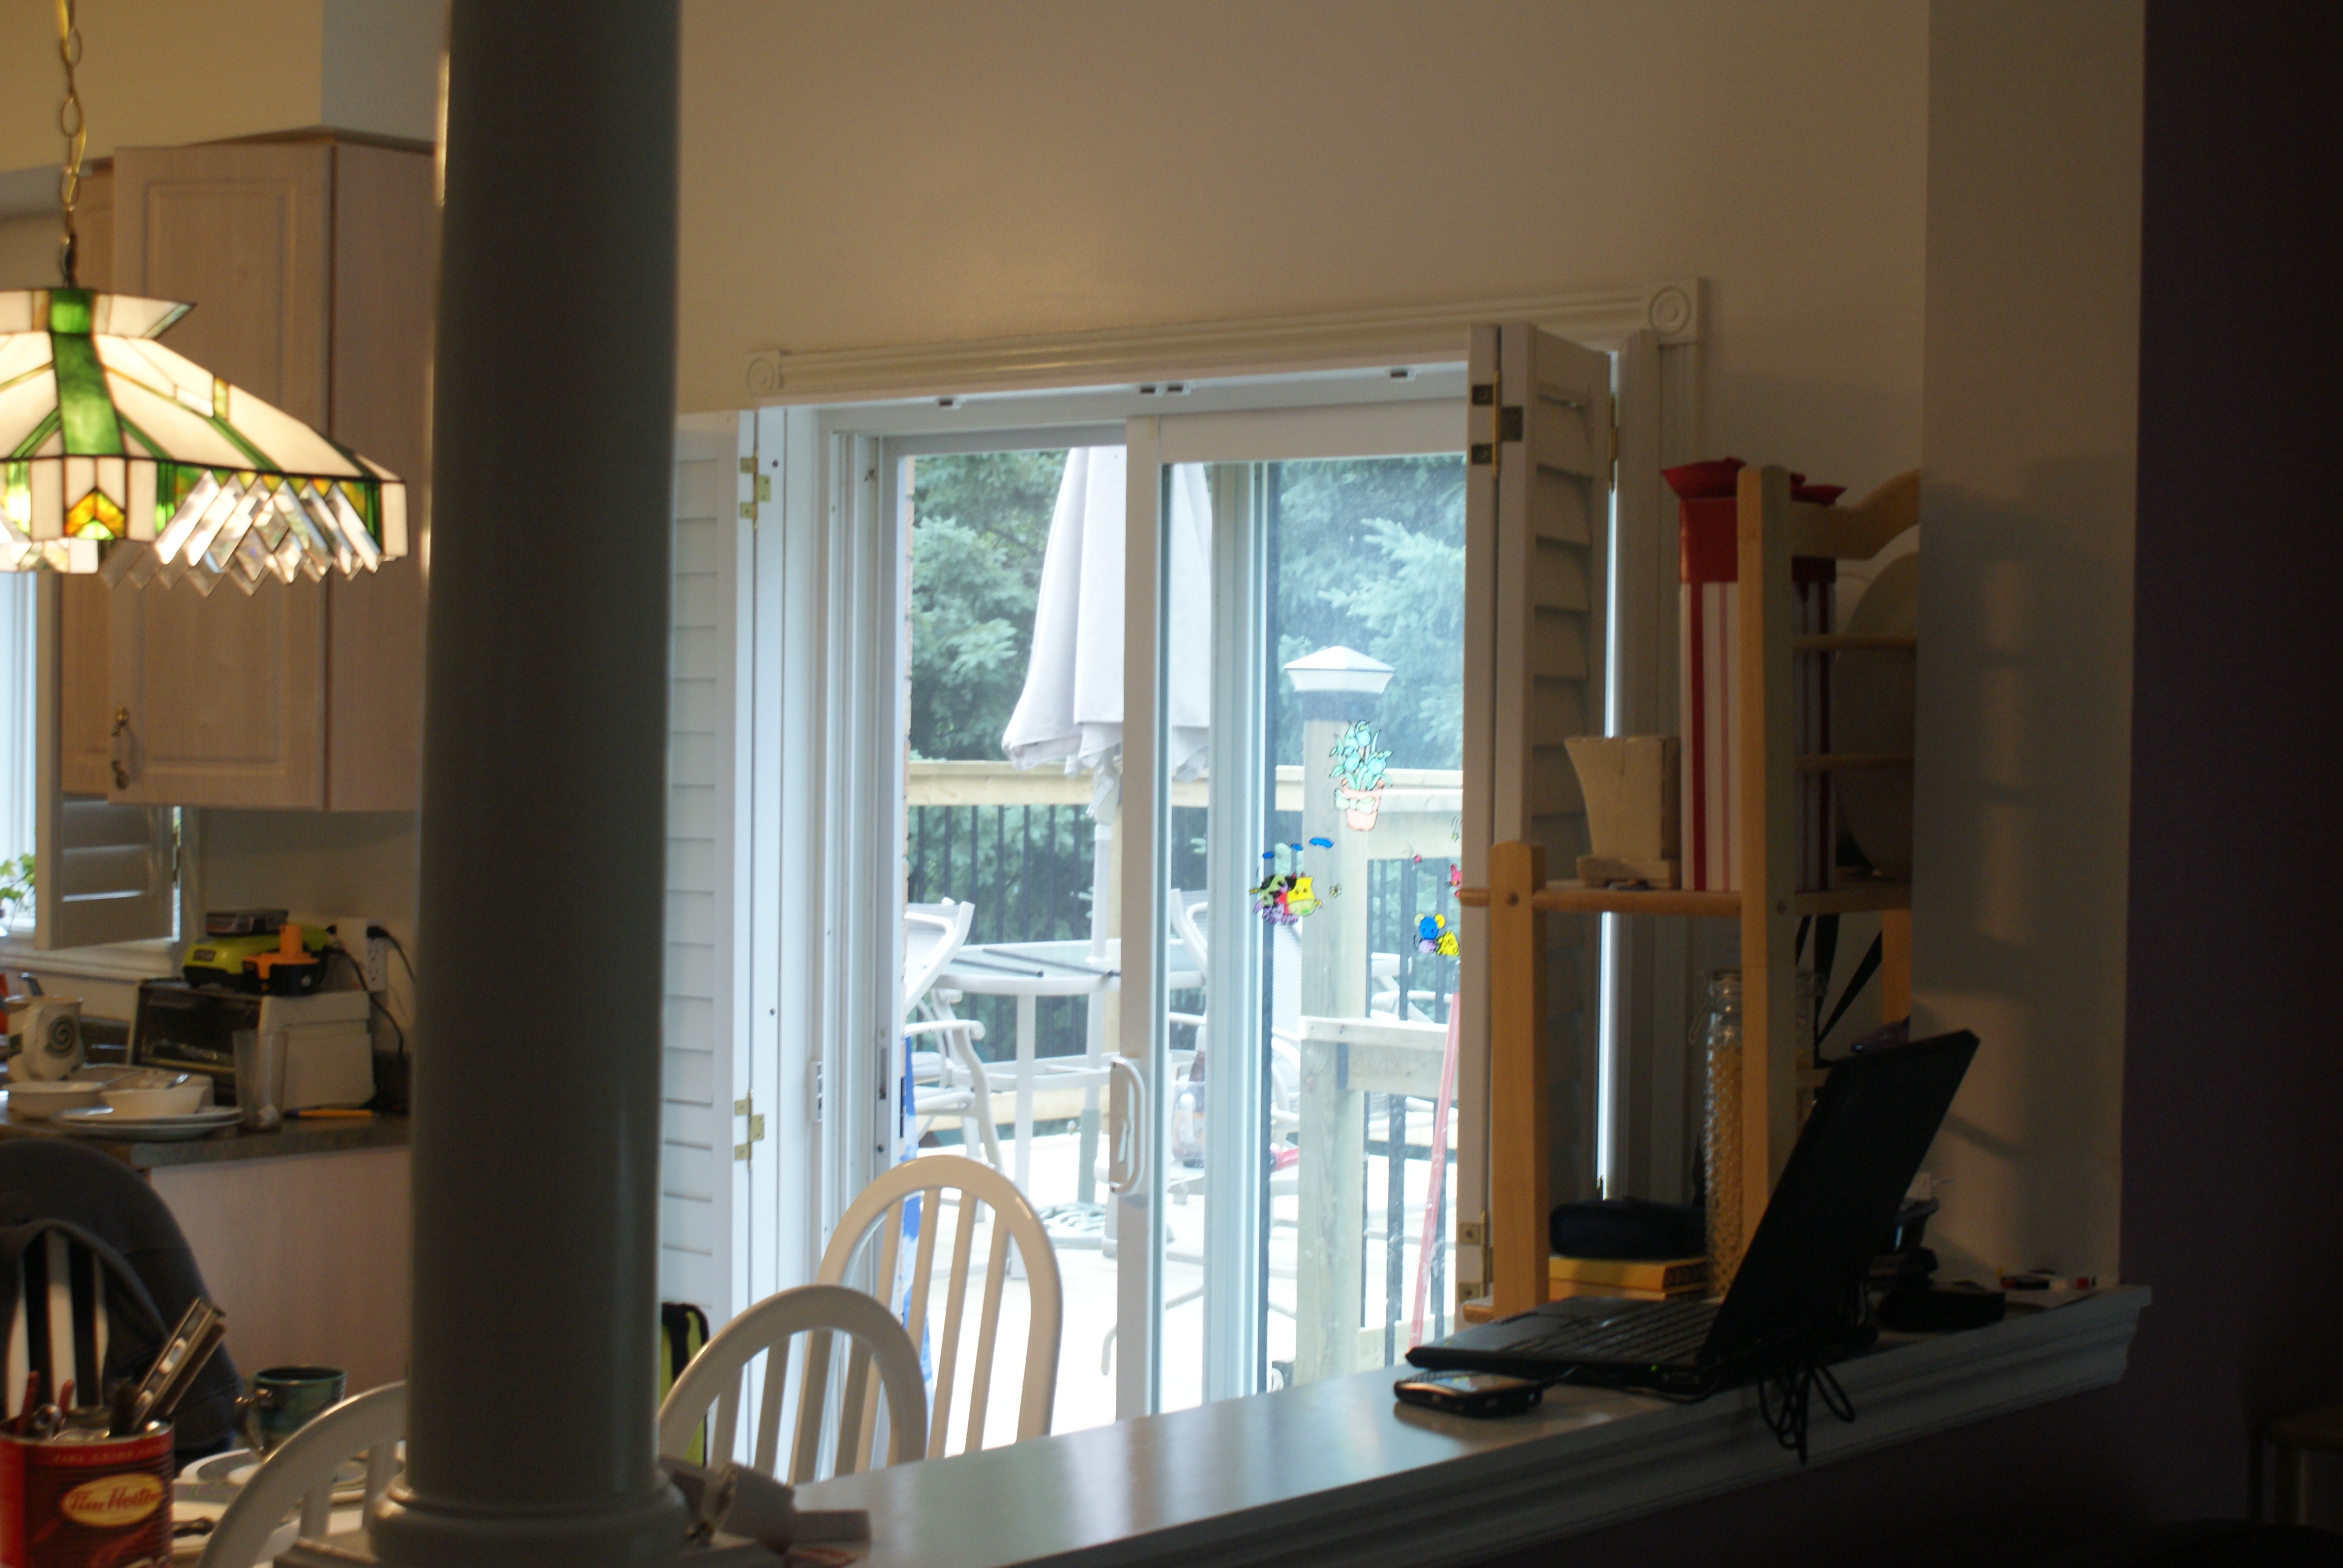
Above: pic from kitchen sliding doors.
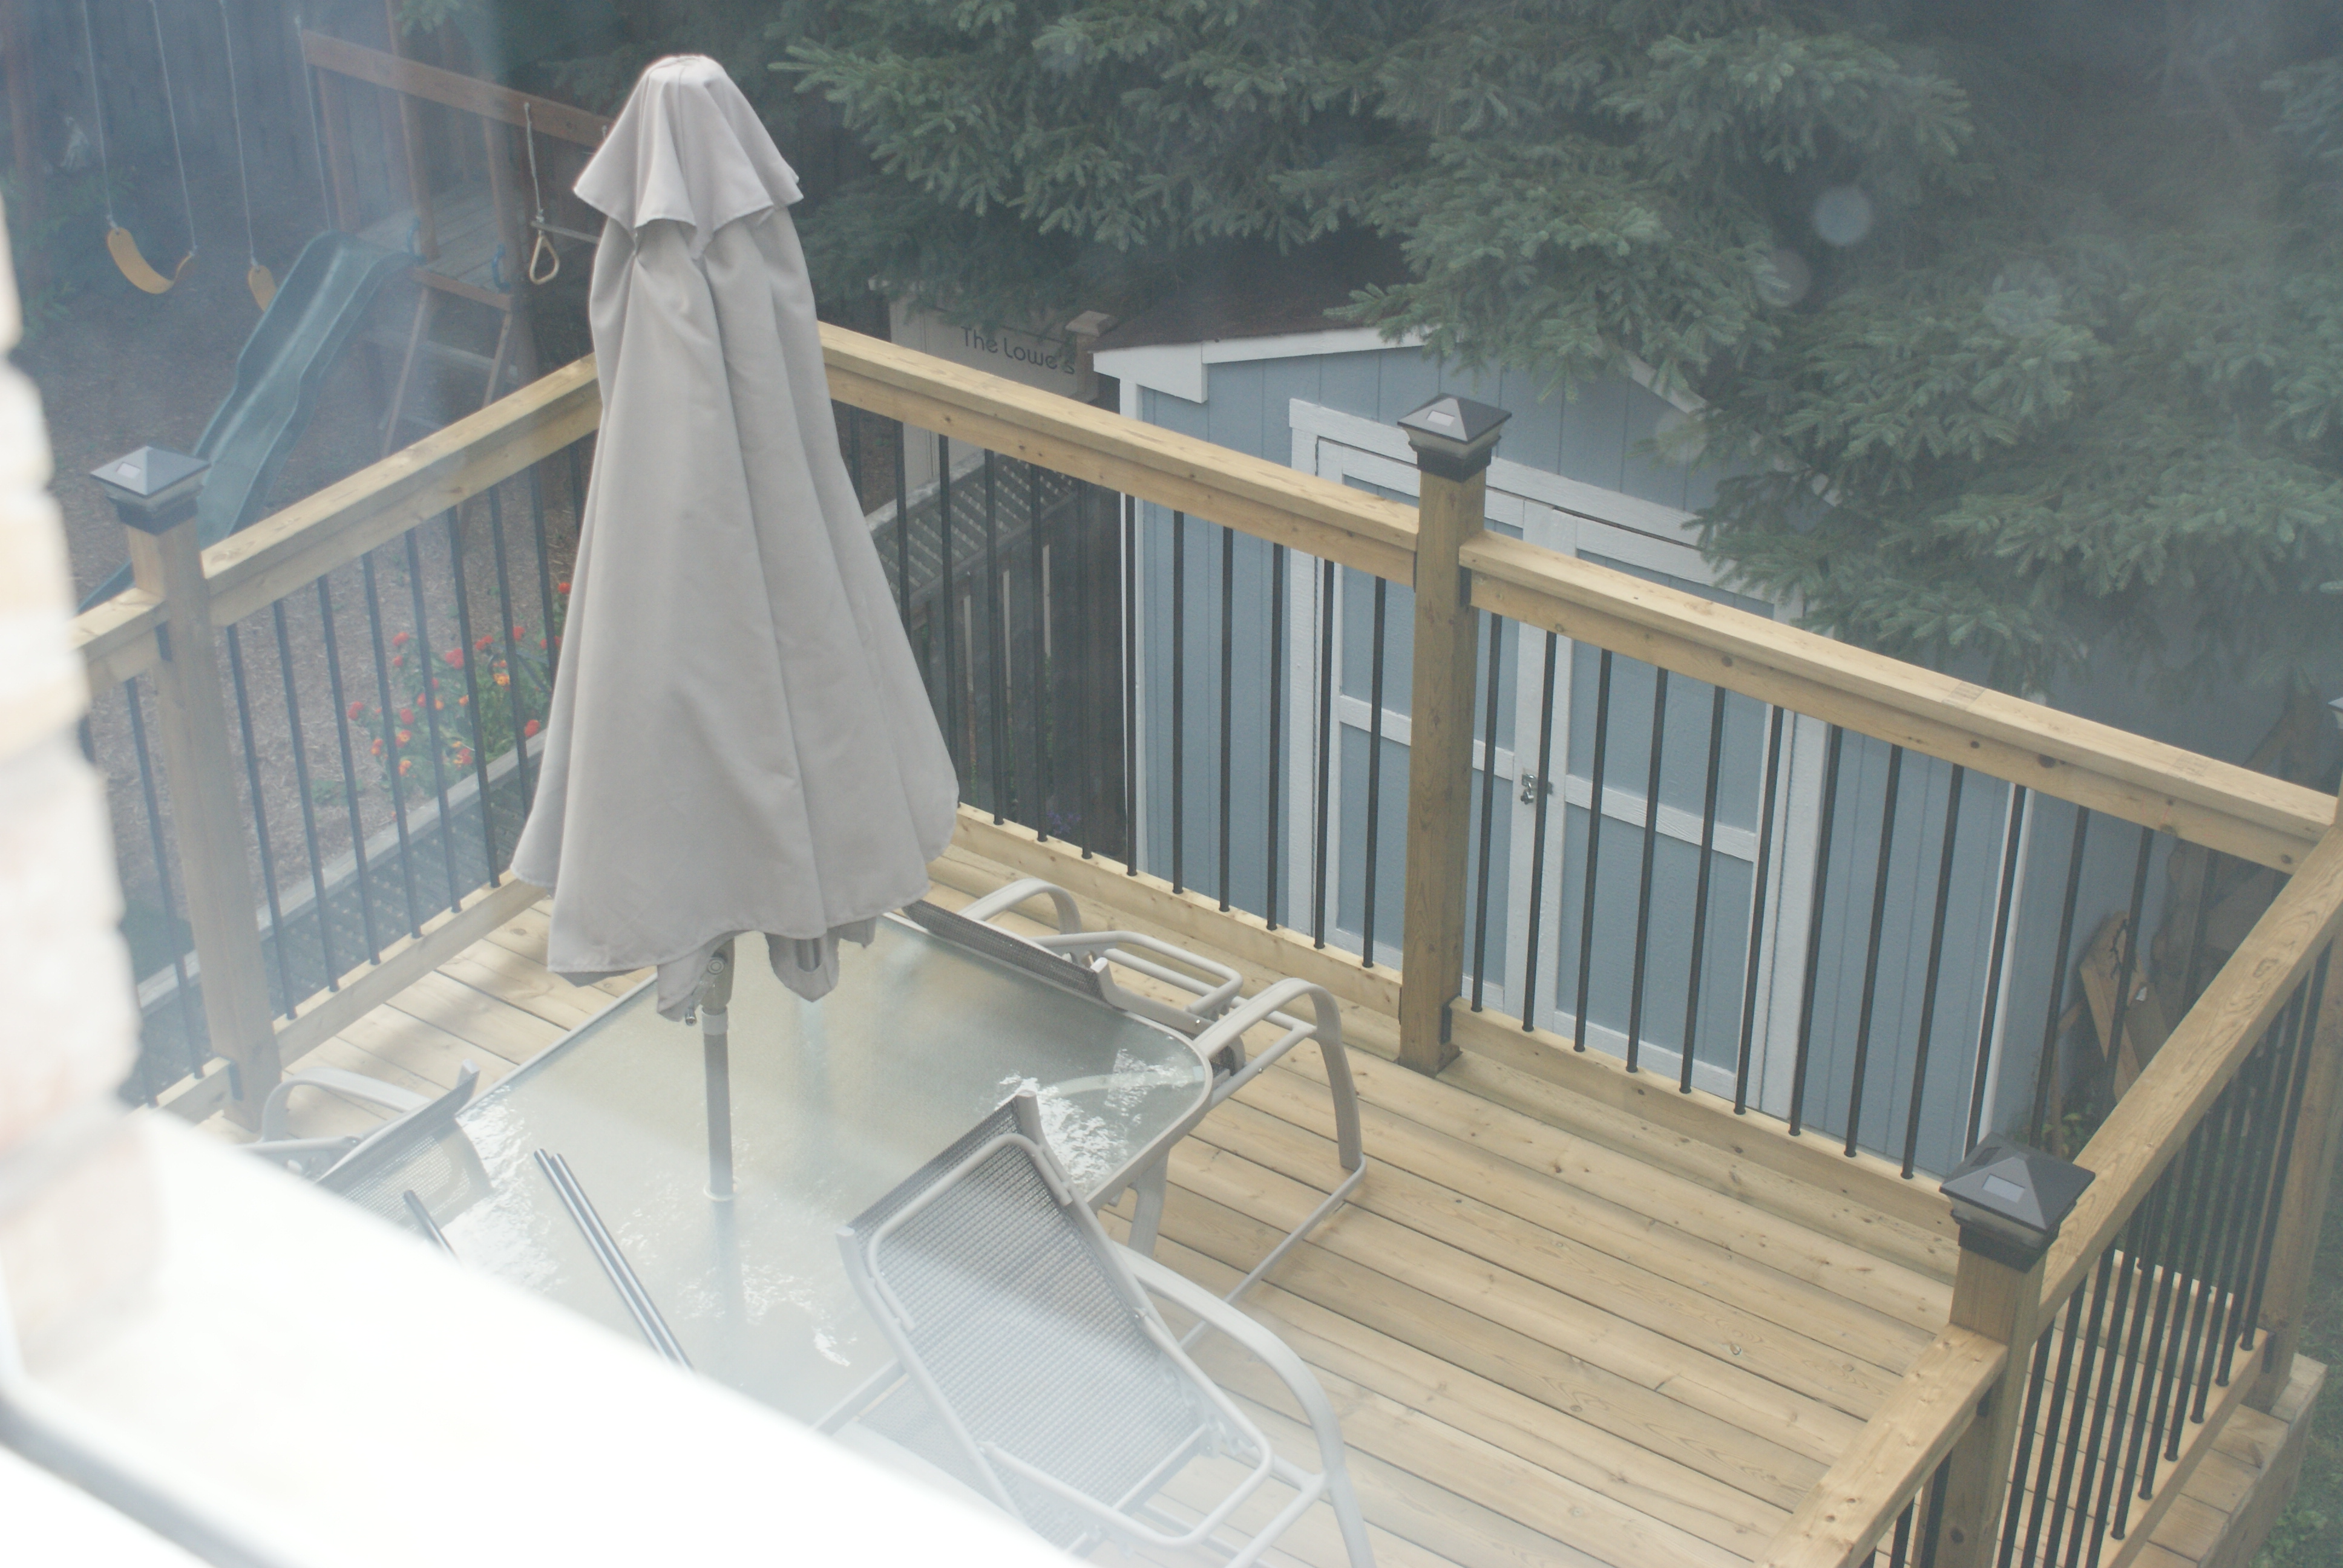
Below: pic from far opposite corner of deck from kitchen door.
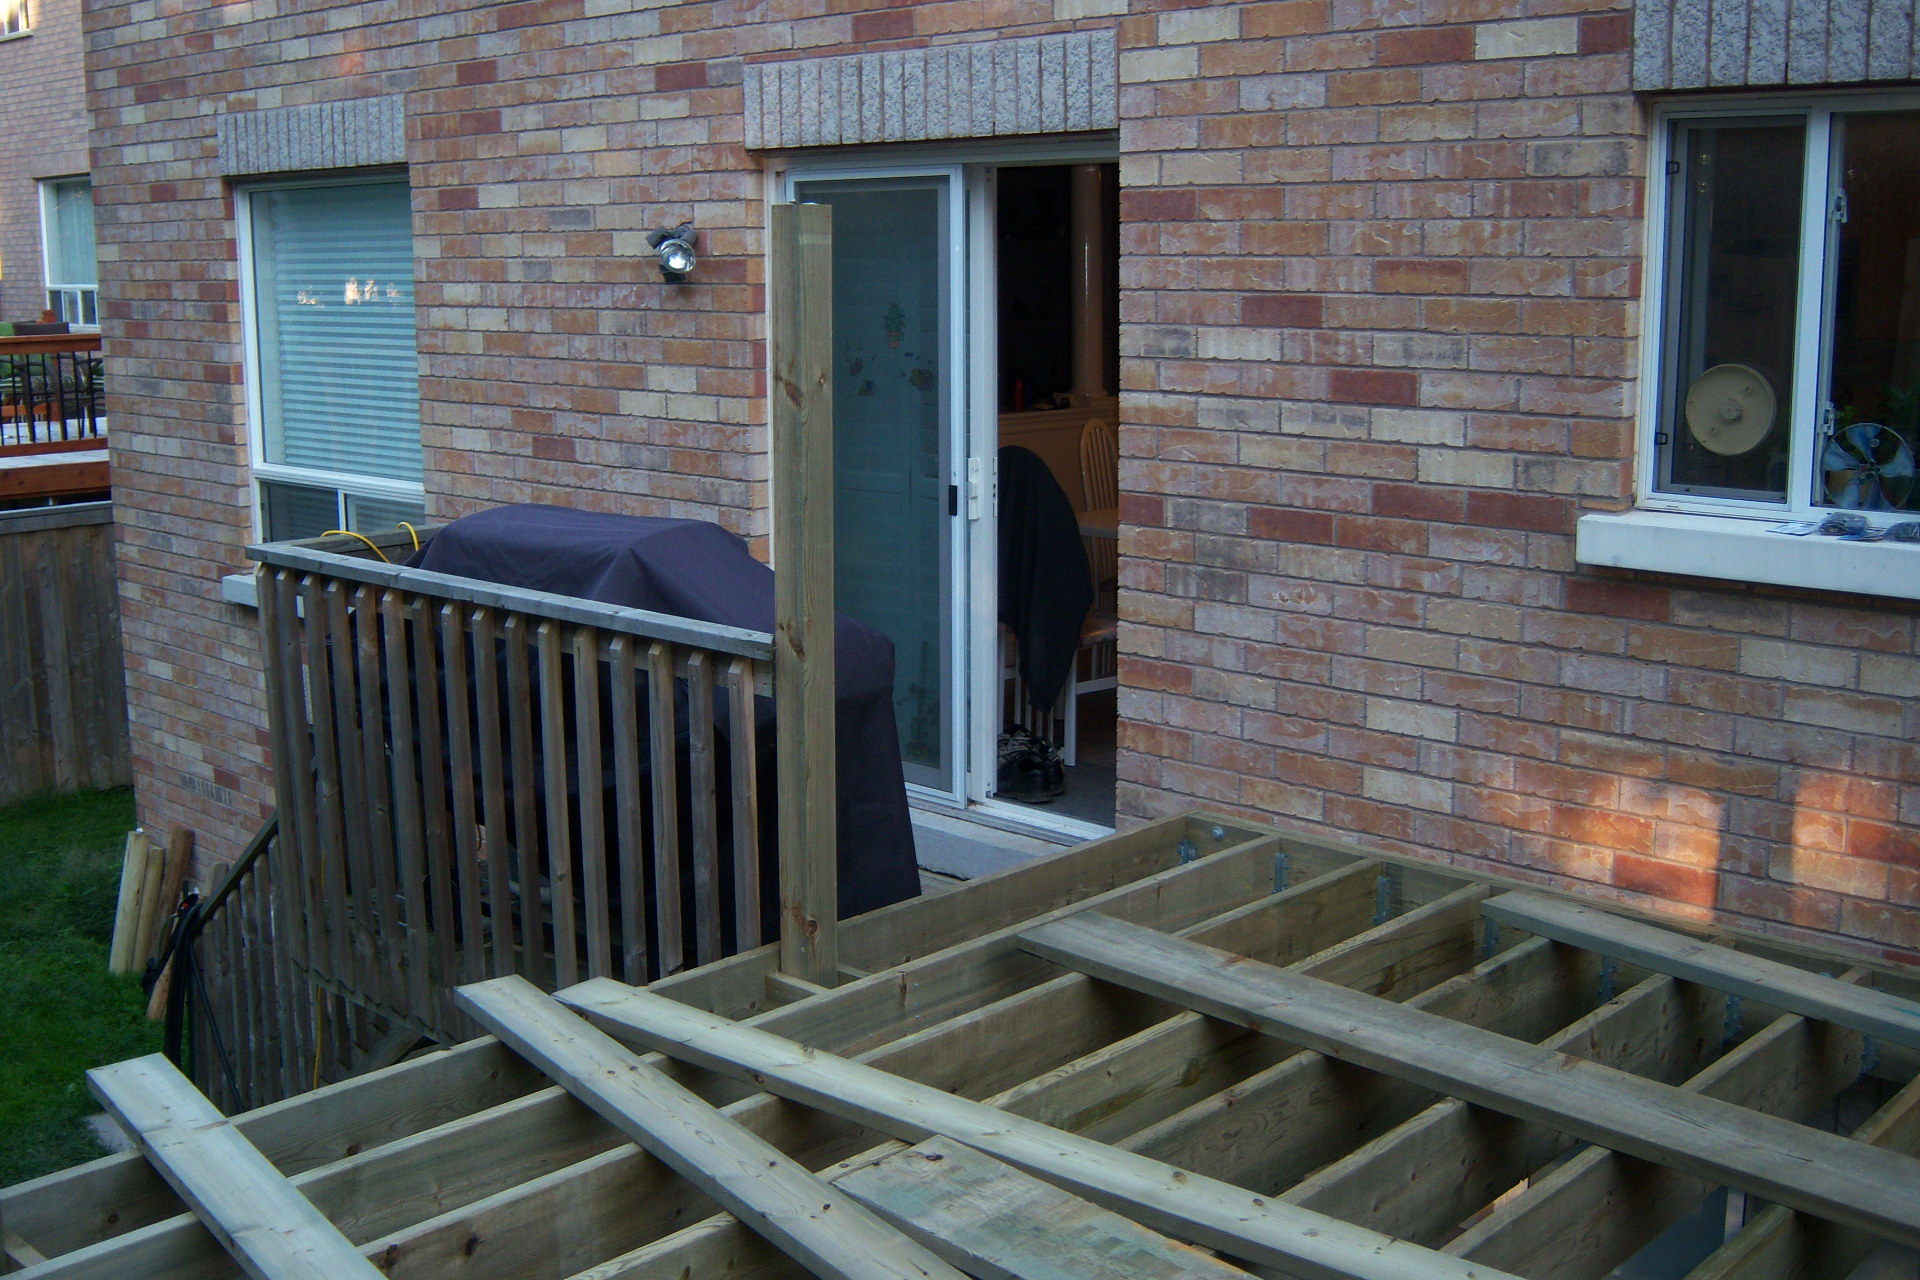
July 4/09
Below - a pic from standing center of deck up against house. Does not really give a feel for the size of the deck.
Spent the day putting on the front rim ledger and posts. Post take a long time when your working by yourself. The days of nothcing out post to fit/edge up to the outside of the rim joist are done. You can see the you also have to put extra blocking for support also as per code now.
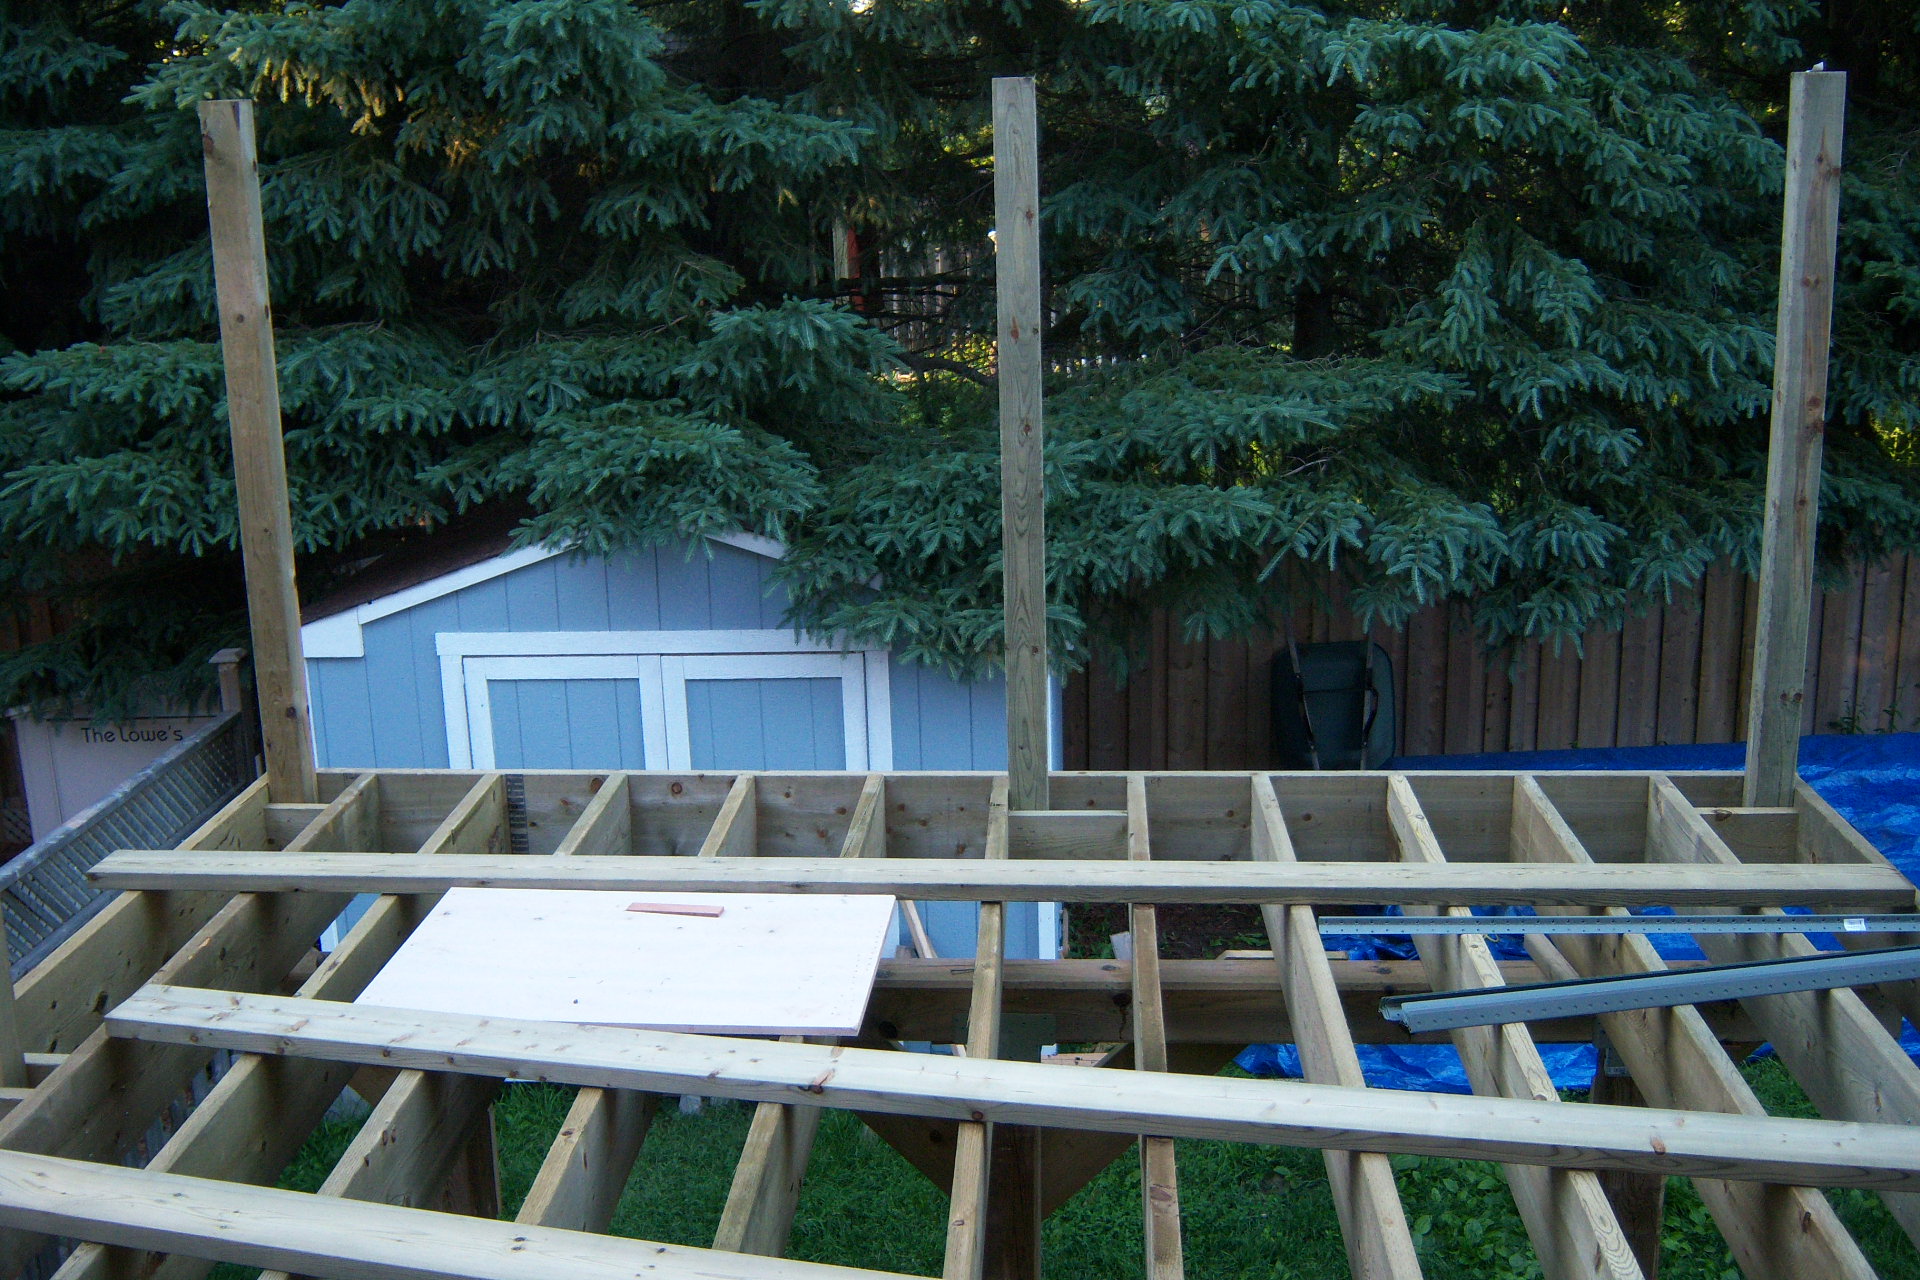
July 5/09
Below pic: Sunday I spent putting up the upper portion of the railings. This was to help prevent twisting of the railing posts as they dry out while I am doing other things on the deck - this also took all day working by myself. I started late, 10am and finished early, 4pm. I did this as so not to disturb my neighbors too much on a Sunday.
Forgot to take pic - coming soon.
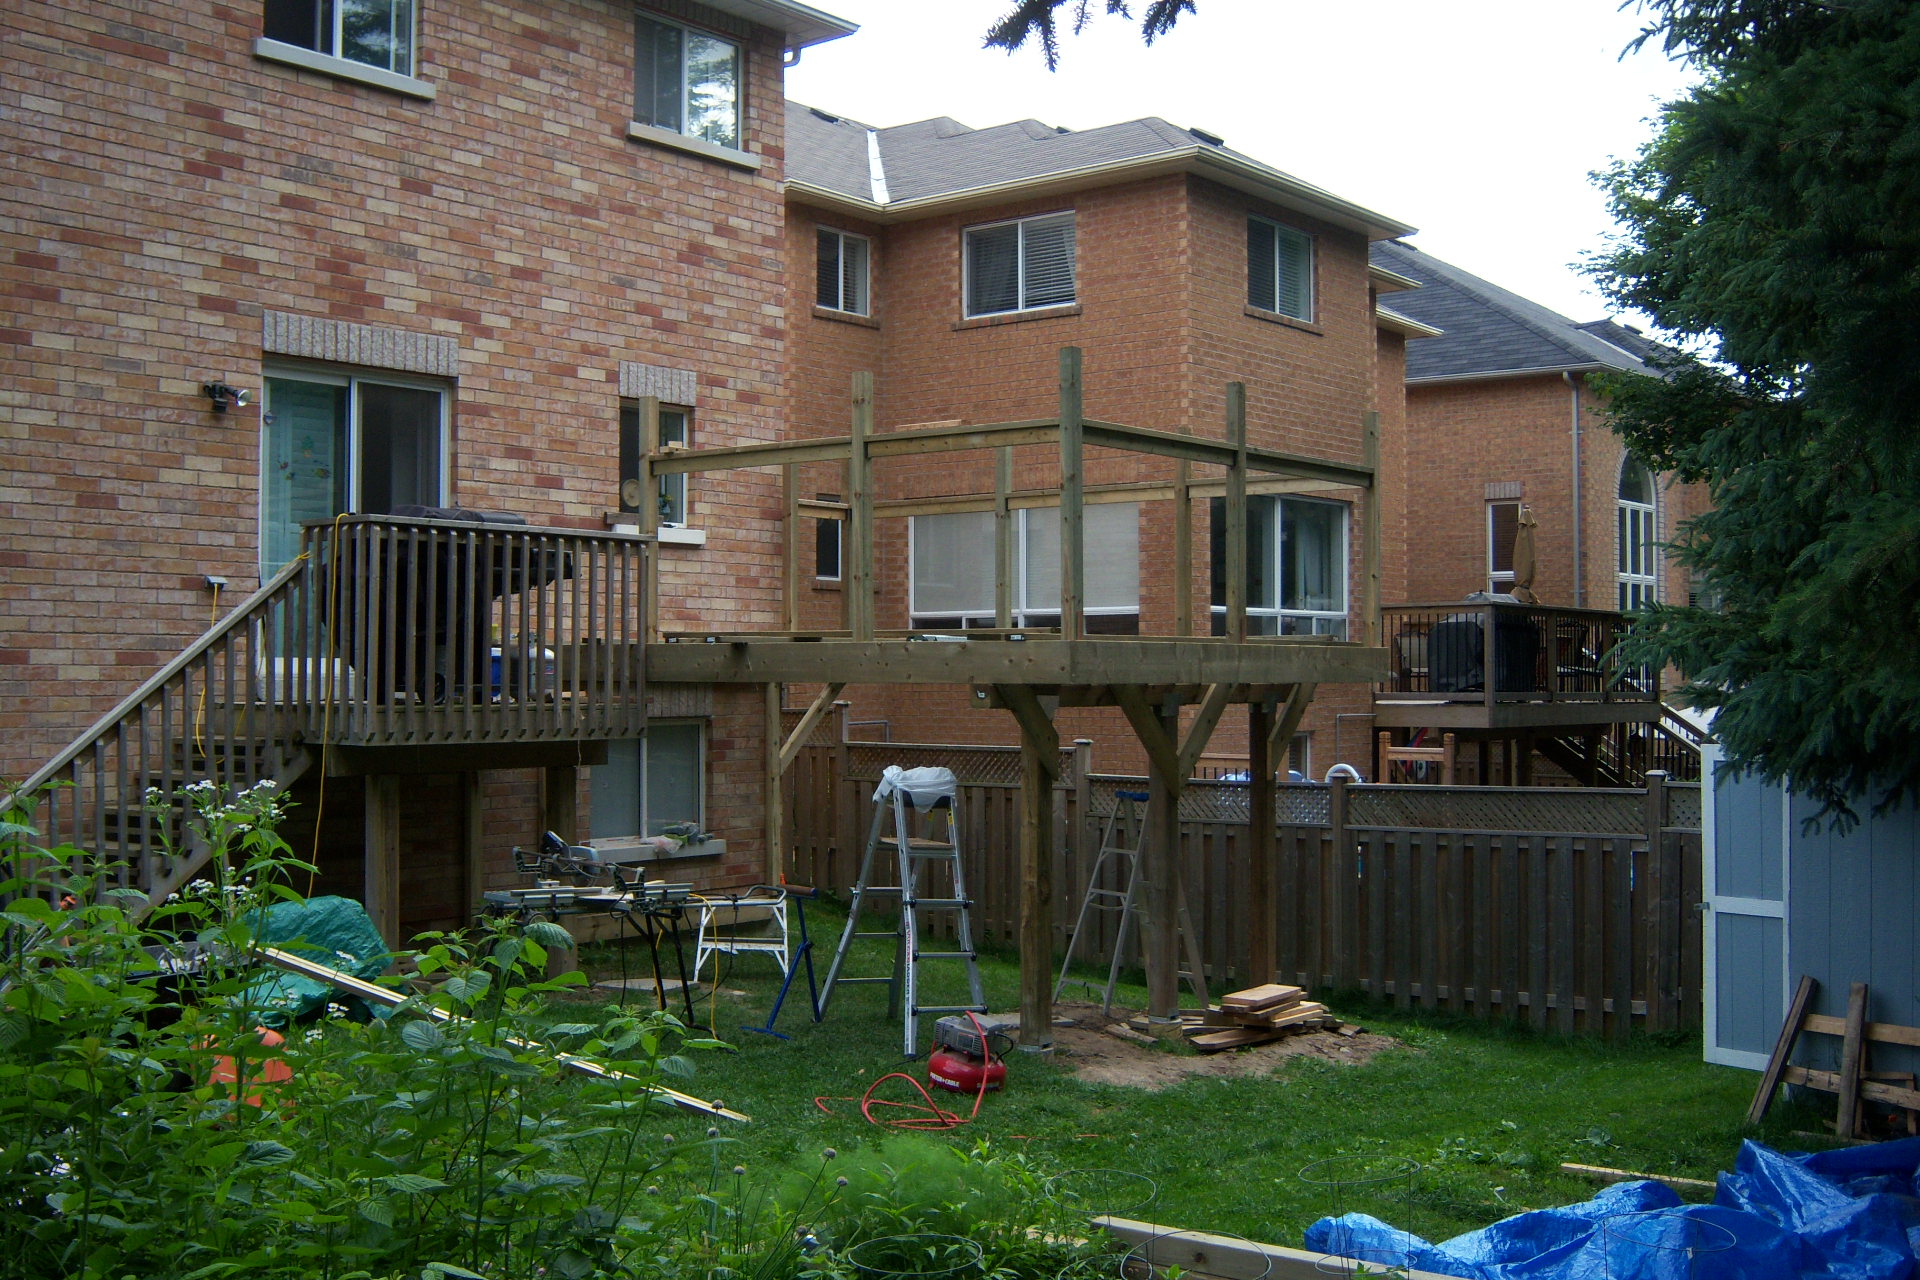
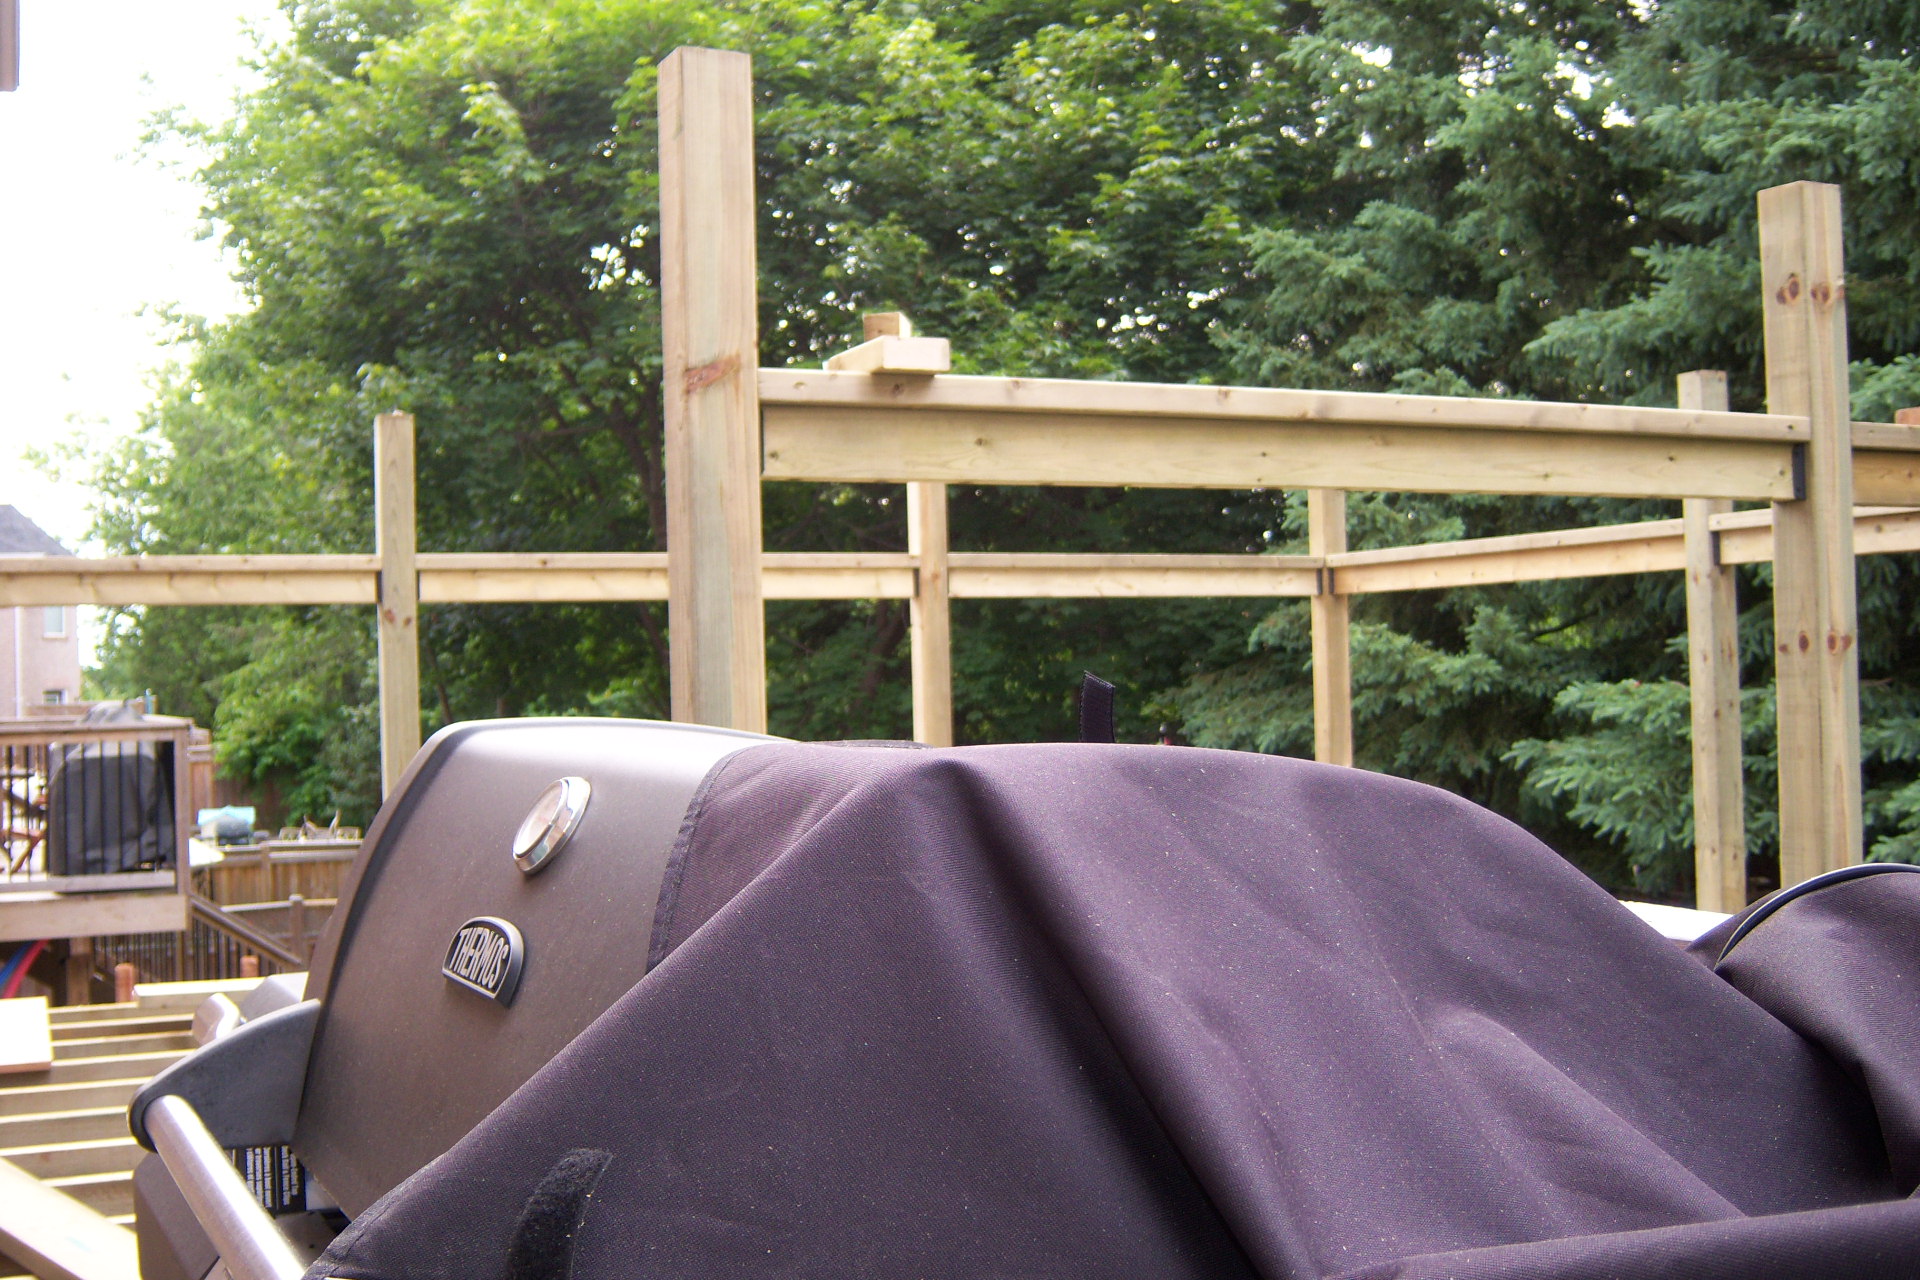
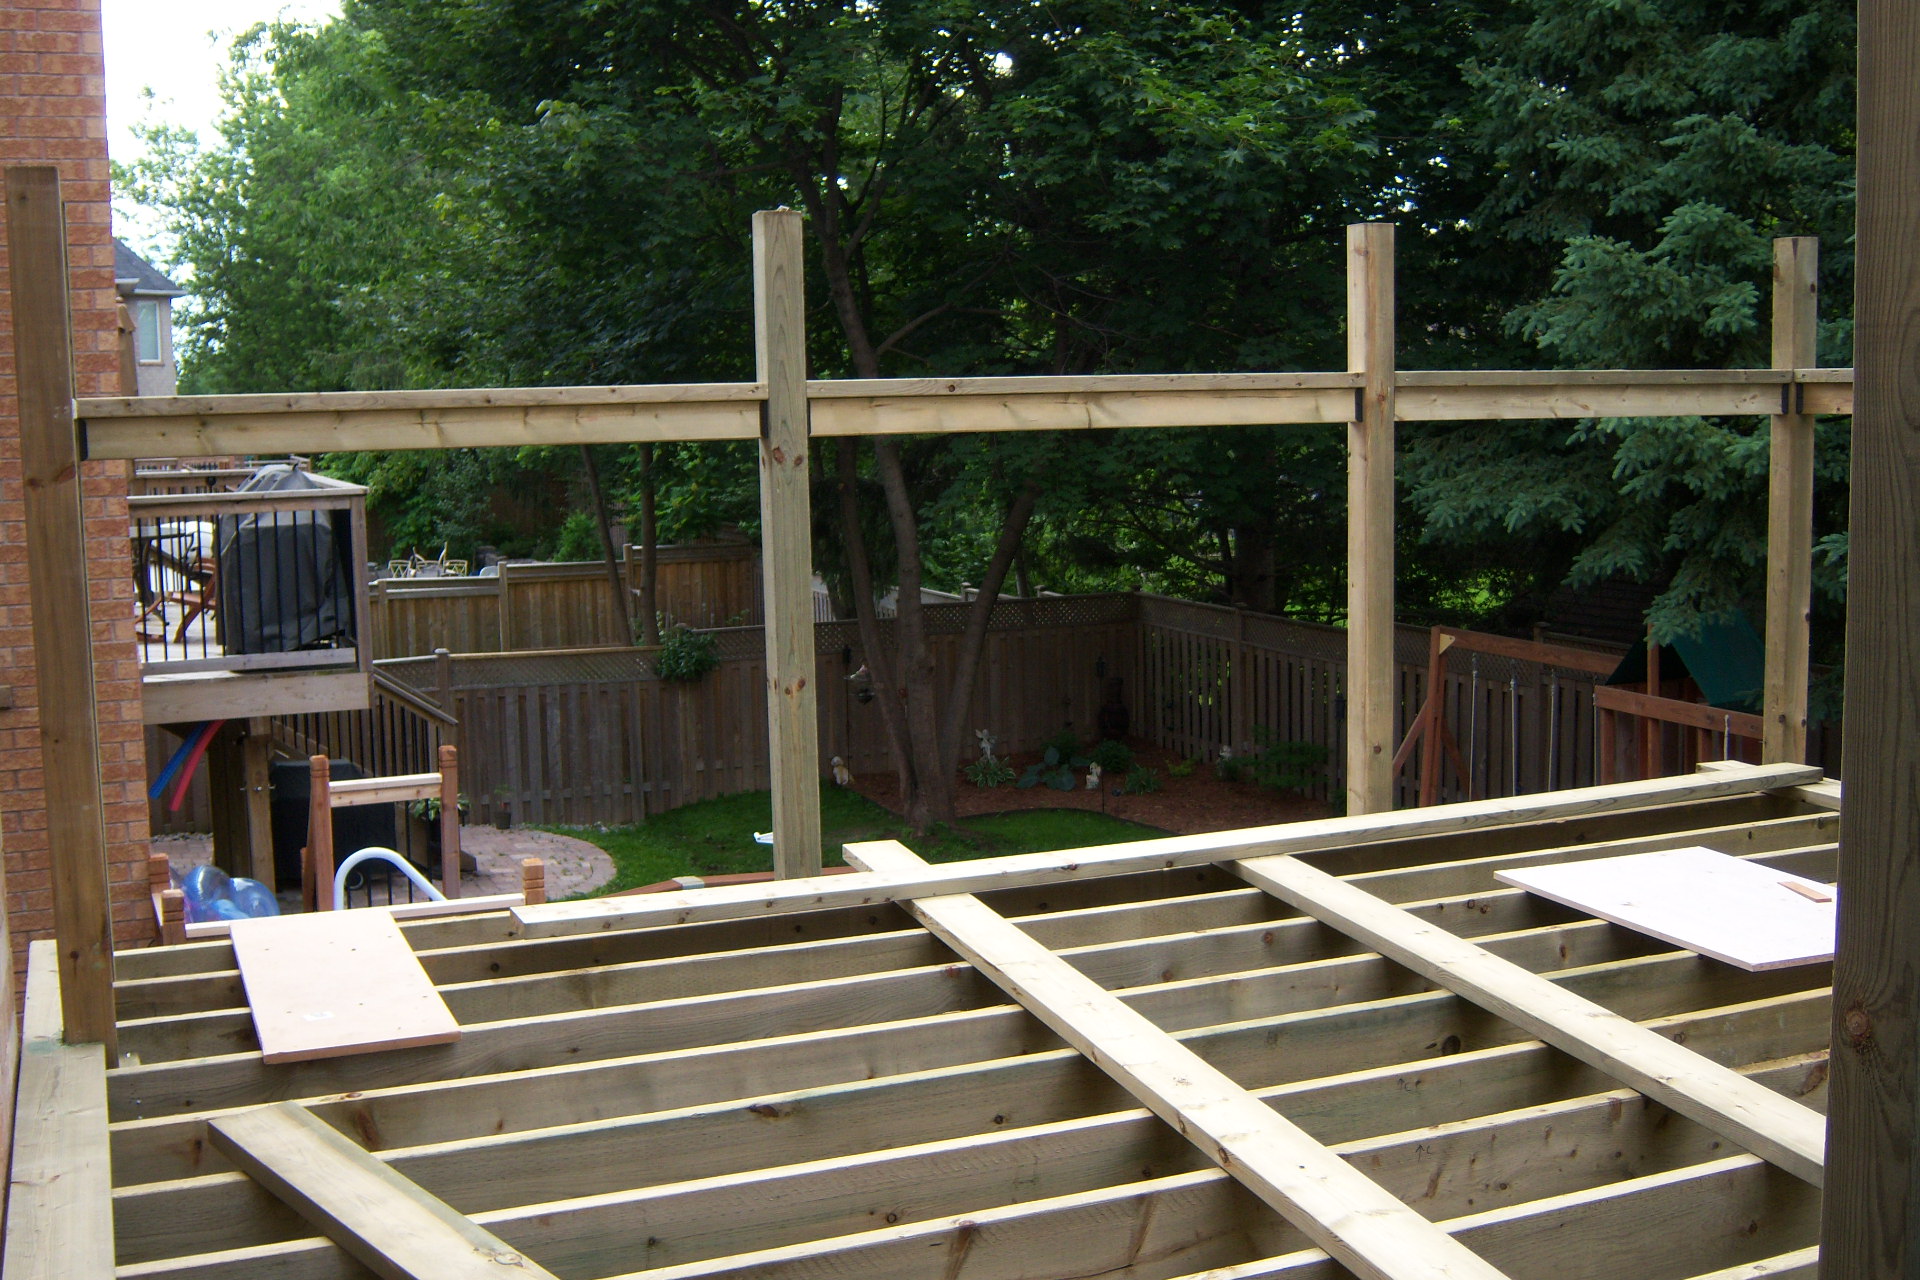
July 6/09
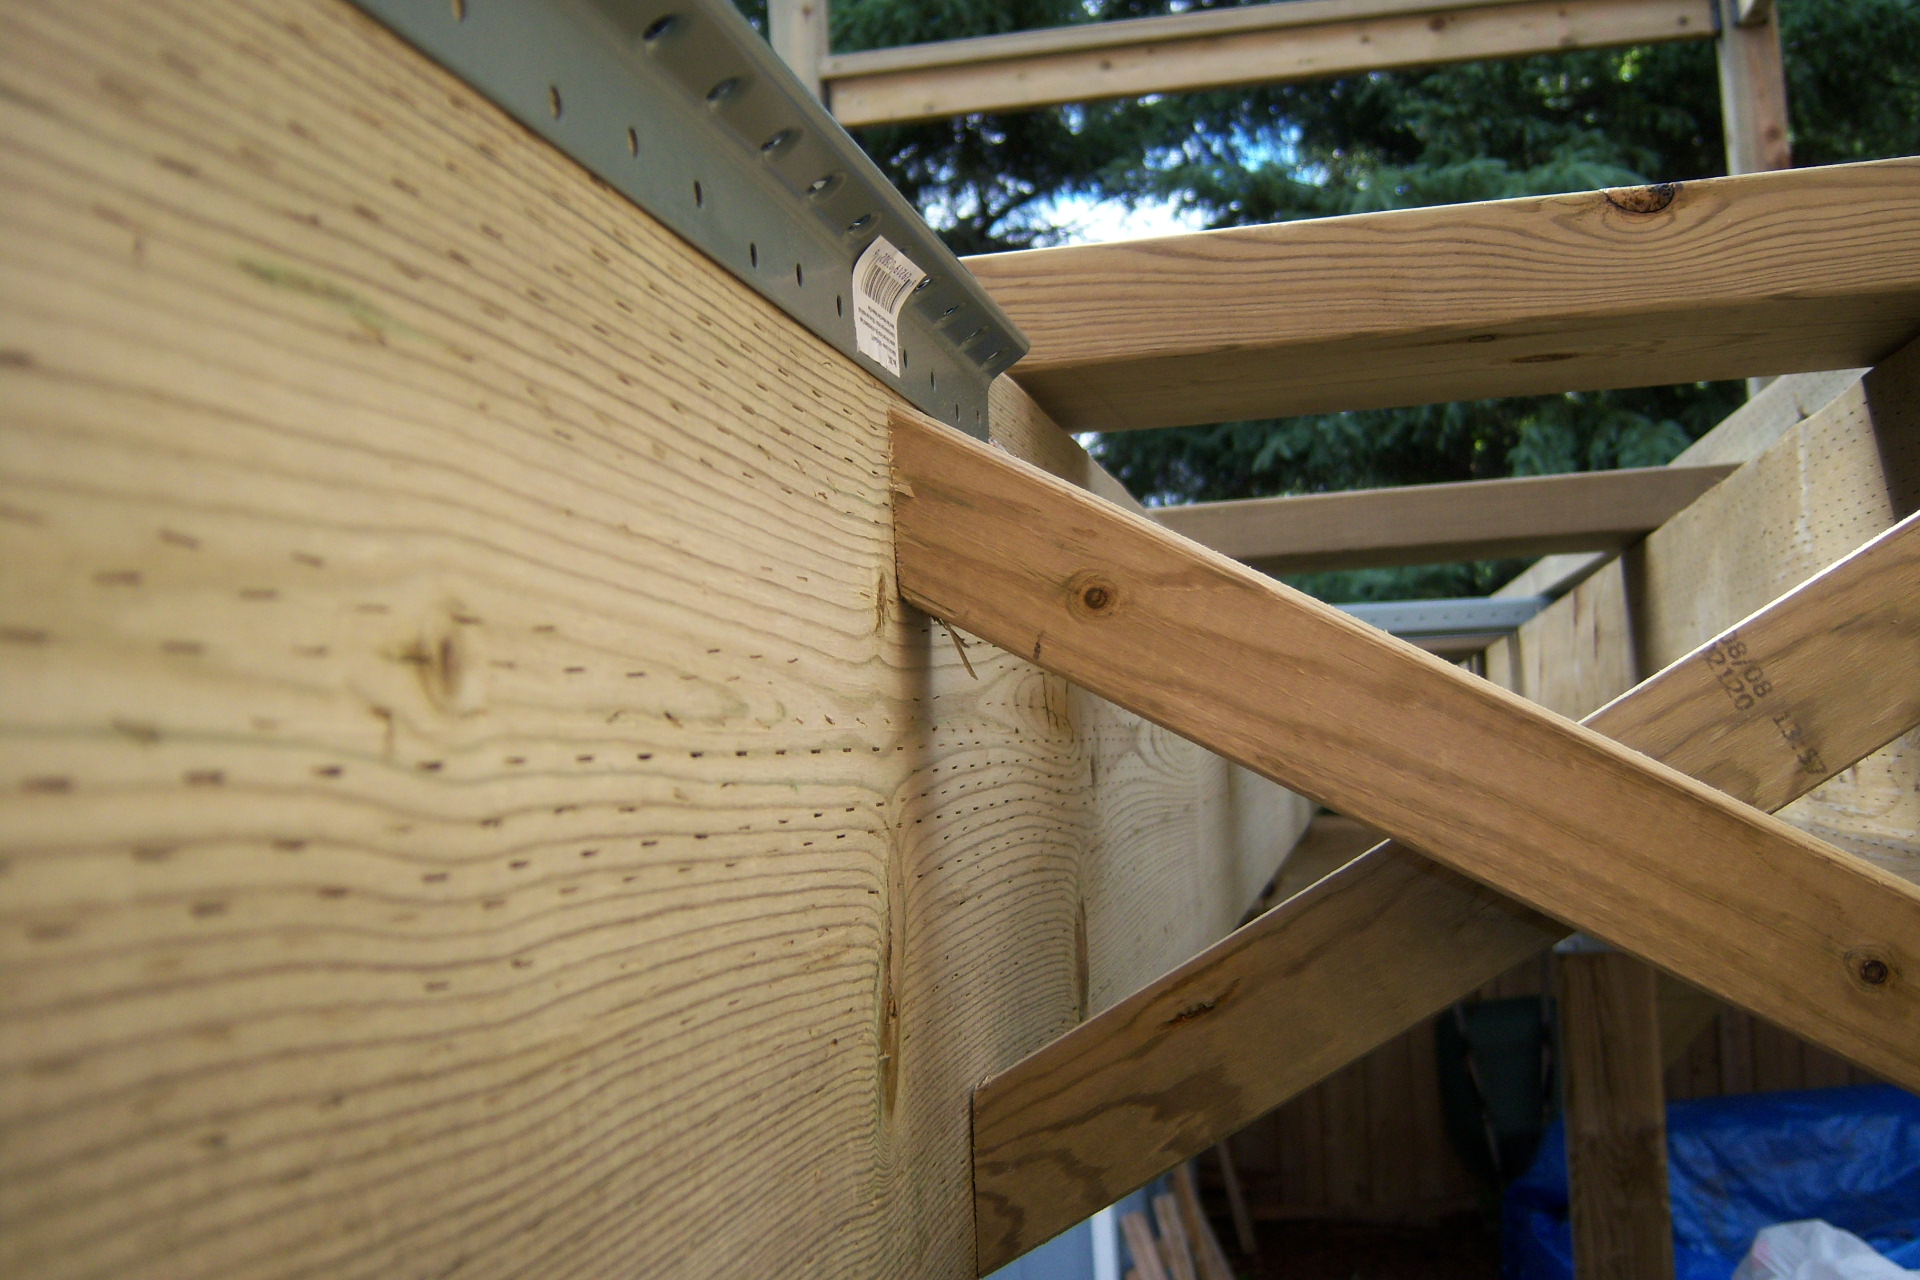
Below: After work today I got the cross bracing's done. I have 10" joists which are 12" O.C. To achieve the spacing for the undertie bracket (green metal thingy on top of joist) which hangs aprx 1.25", I did trial and error and figured out that I needed 30 degree cuts and the pieces had to be 1ft long.
The pieces cut up fast and if you have a nail gun they also go in pretty fast.
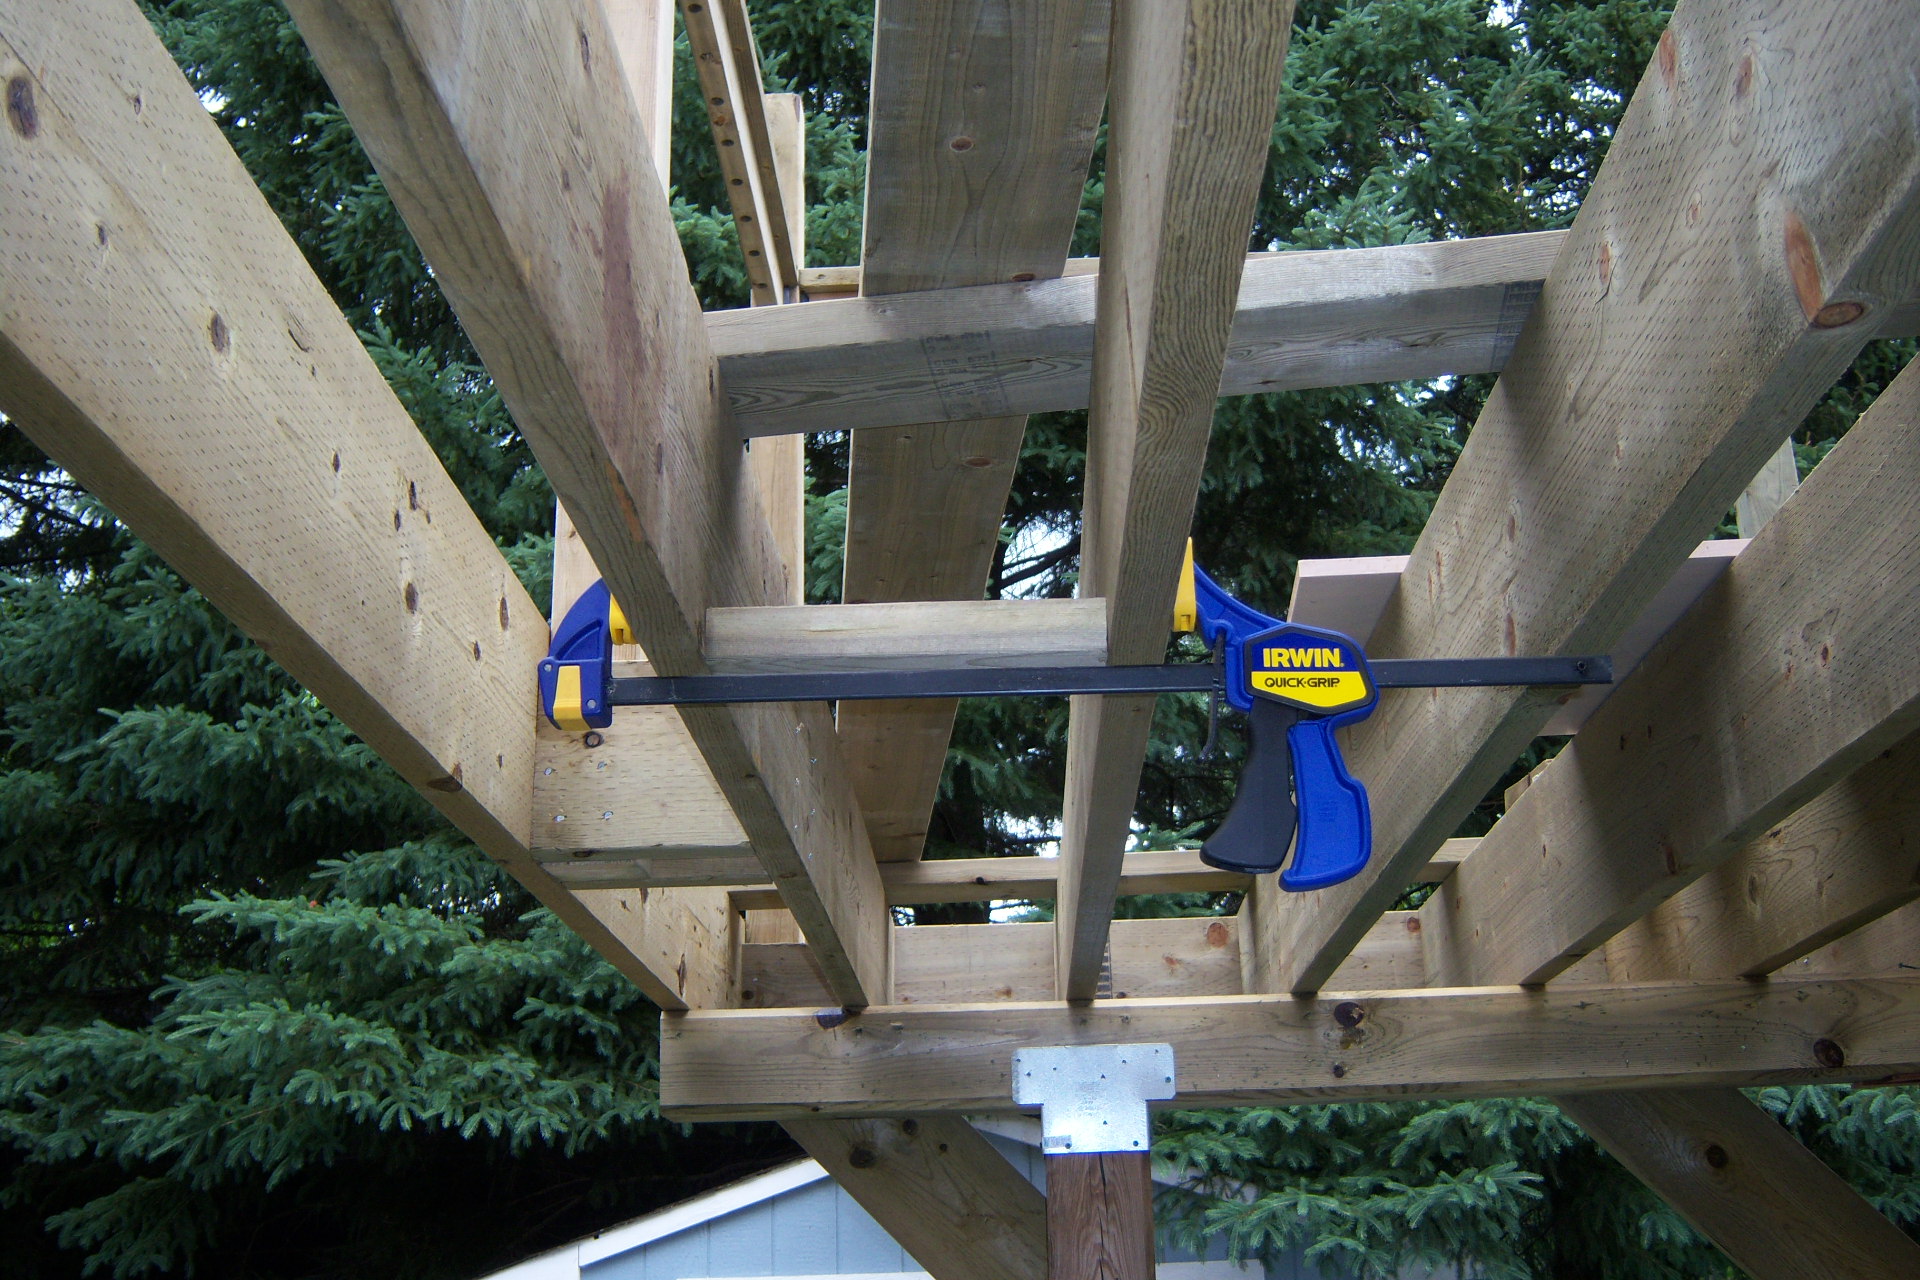
Above shows the 10.5 inch spacer used to seperate the joists to the proper width while you attach the cross bracing. The clamp is only needed to pull joists in.
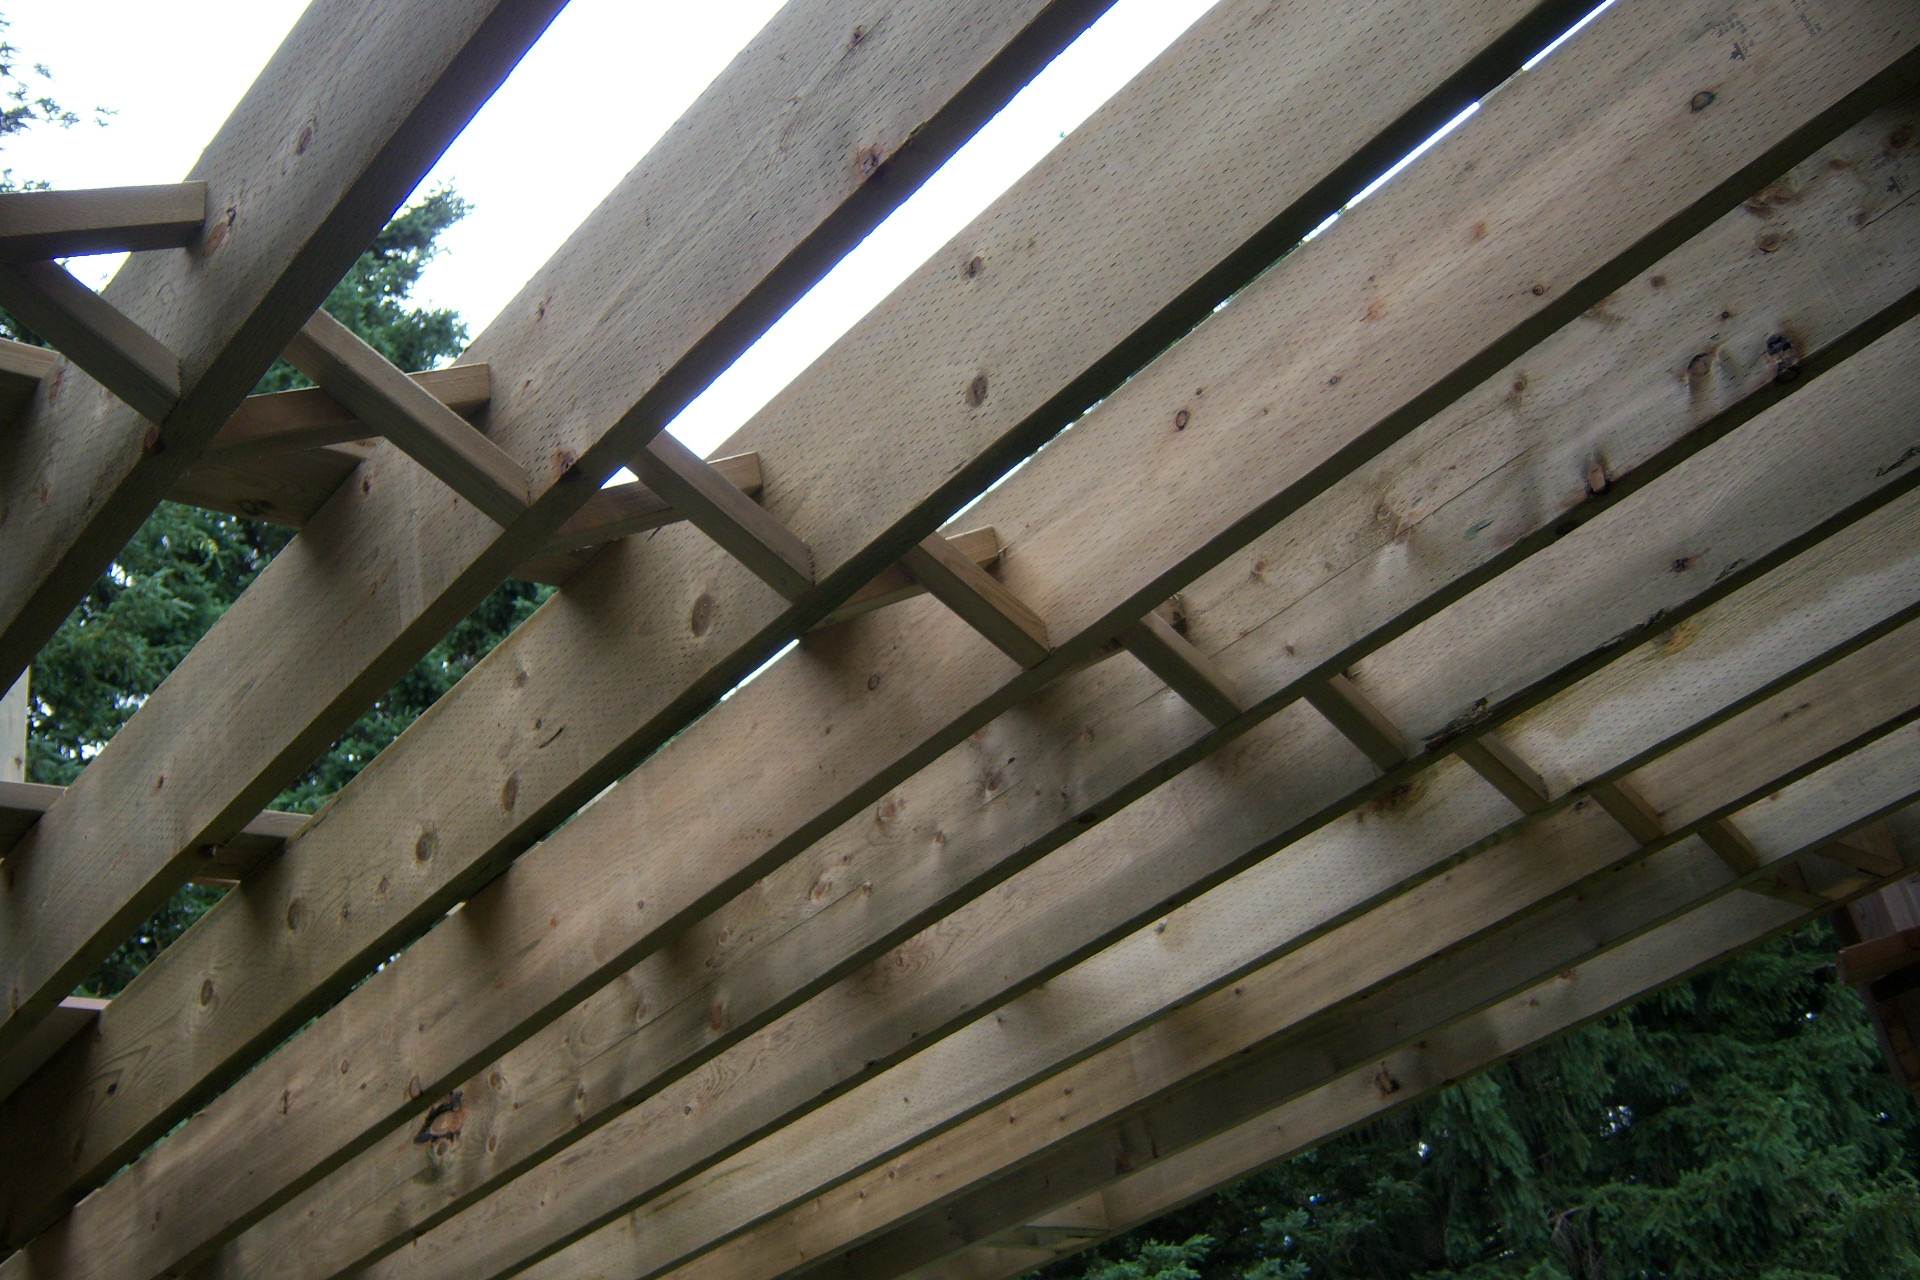
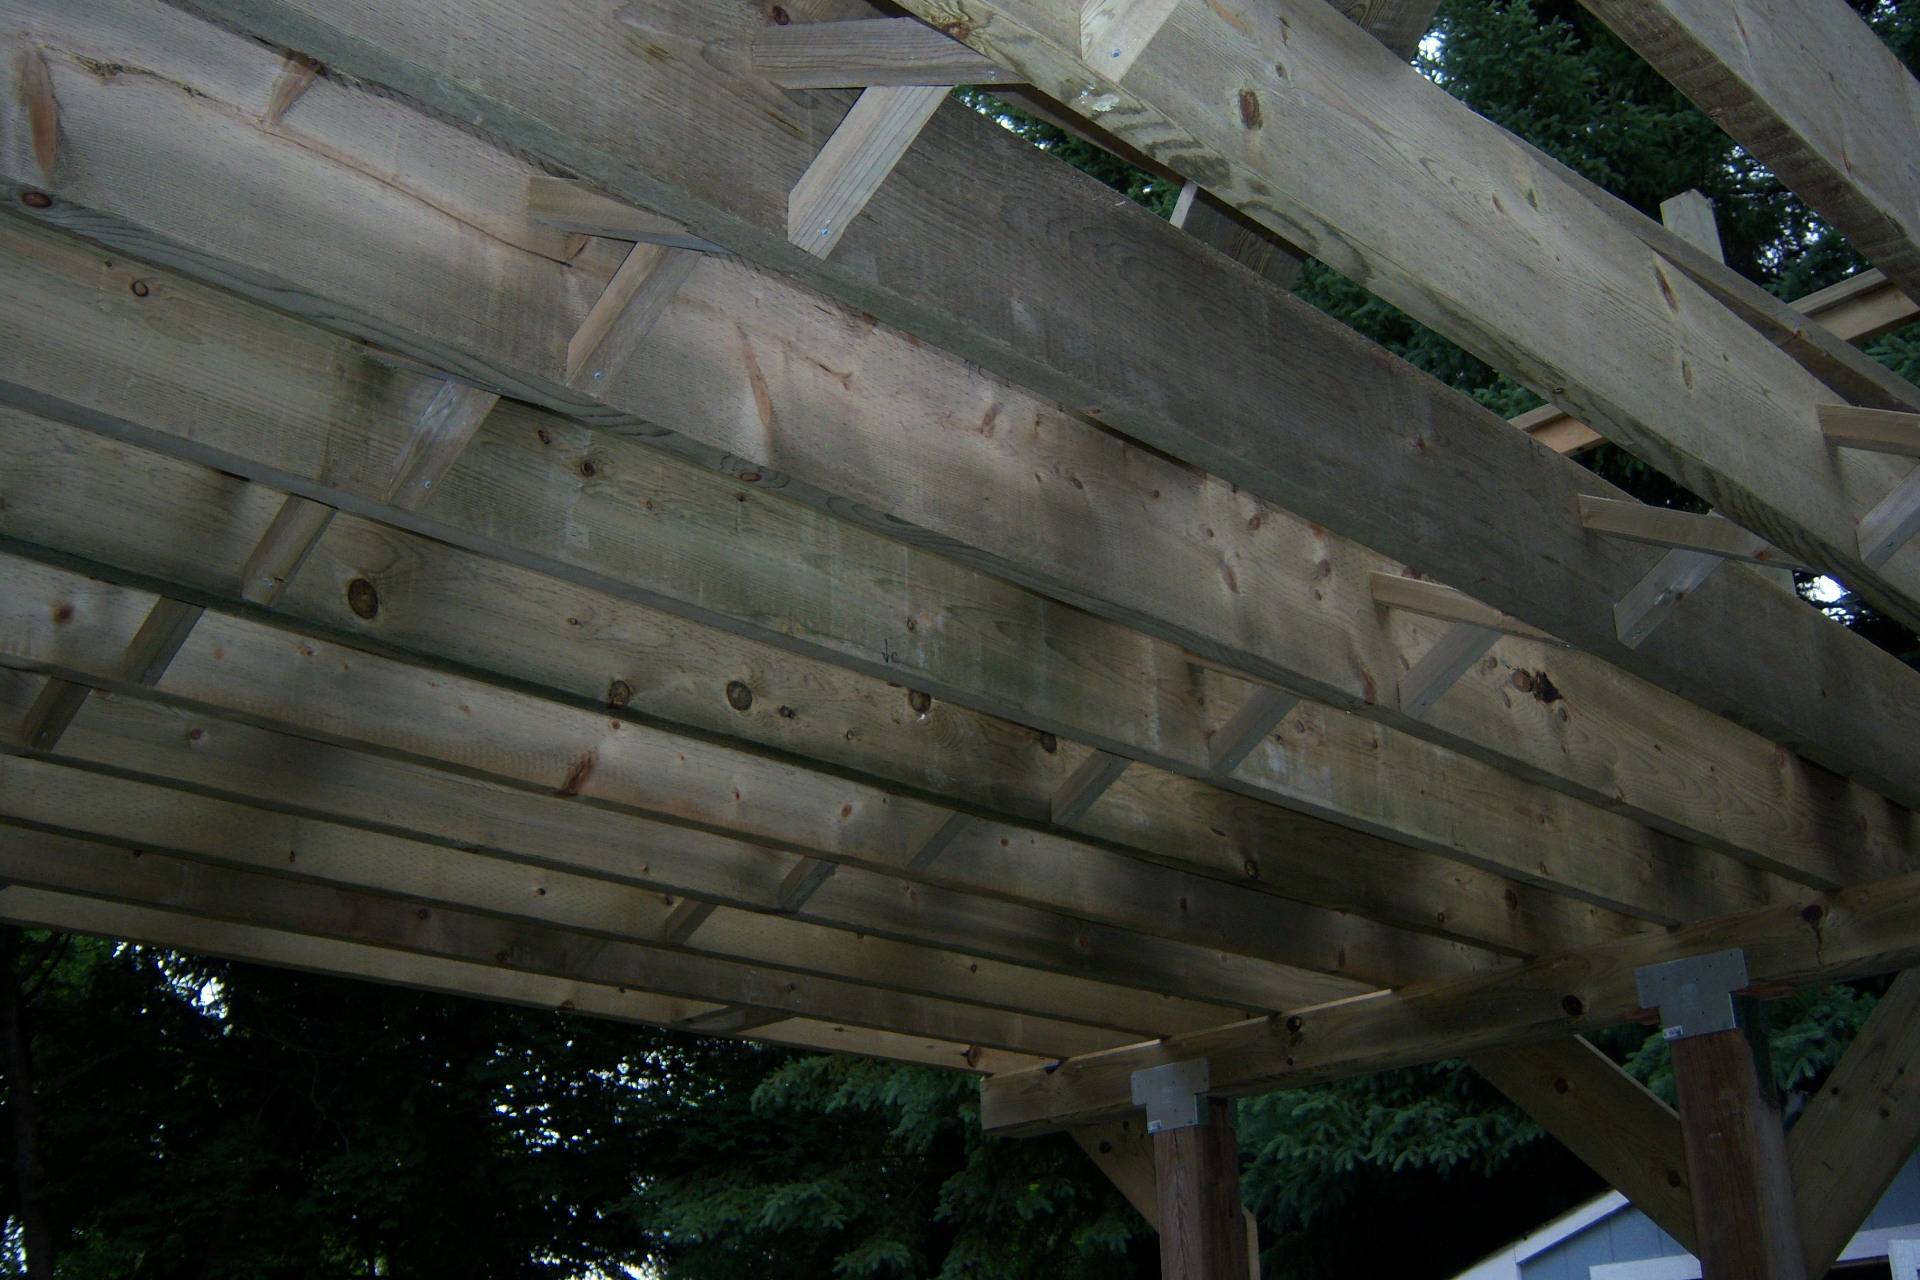
Below -- 1st row of braces done. I was only required by code to do one row but I had purchased enough 2x2's for 2 row's -not that much extra cost and just a little extra to make it really work solid.
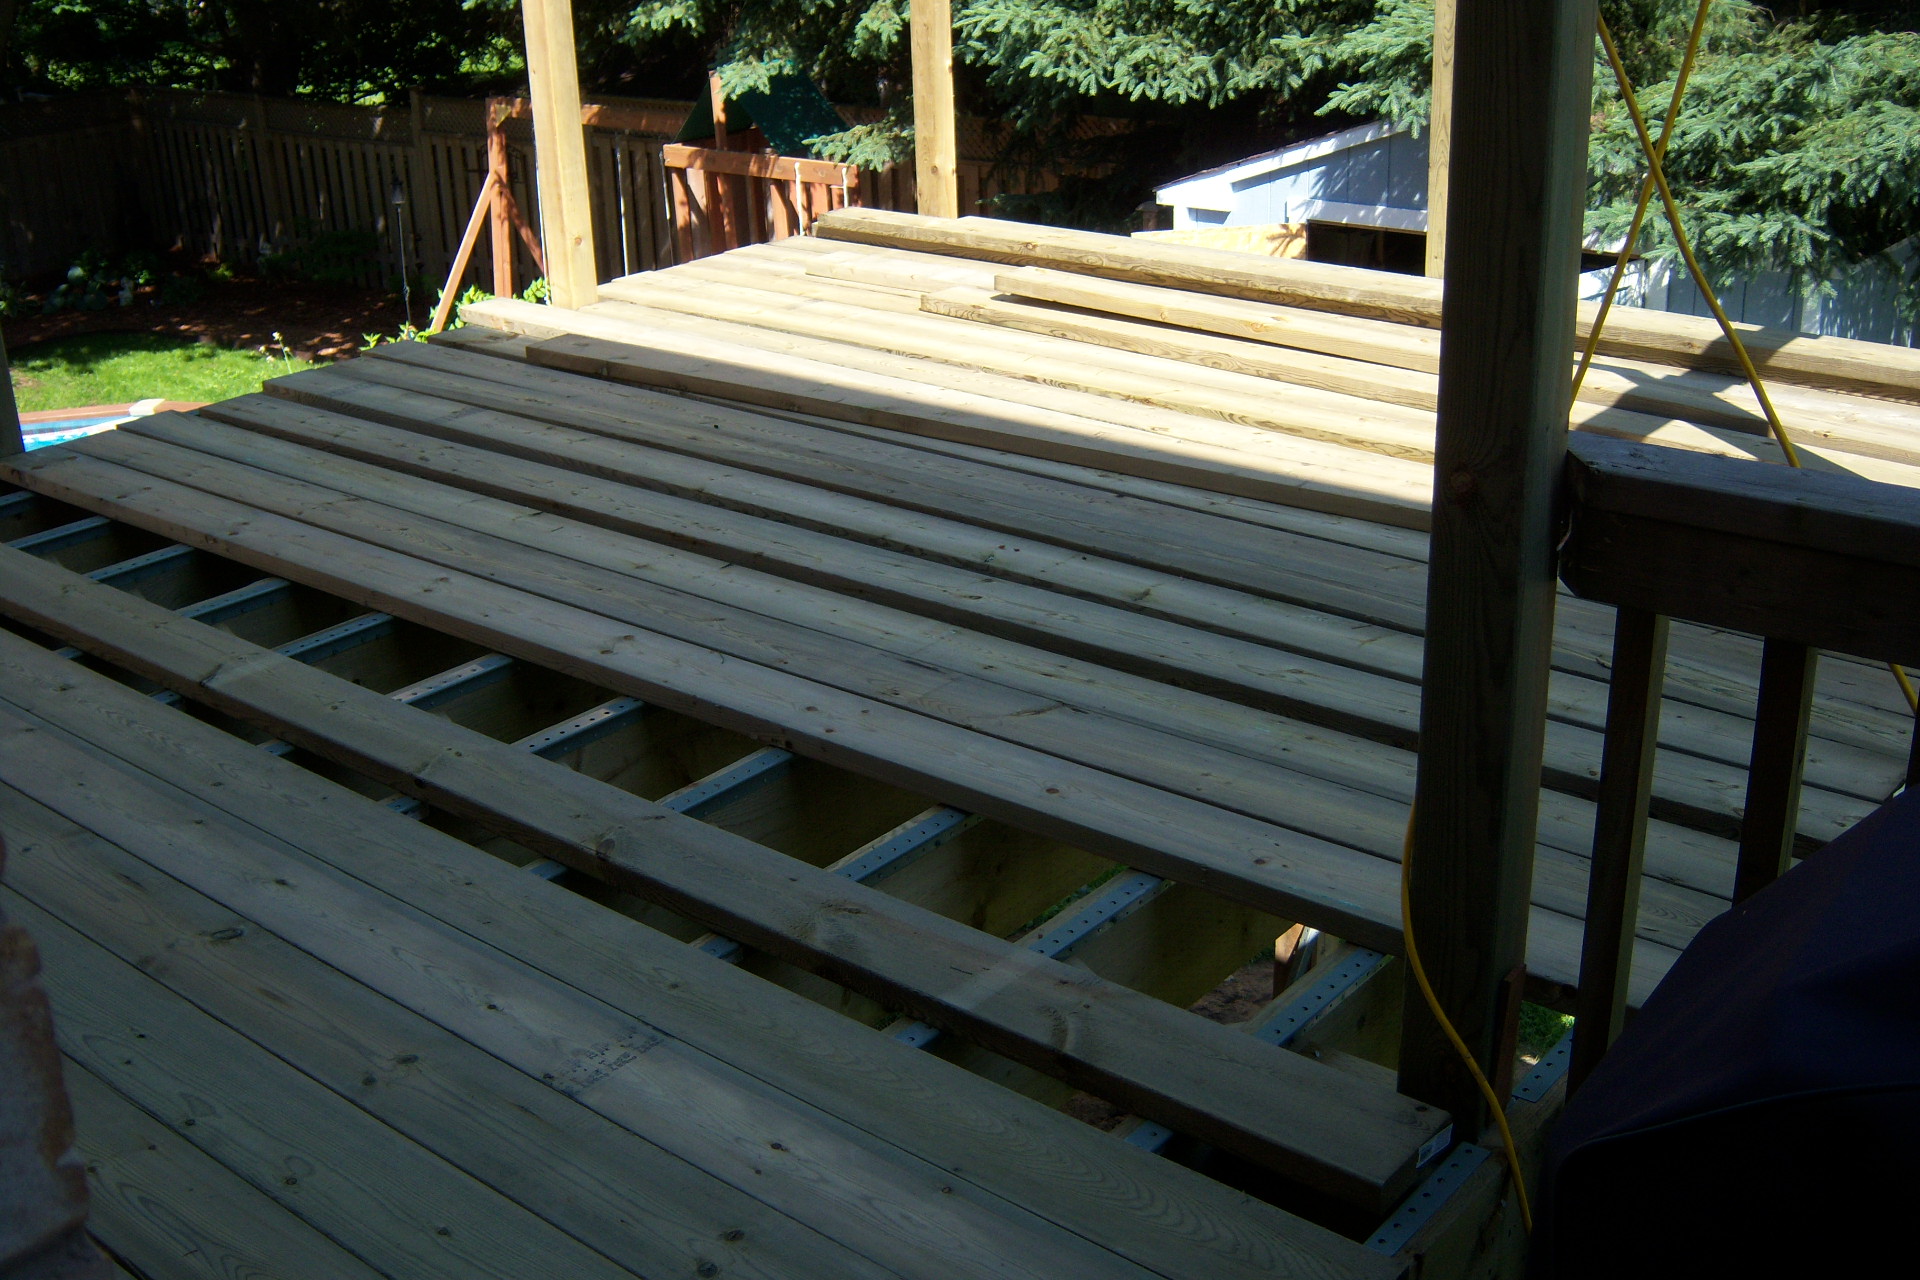
July 15/09: The next 3 pics are of the decking going down - very slow process. Having to clamp the boards into place and going underneath to fasten them is a time consuming task. I started on Saturday and Monday evening was a wash with other things, did some last night and I have I think 3 or 4 more to do. Weather forecast is good for tonight so those should get done.
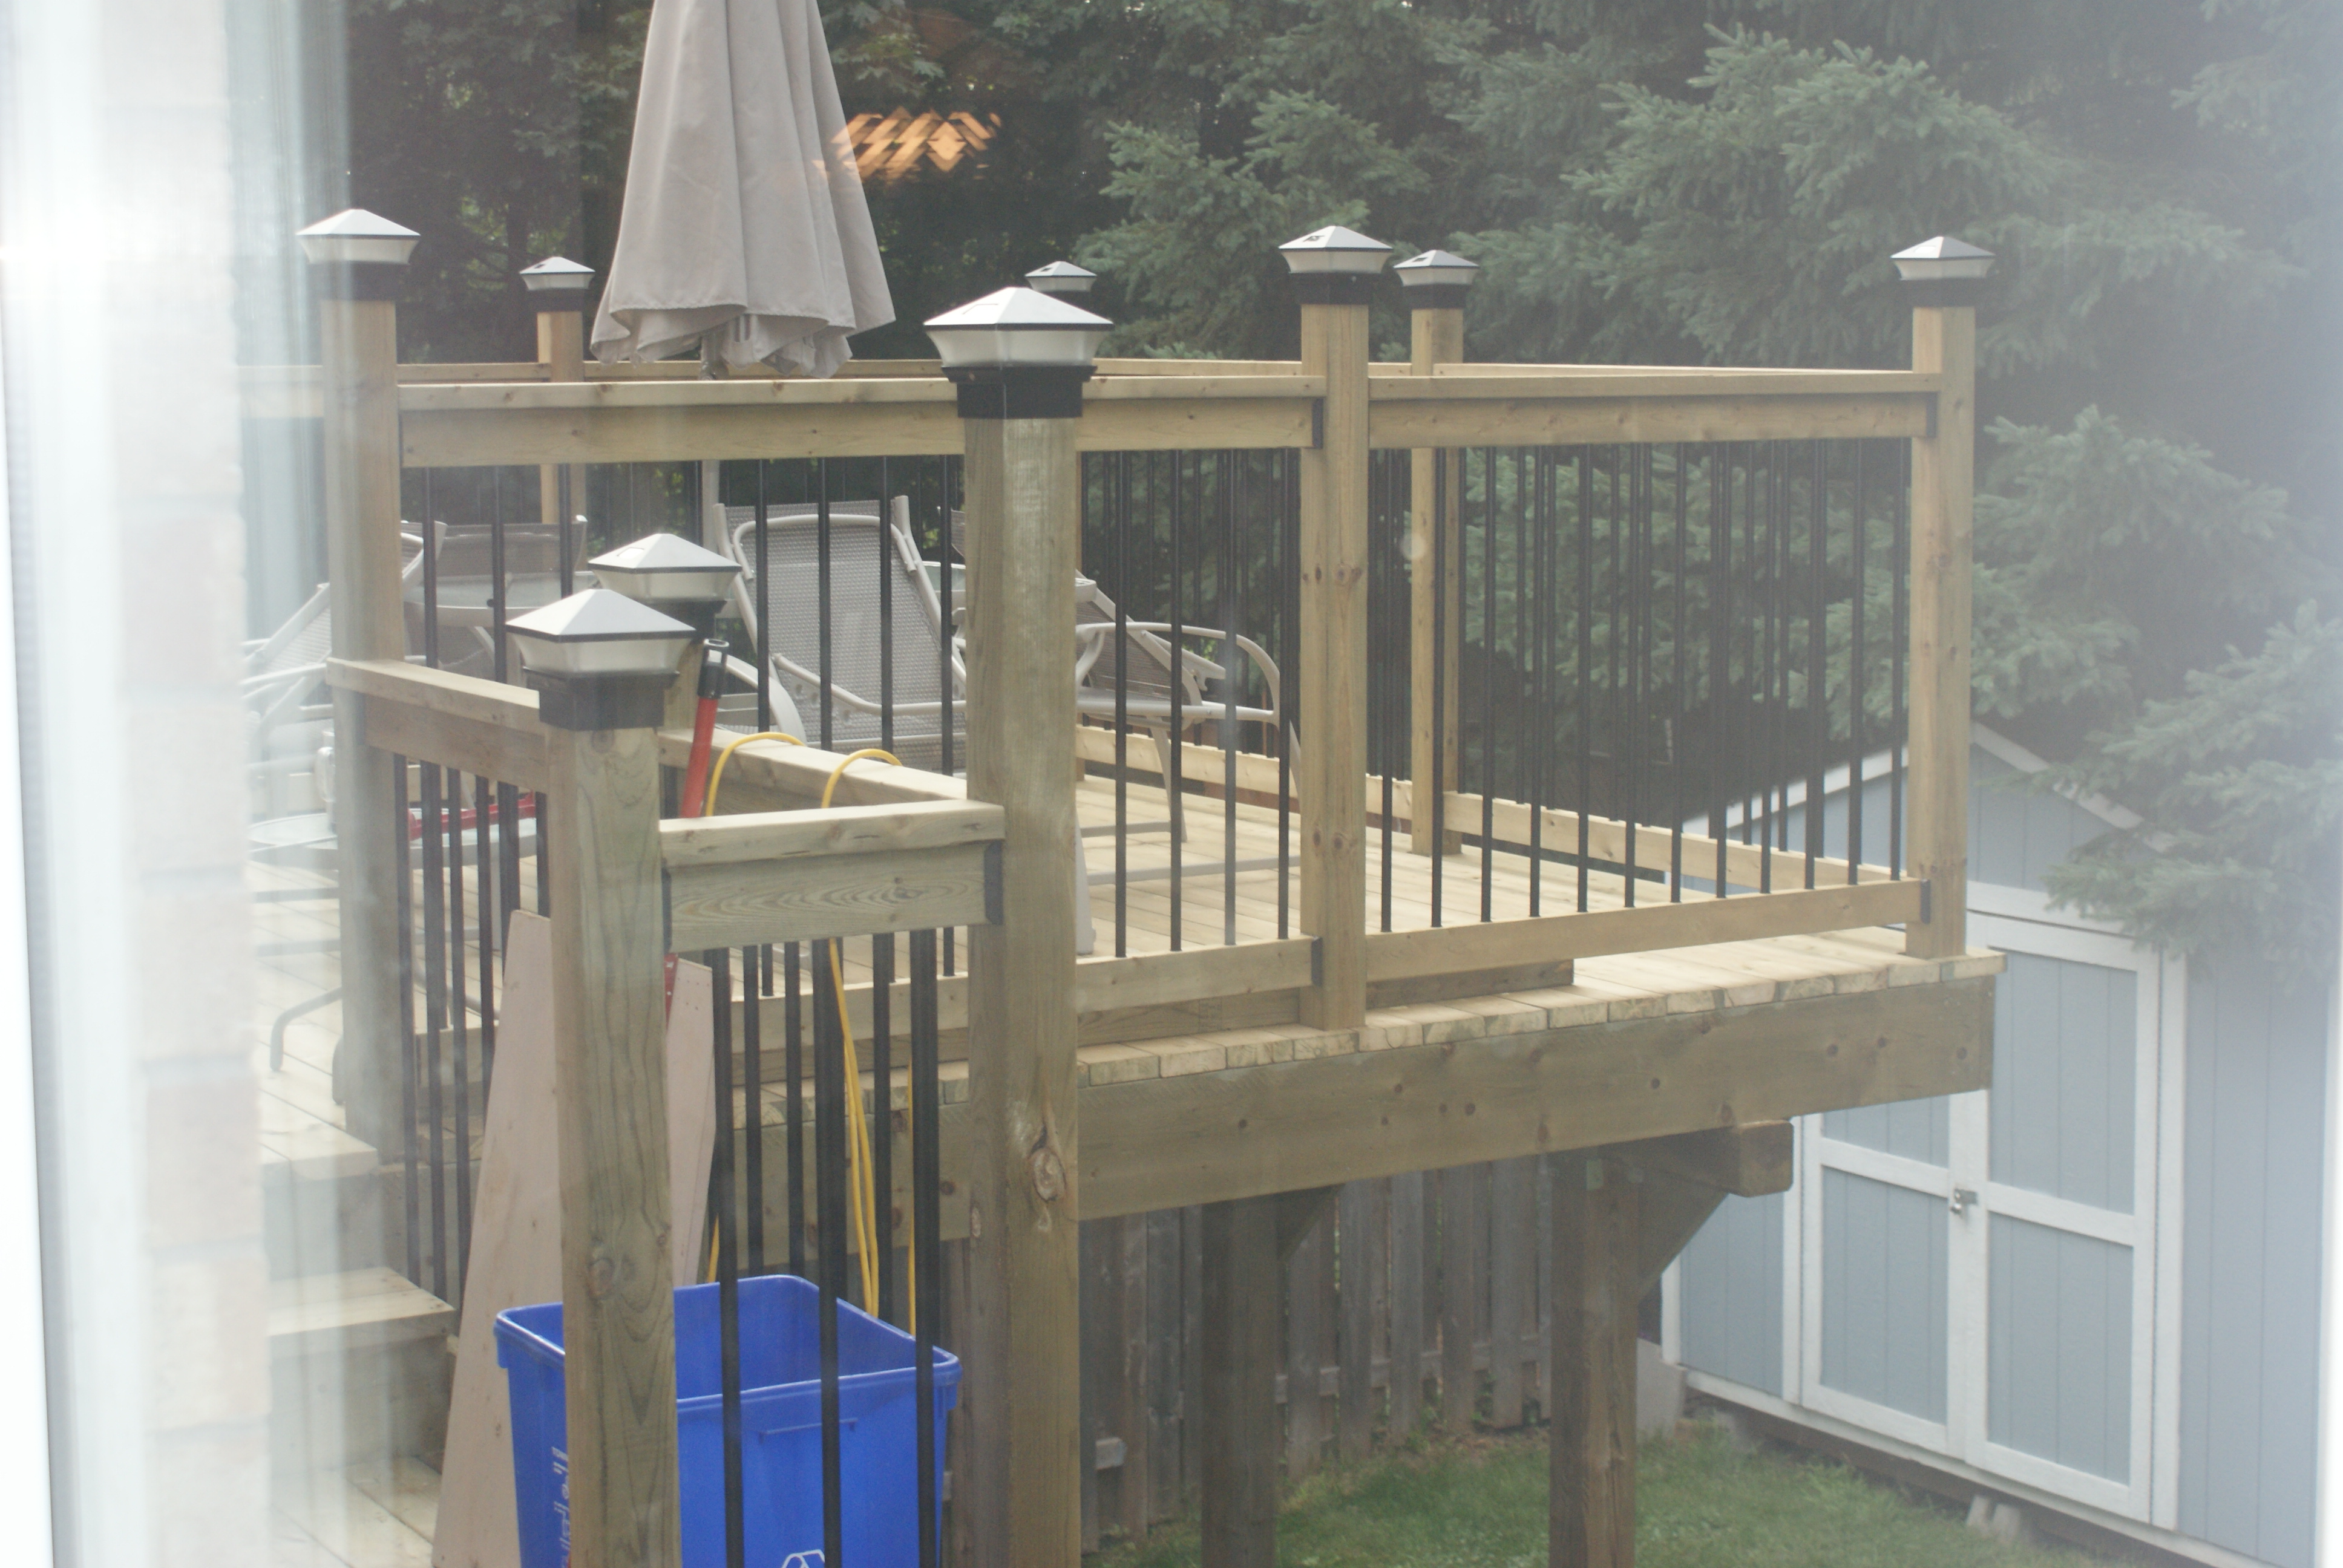
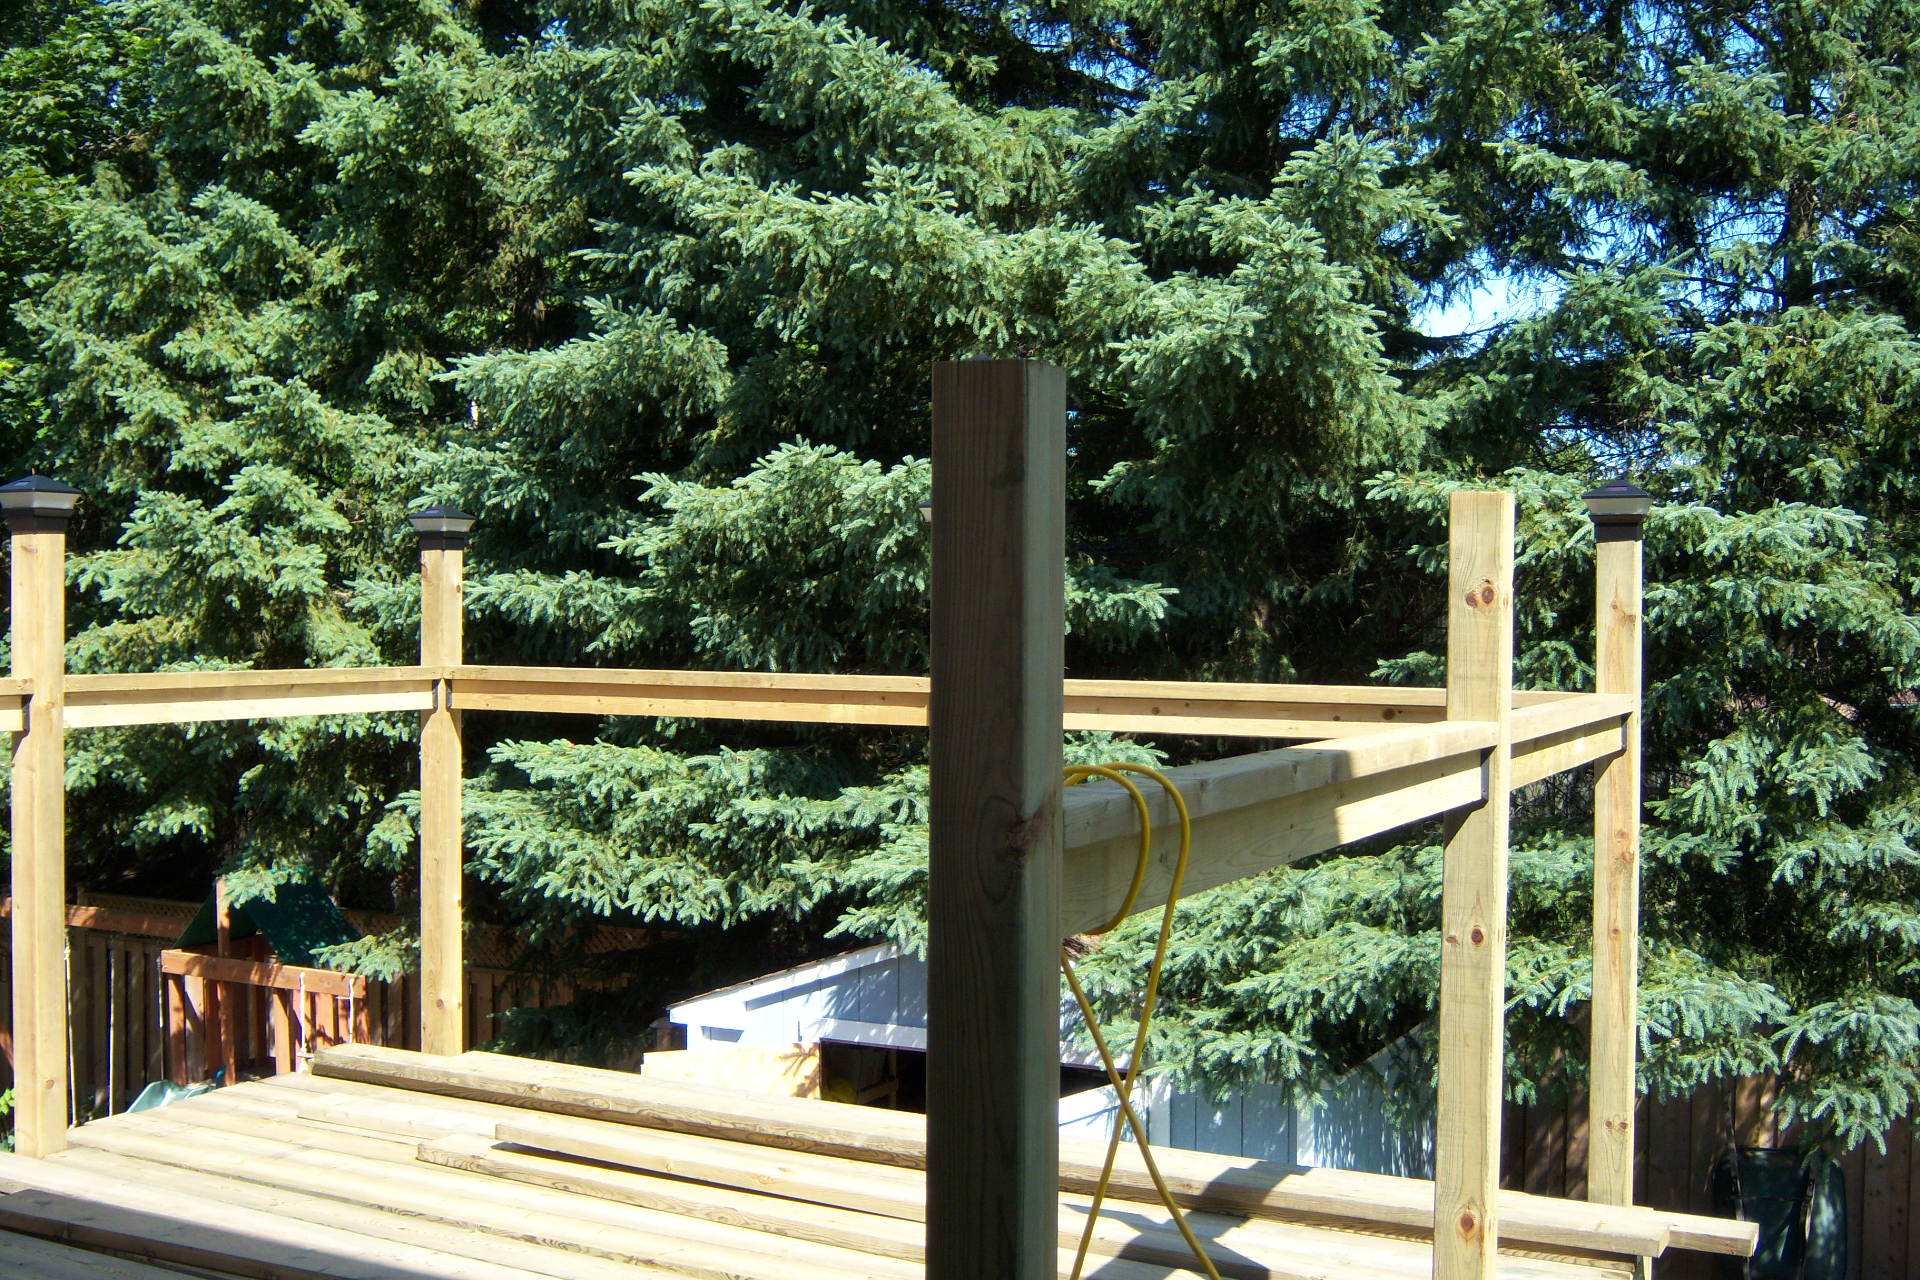
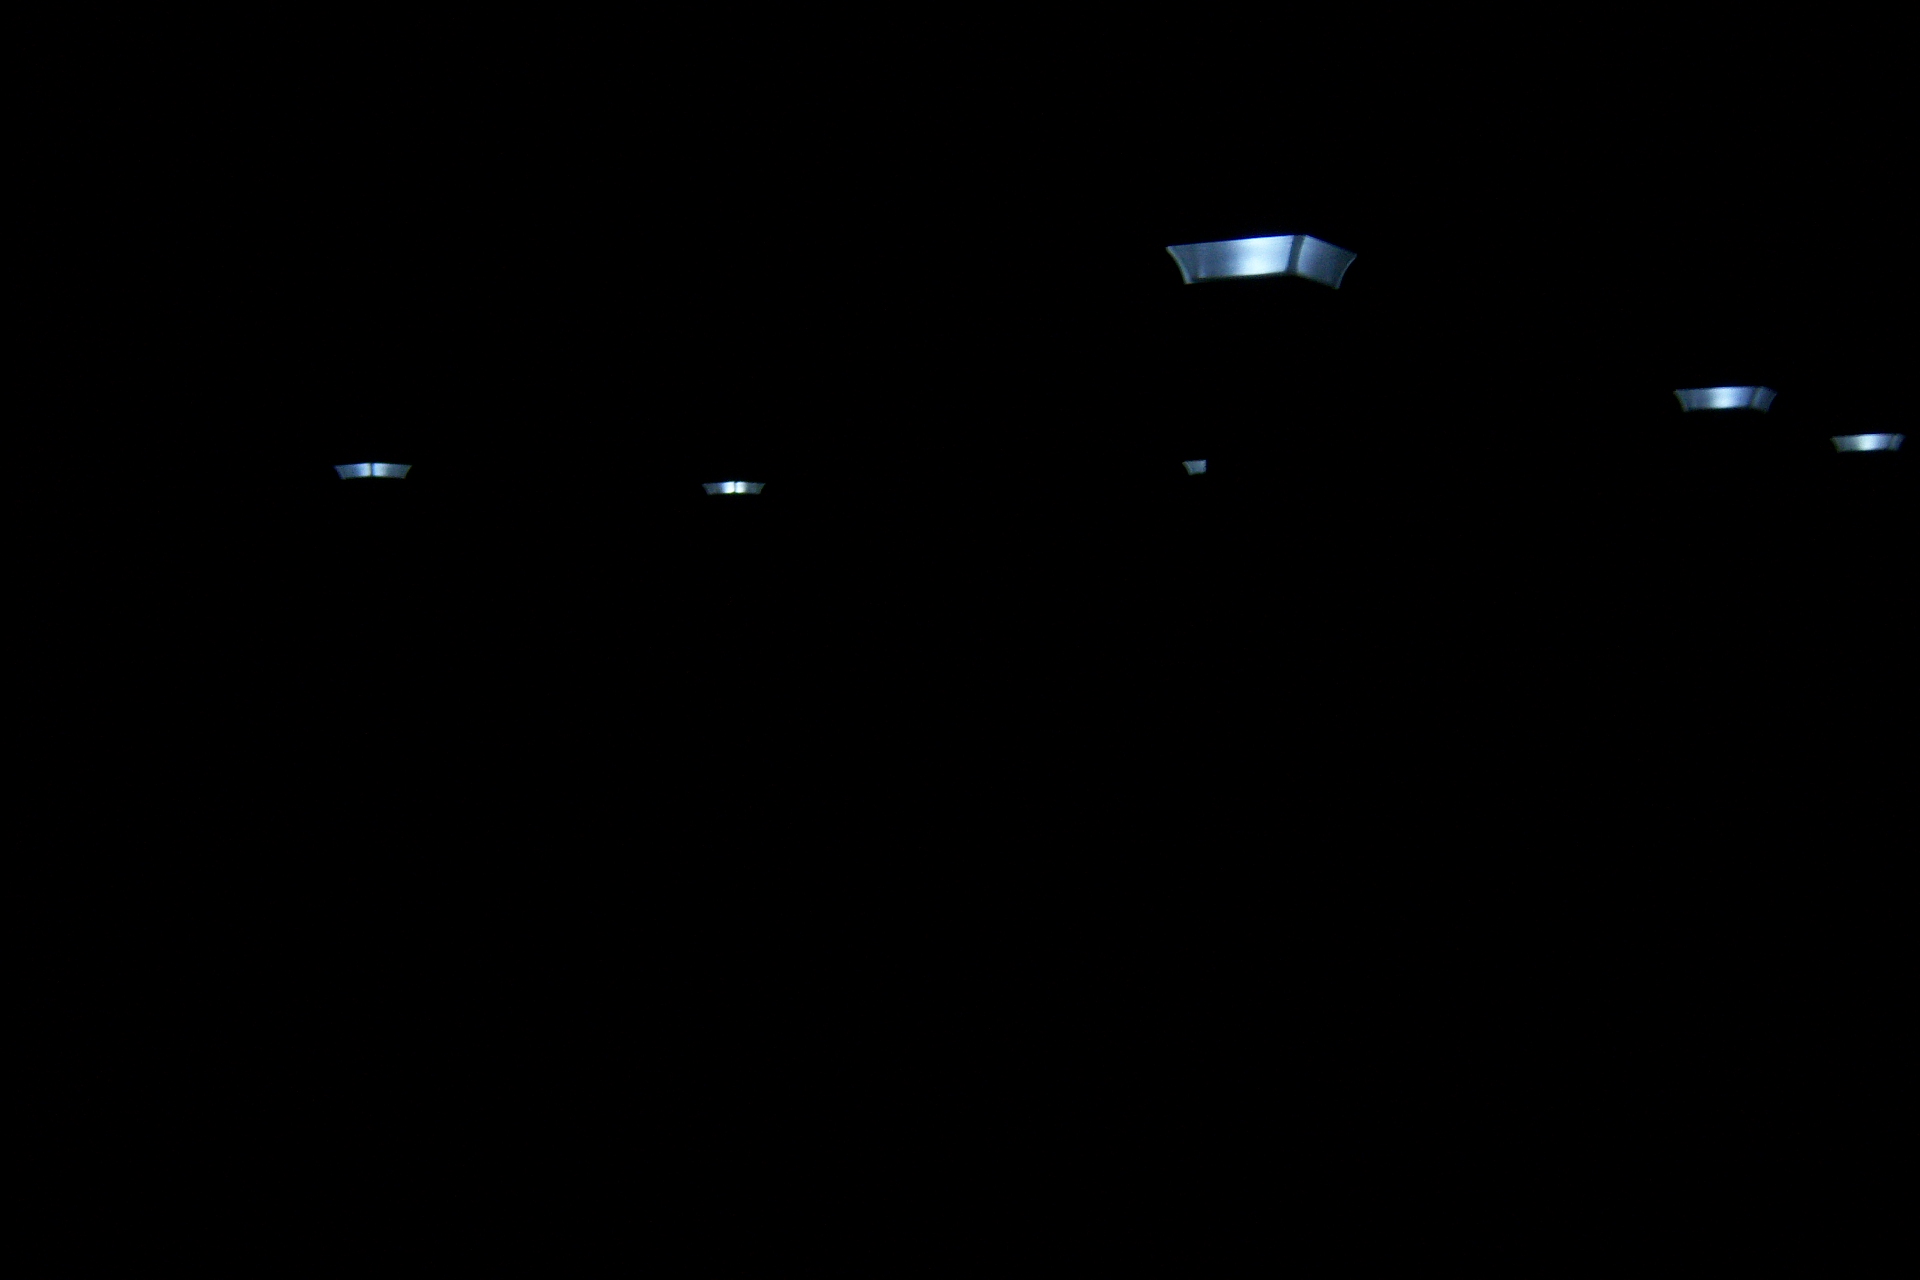
In the next pic you can also see the lights we got from costco - 50$ for 4. Homedepot and Rona have some for 15$ and 17$ a piece but the Costco ones have a glass light port and powder coated housing as compared to the all plastic from Rona or Homedepot. They are are solar and turn at when it gets dark and surprisingly last all night - mind you they don't put out allot of lumens - mood lighting - but all these types of lights are like that. My wife found these so she gets all the credit and I highly recommend them if you want this style.
July 14 - Below - still have a few boards left and railing to finish but I got excited and pulled out the deck funiture. They have been instorage for six years. I could not find the screws to to put the legs on.
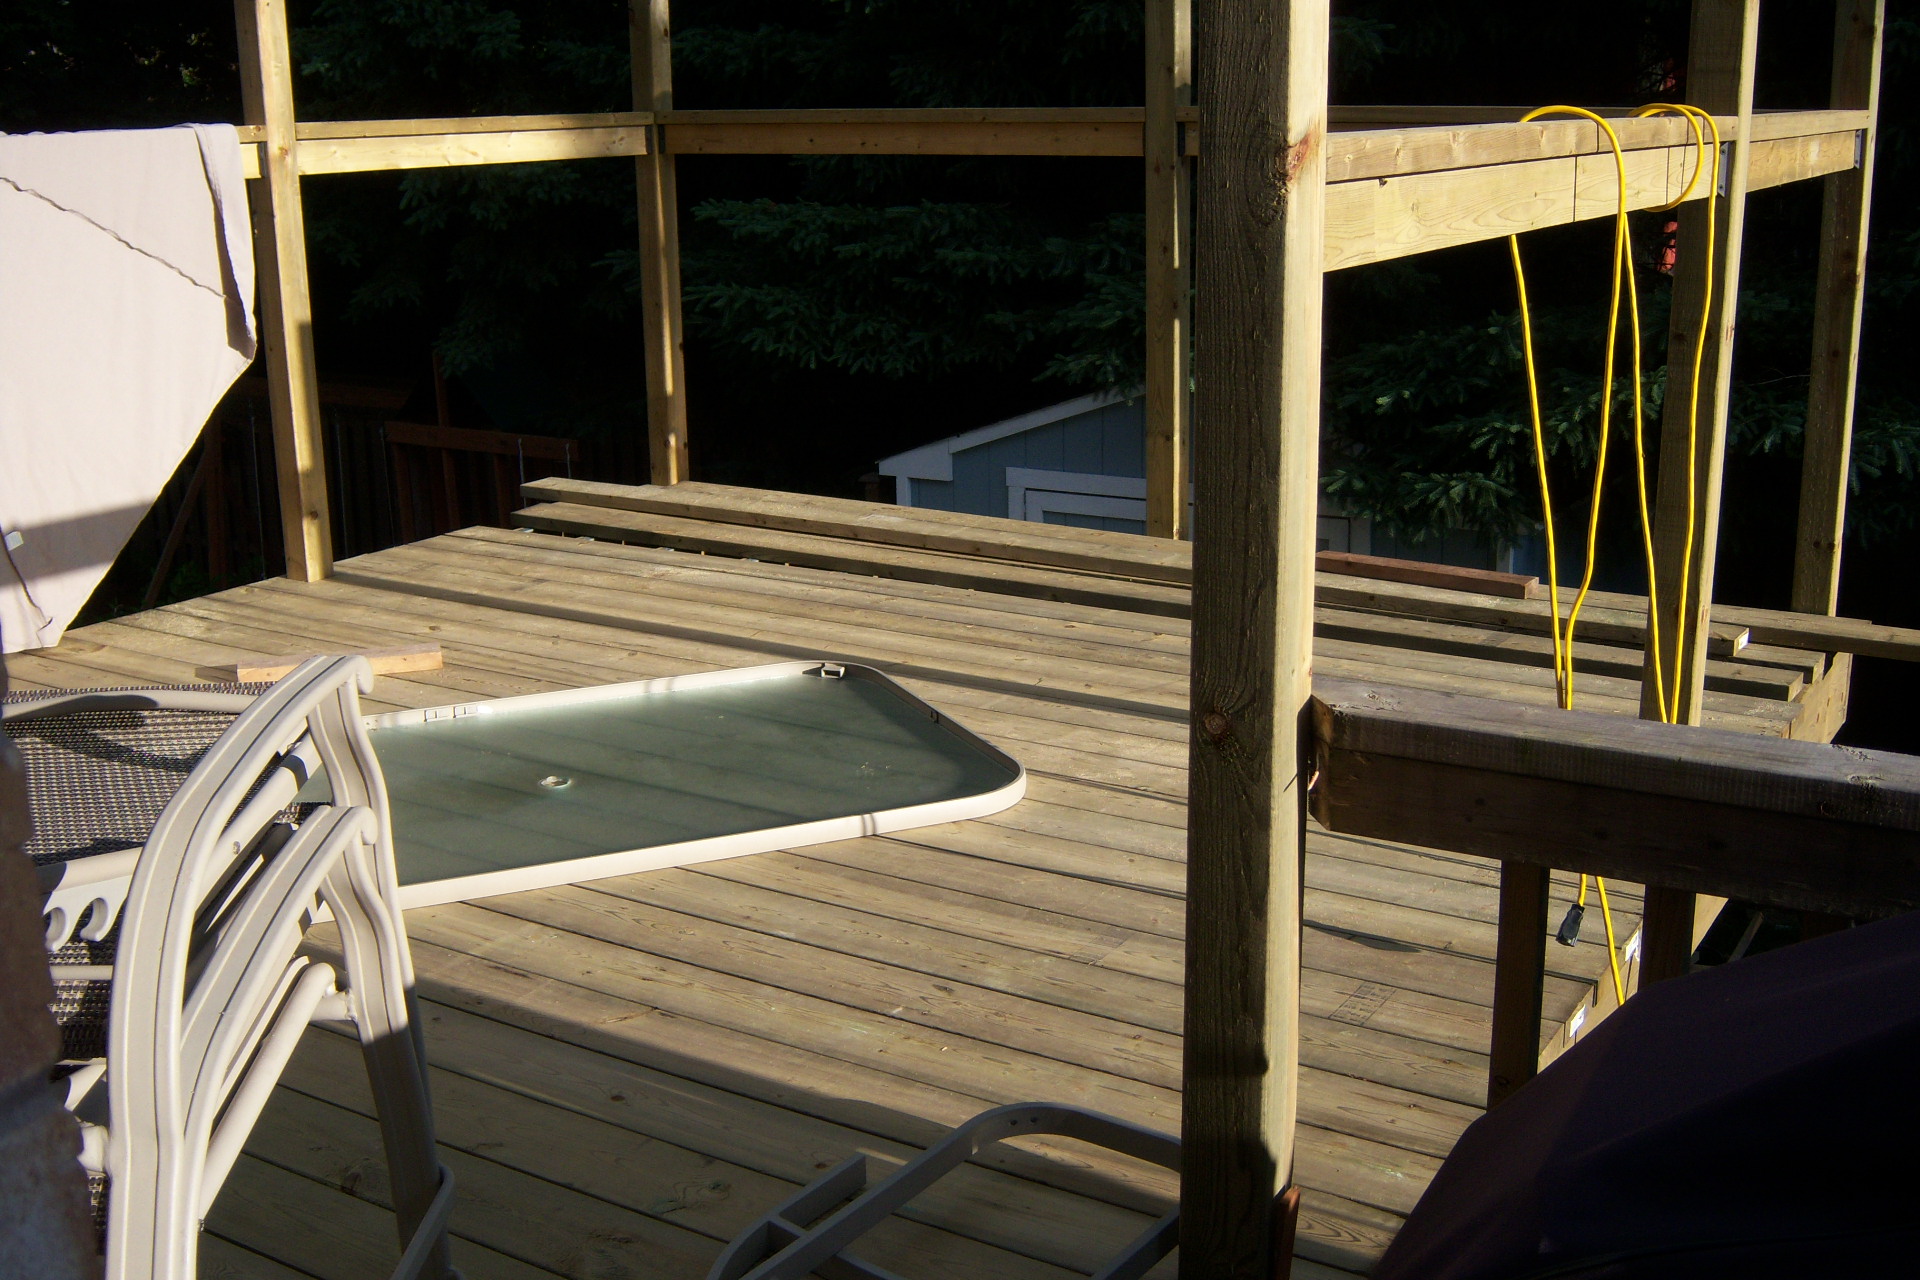
July 15 - that day was a wash as I forgot I needed more screws for the deck boards. So instead I used the evening to make a run to homedepot and but in an order for custom doors for the front door closet - hmmm 10%, good timing - and I remembered to pick up screws.
July 16 - below - got all but one deck board done. The last one is a 1/2 inch shy in width. I will have to get a 2by8 and cut it down to size. Also picked up some screws for the table.
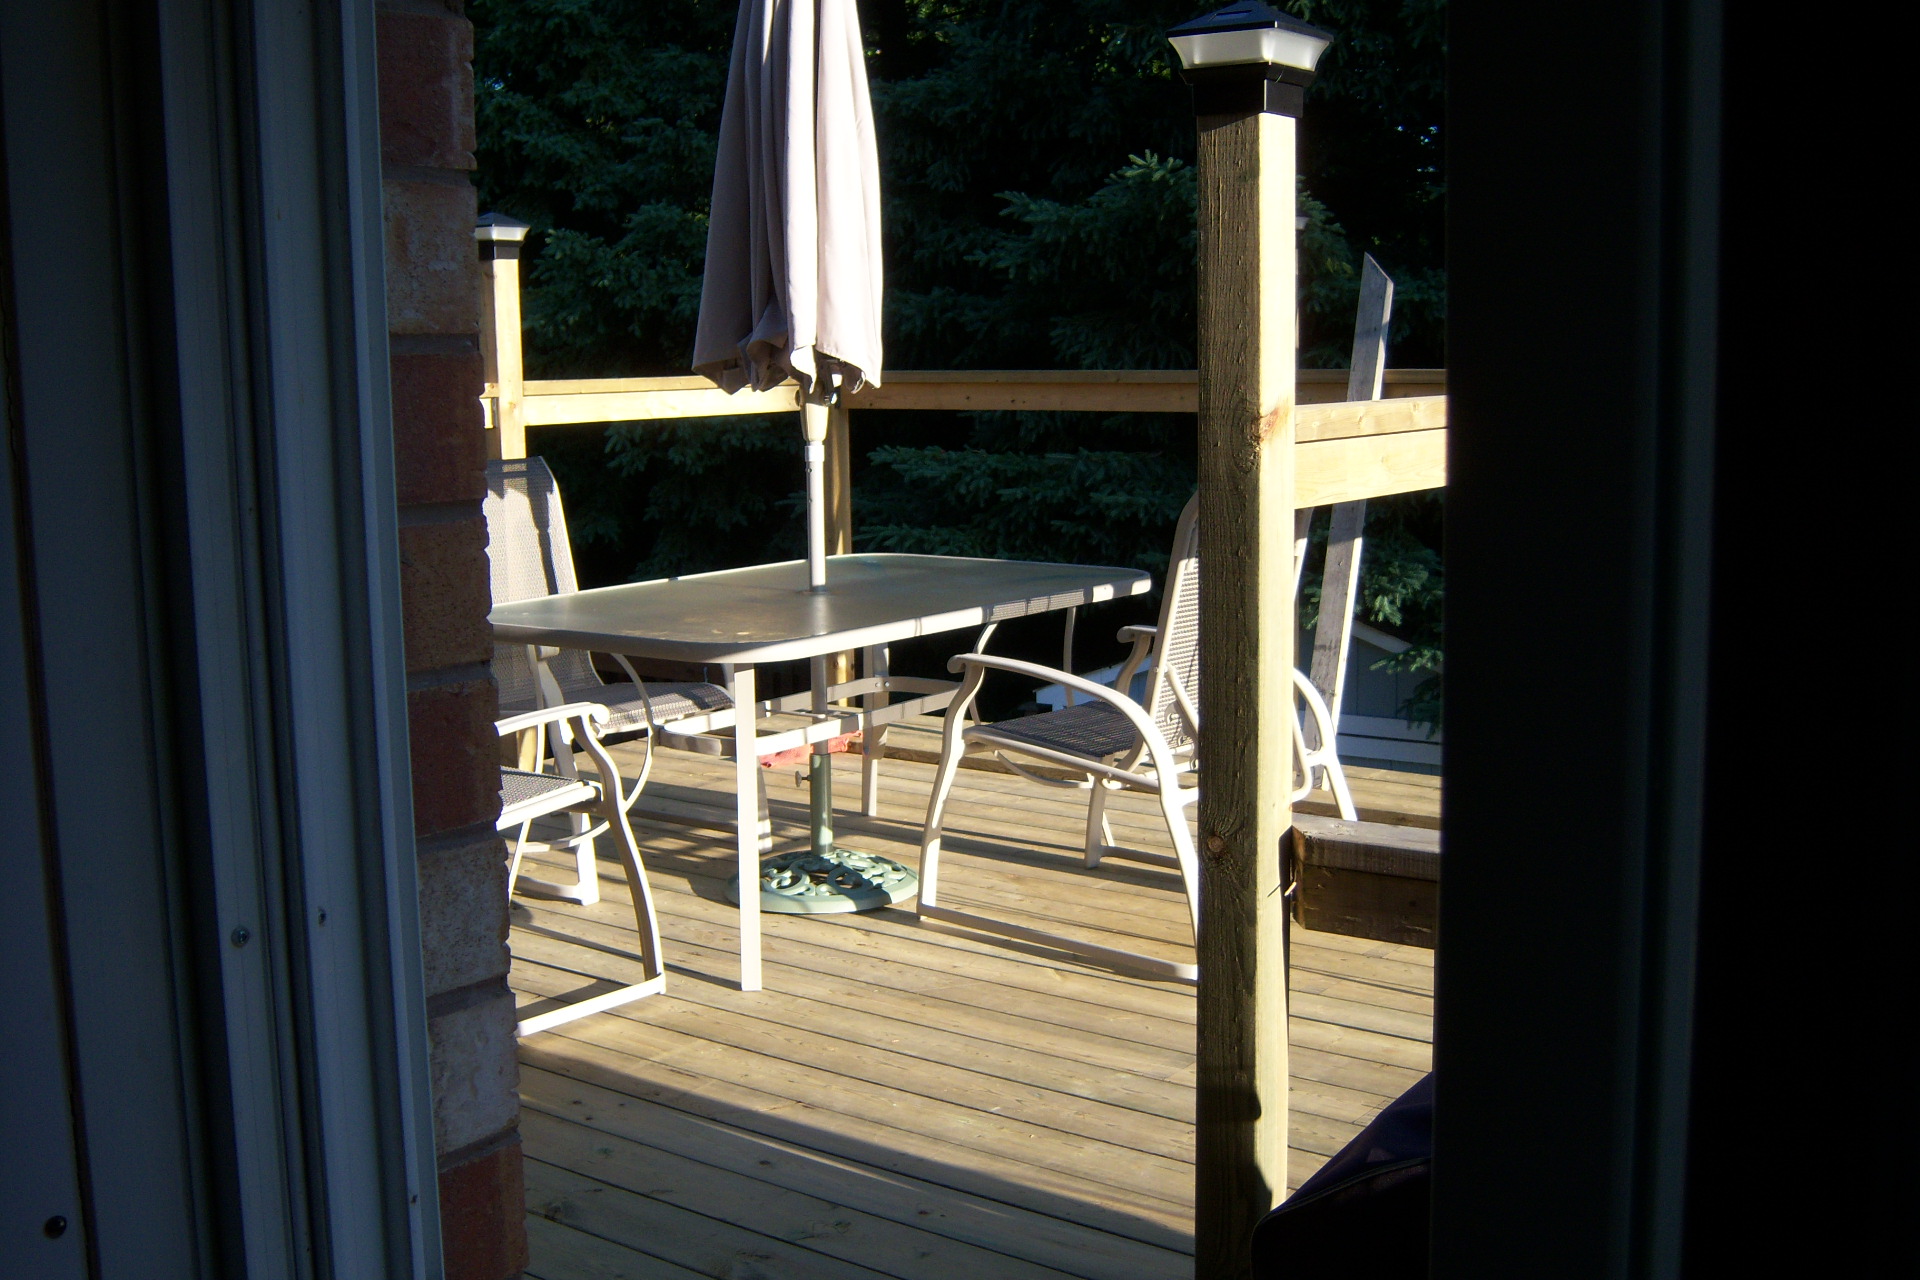
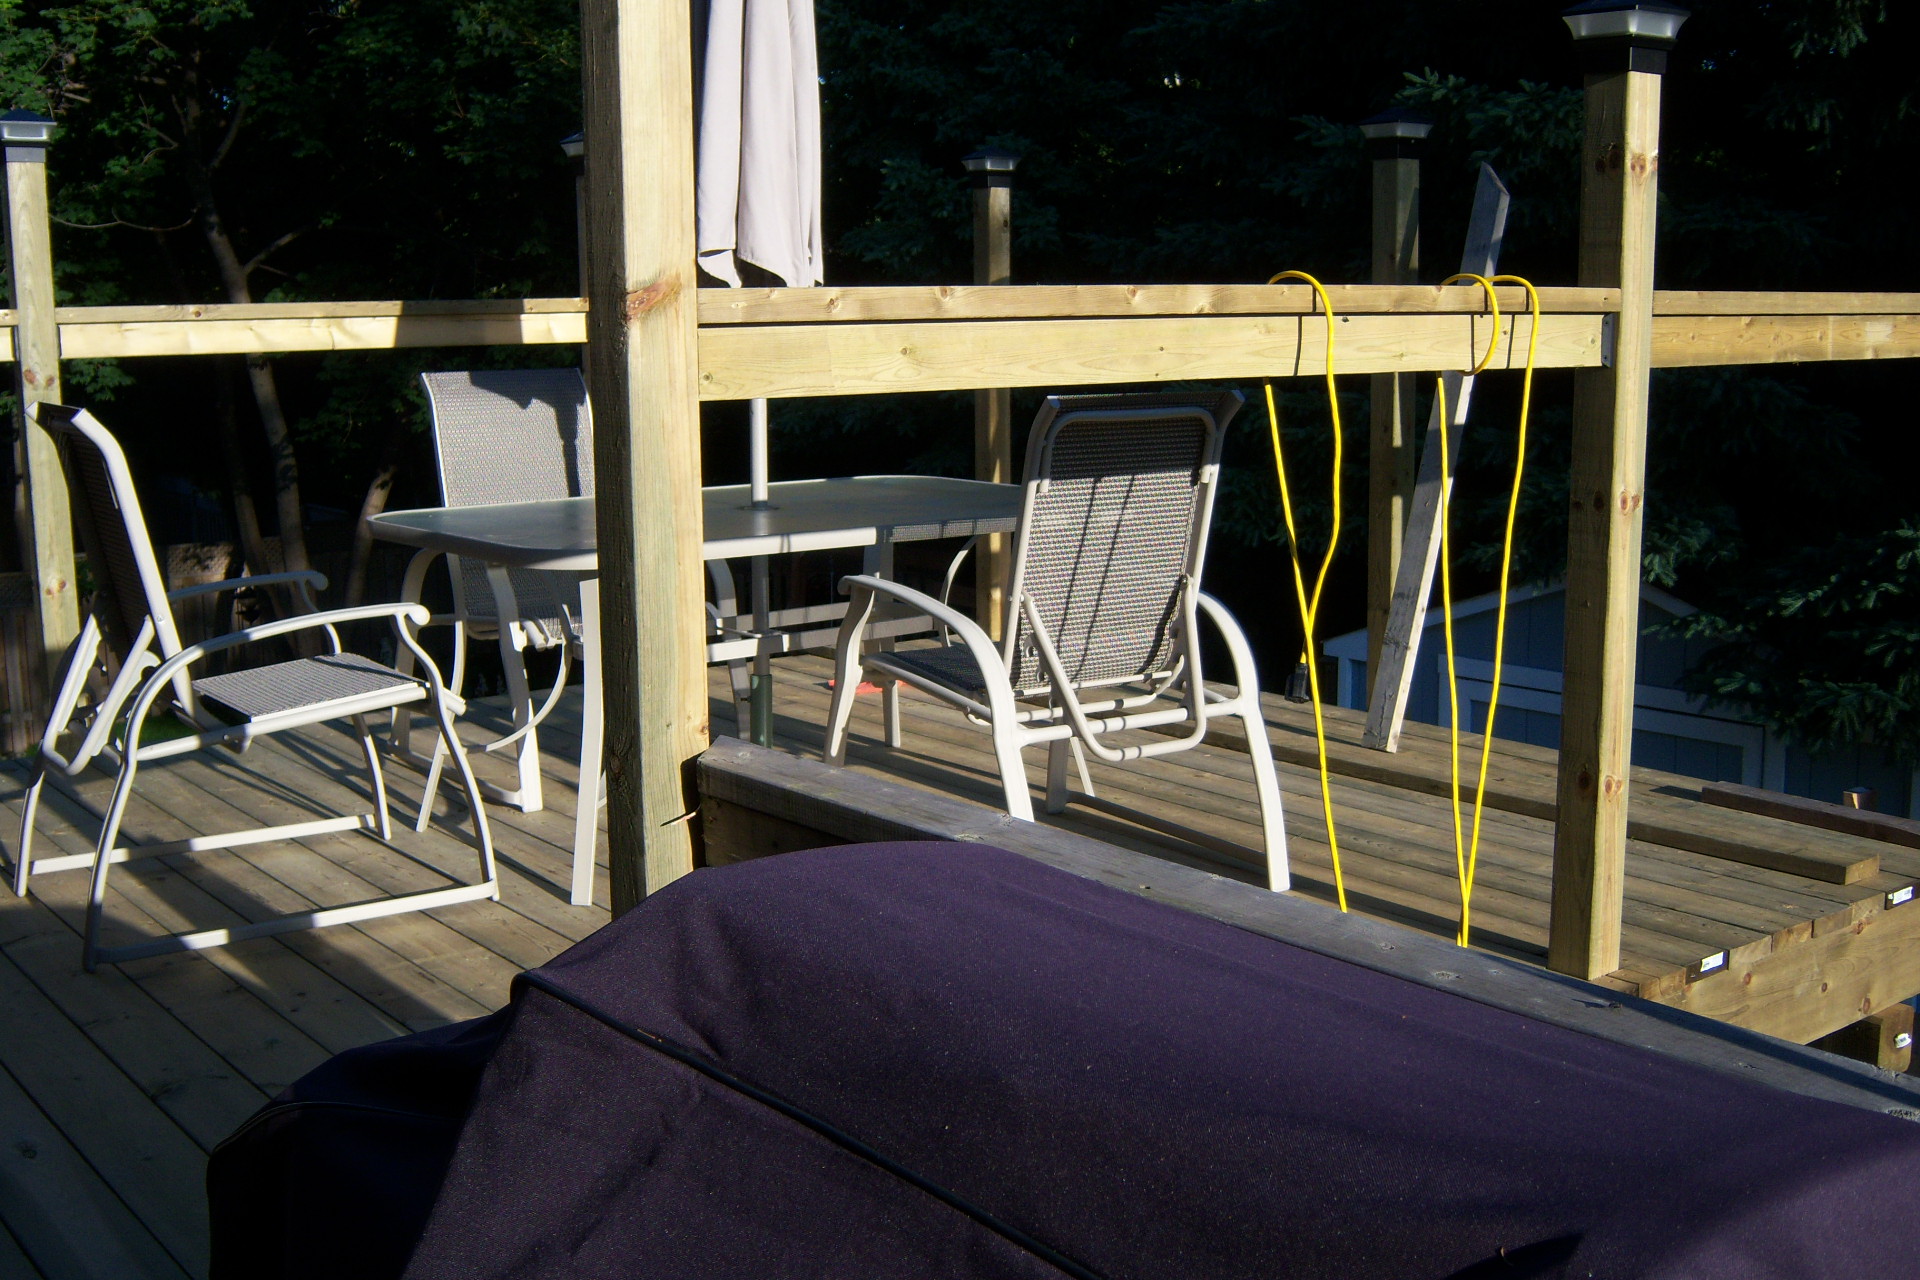
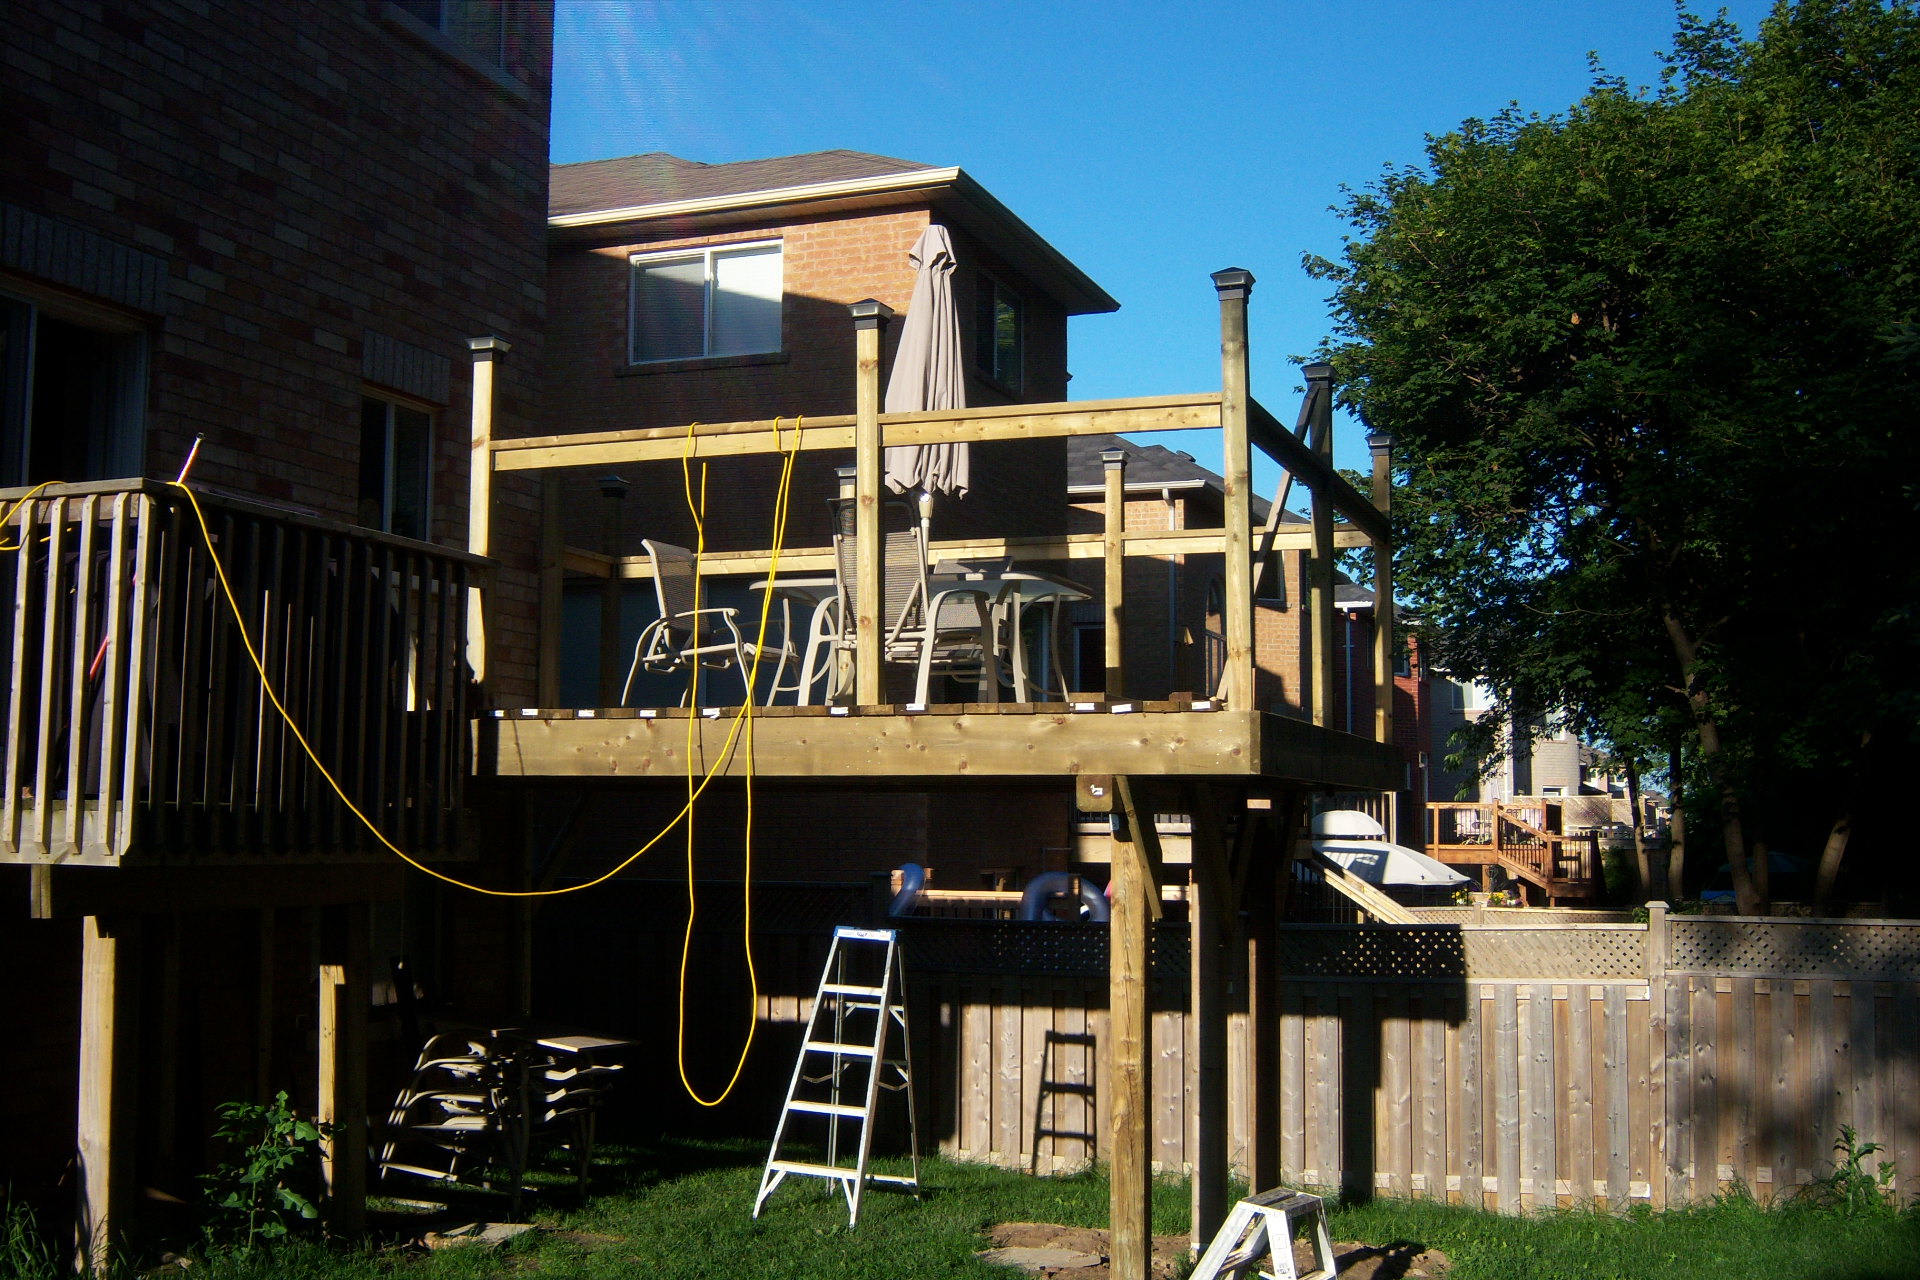
Below - a couple pics to kind of show how the table fits - not an overly spacious deck but comfortable. Enough room to get around this table, aprx 2.5by5ft, and chairs.
Below: I tried to do a night pic of the ligts - need longer exposer time to get a better pic.
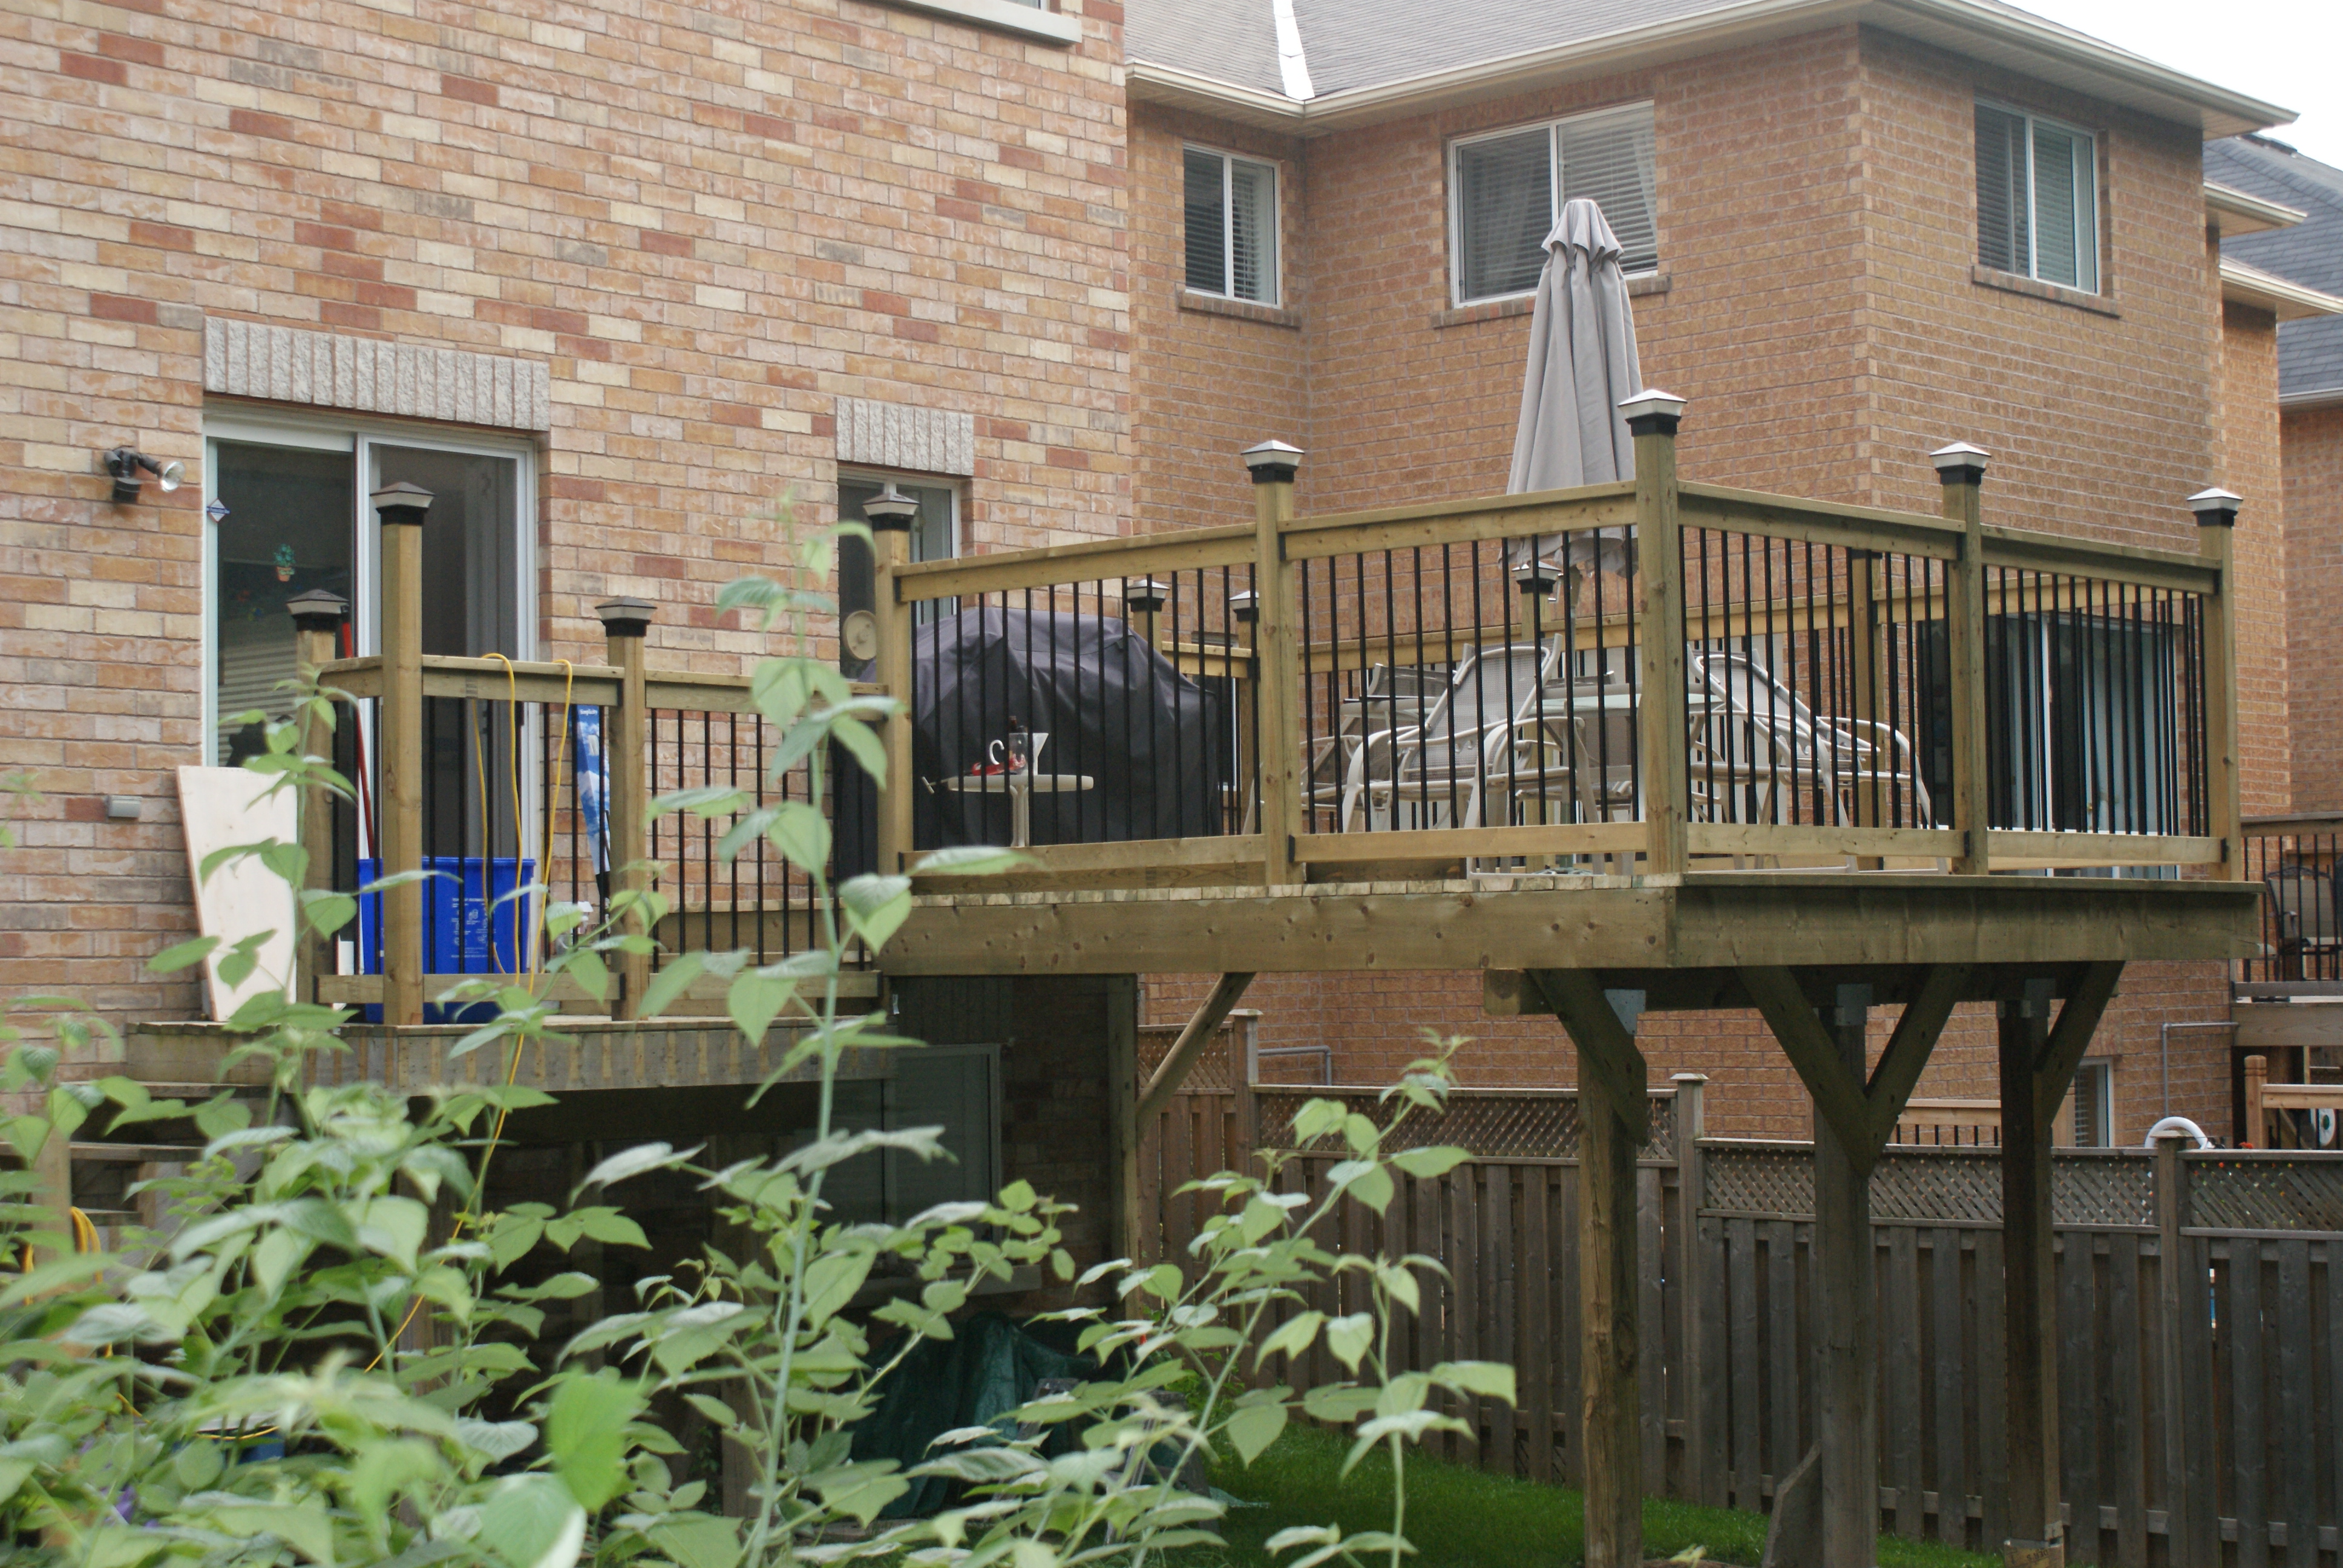
Aug 3 09 -- above, been a couple of weeks since I posted last, I have been working a little here and there when time and weather premitted - I got the railing done on the main deck and the old deck. Below - I went to do the railing but the stairs were sunk 2 or 3 inches into the ground so I had to take them off and relevel the base.
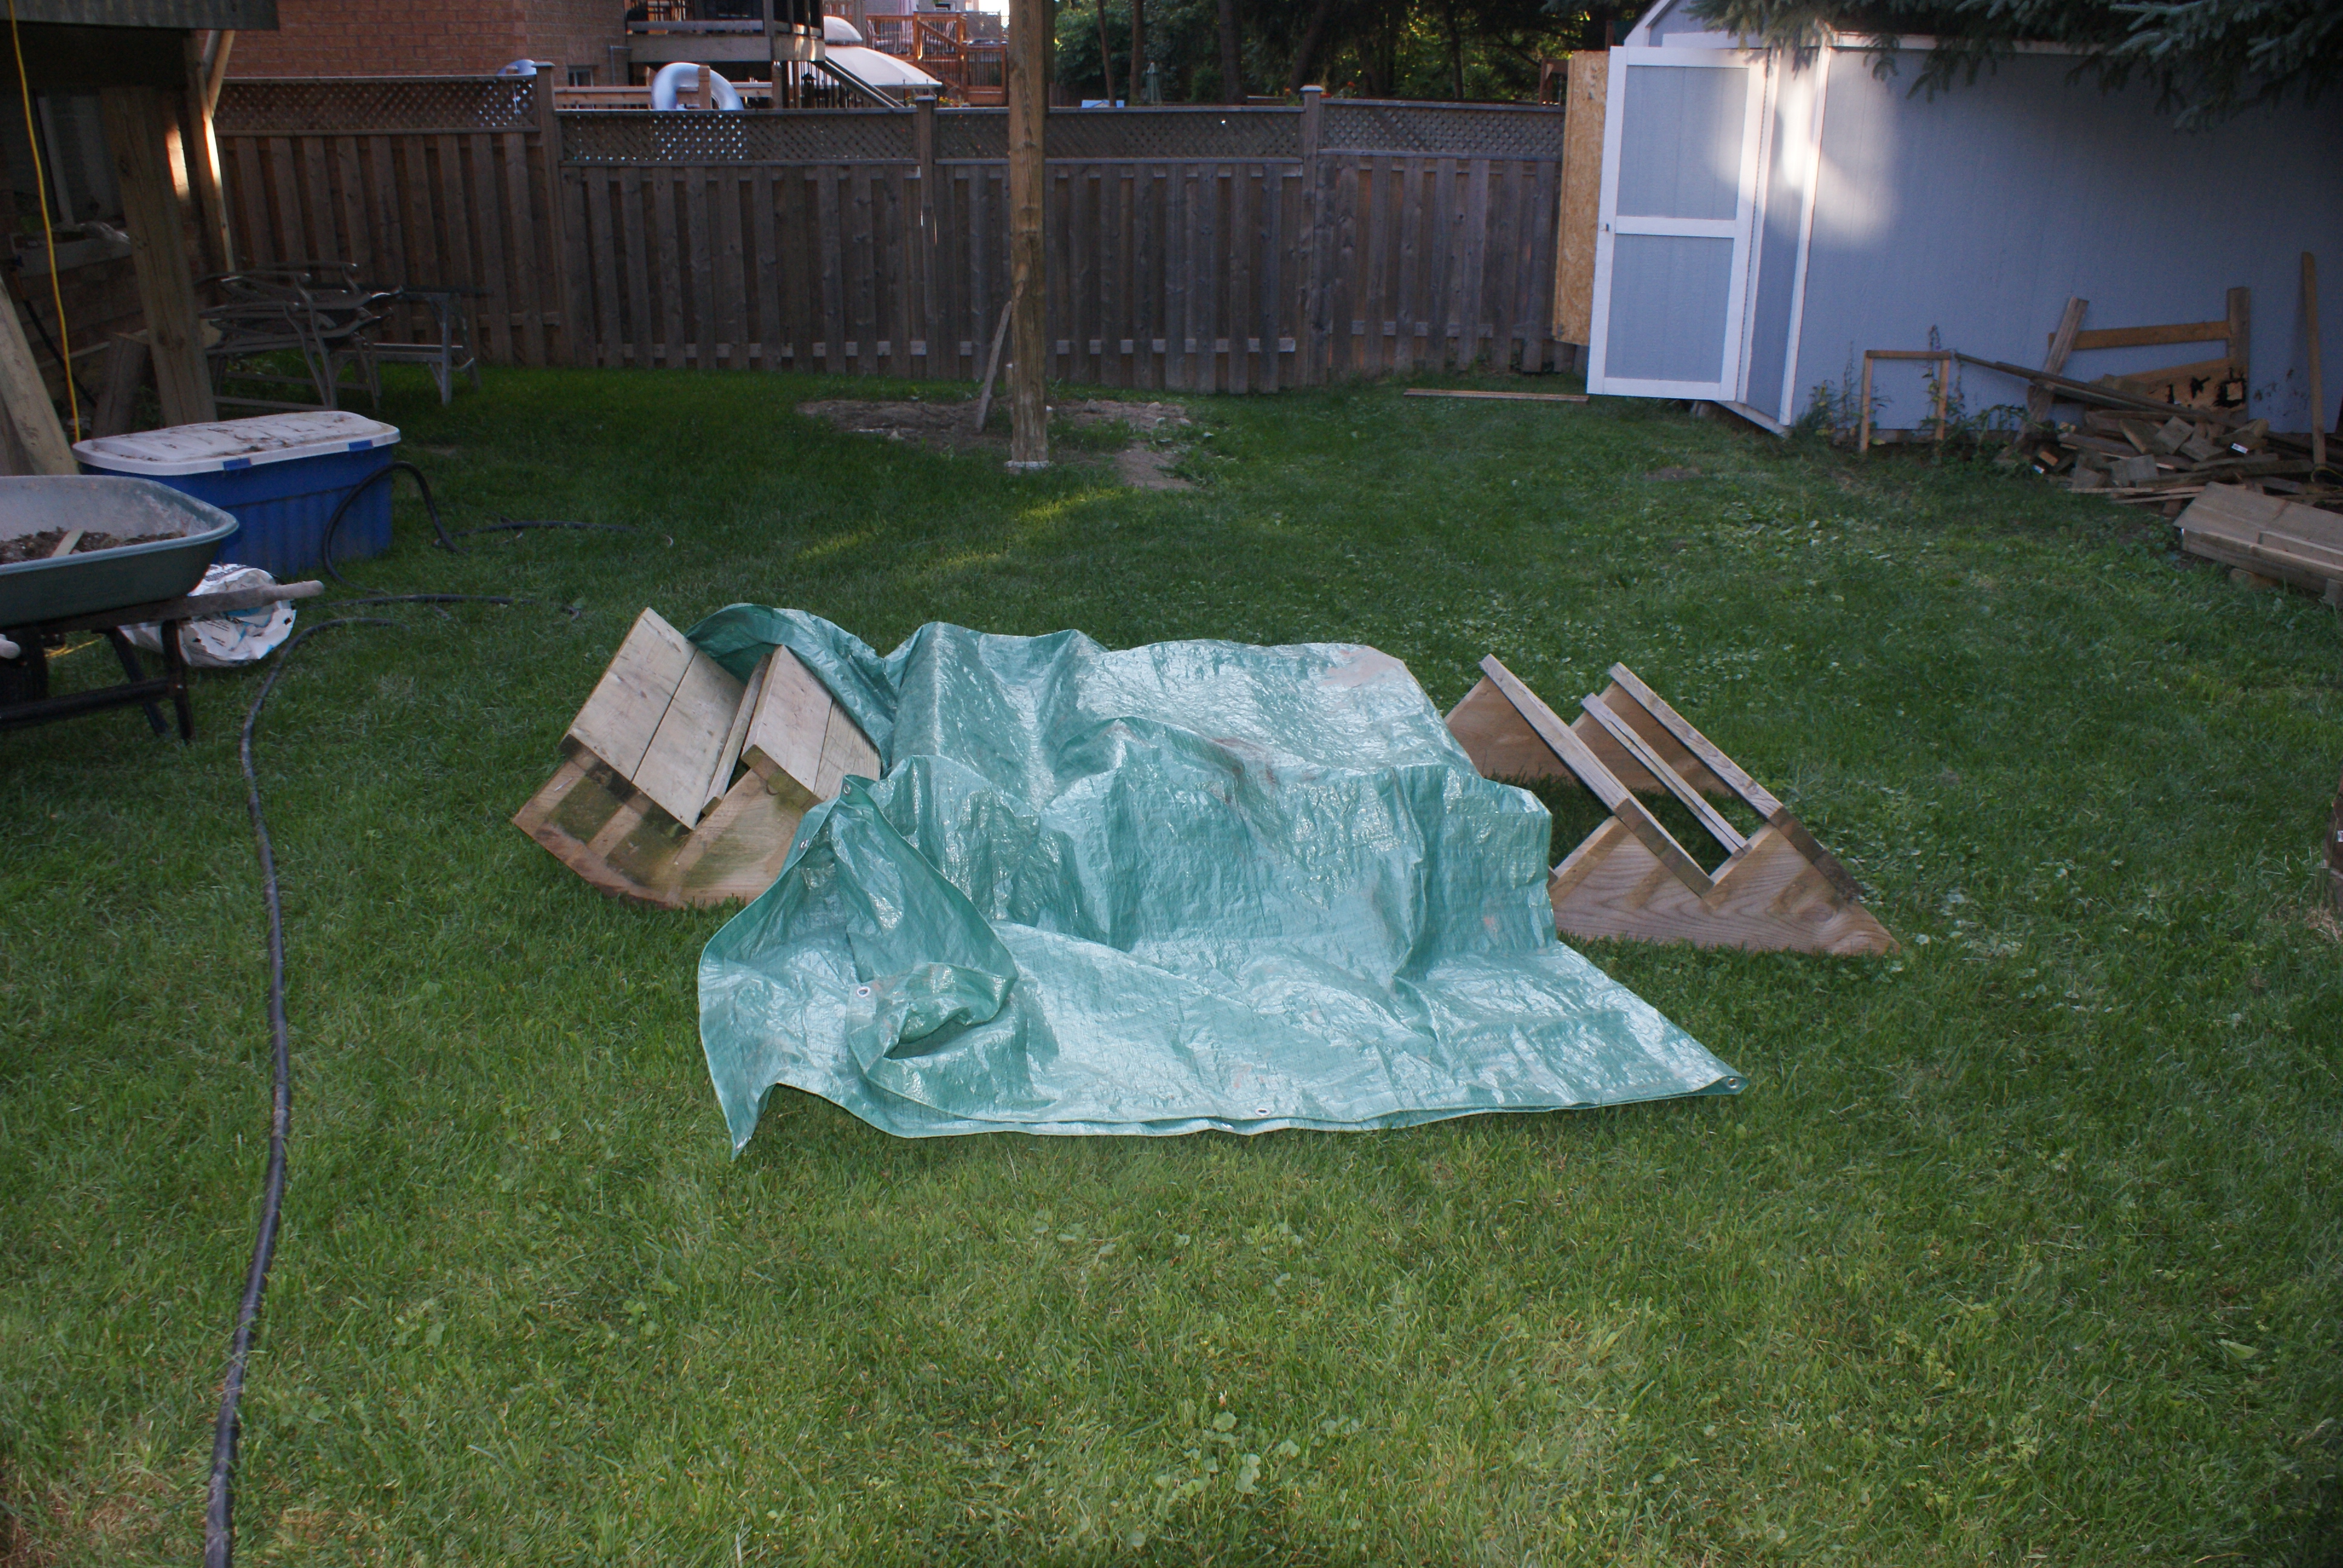
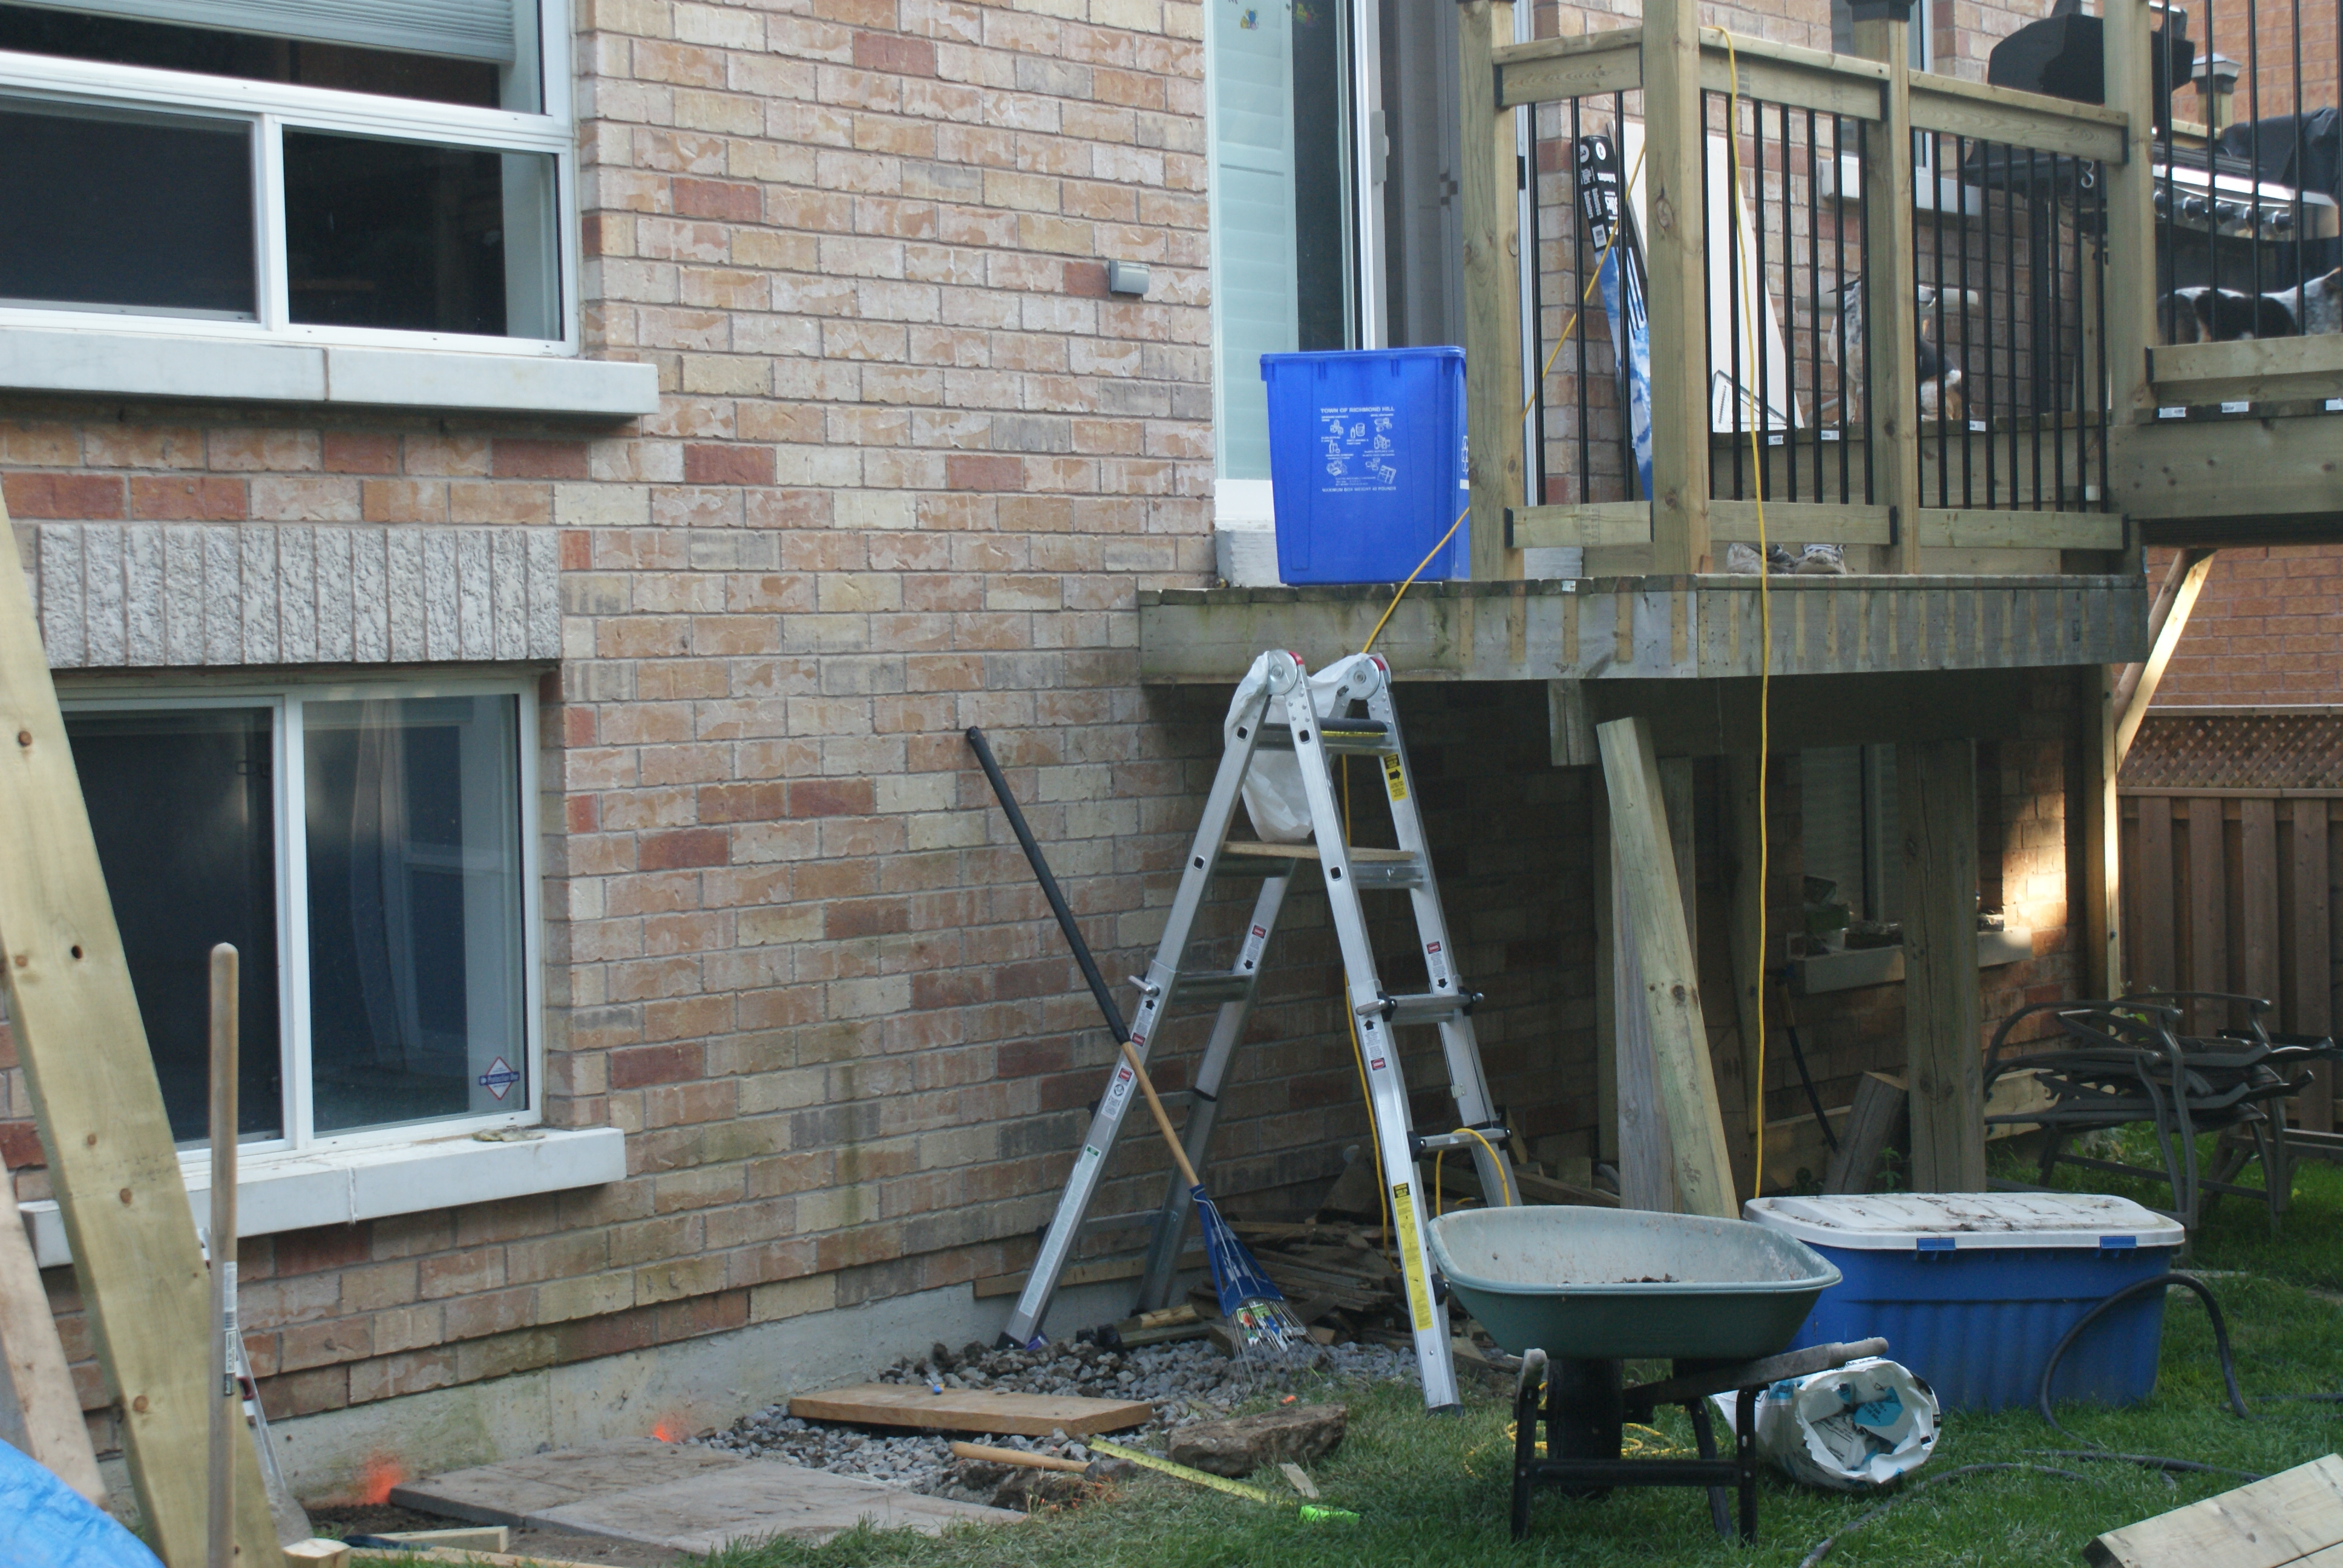
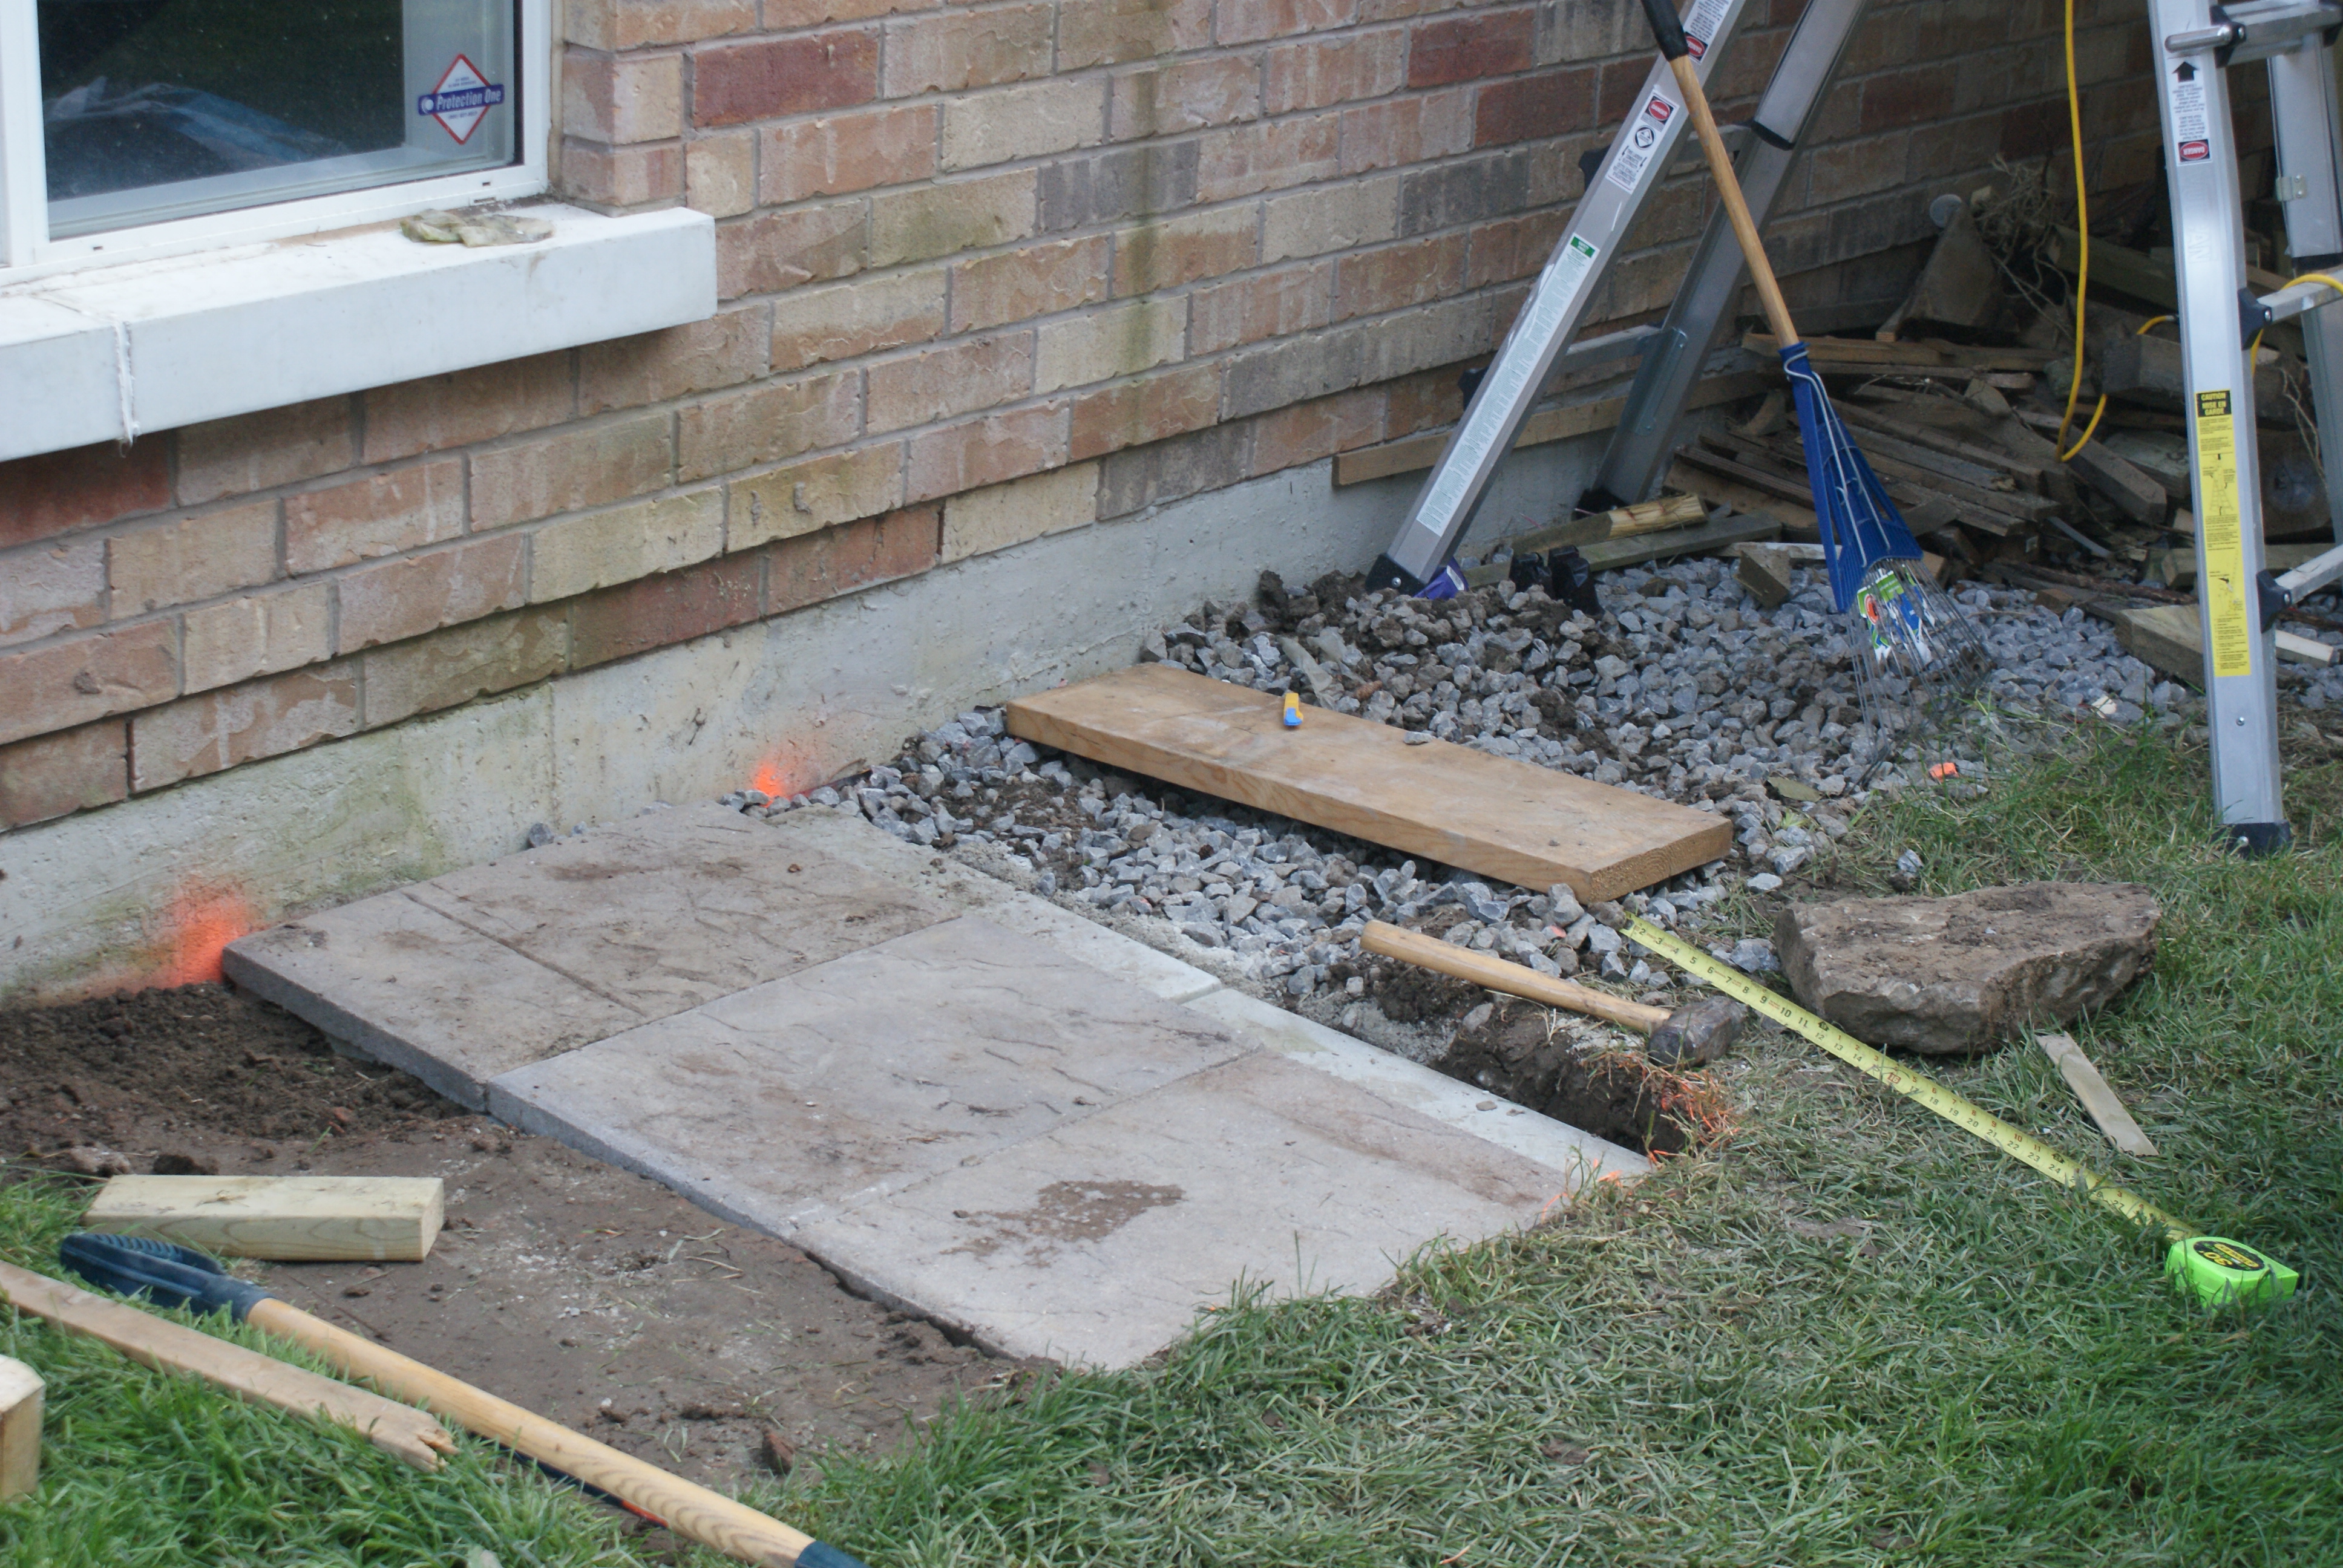
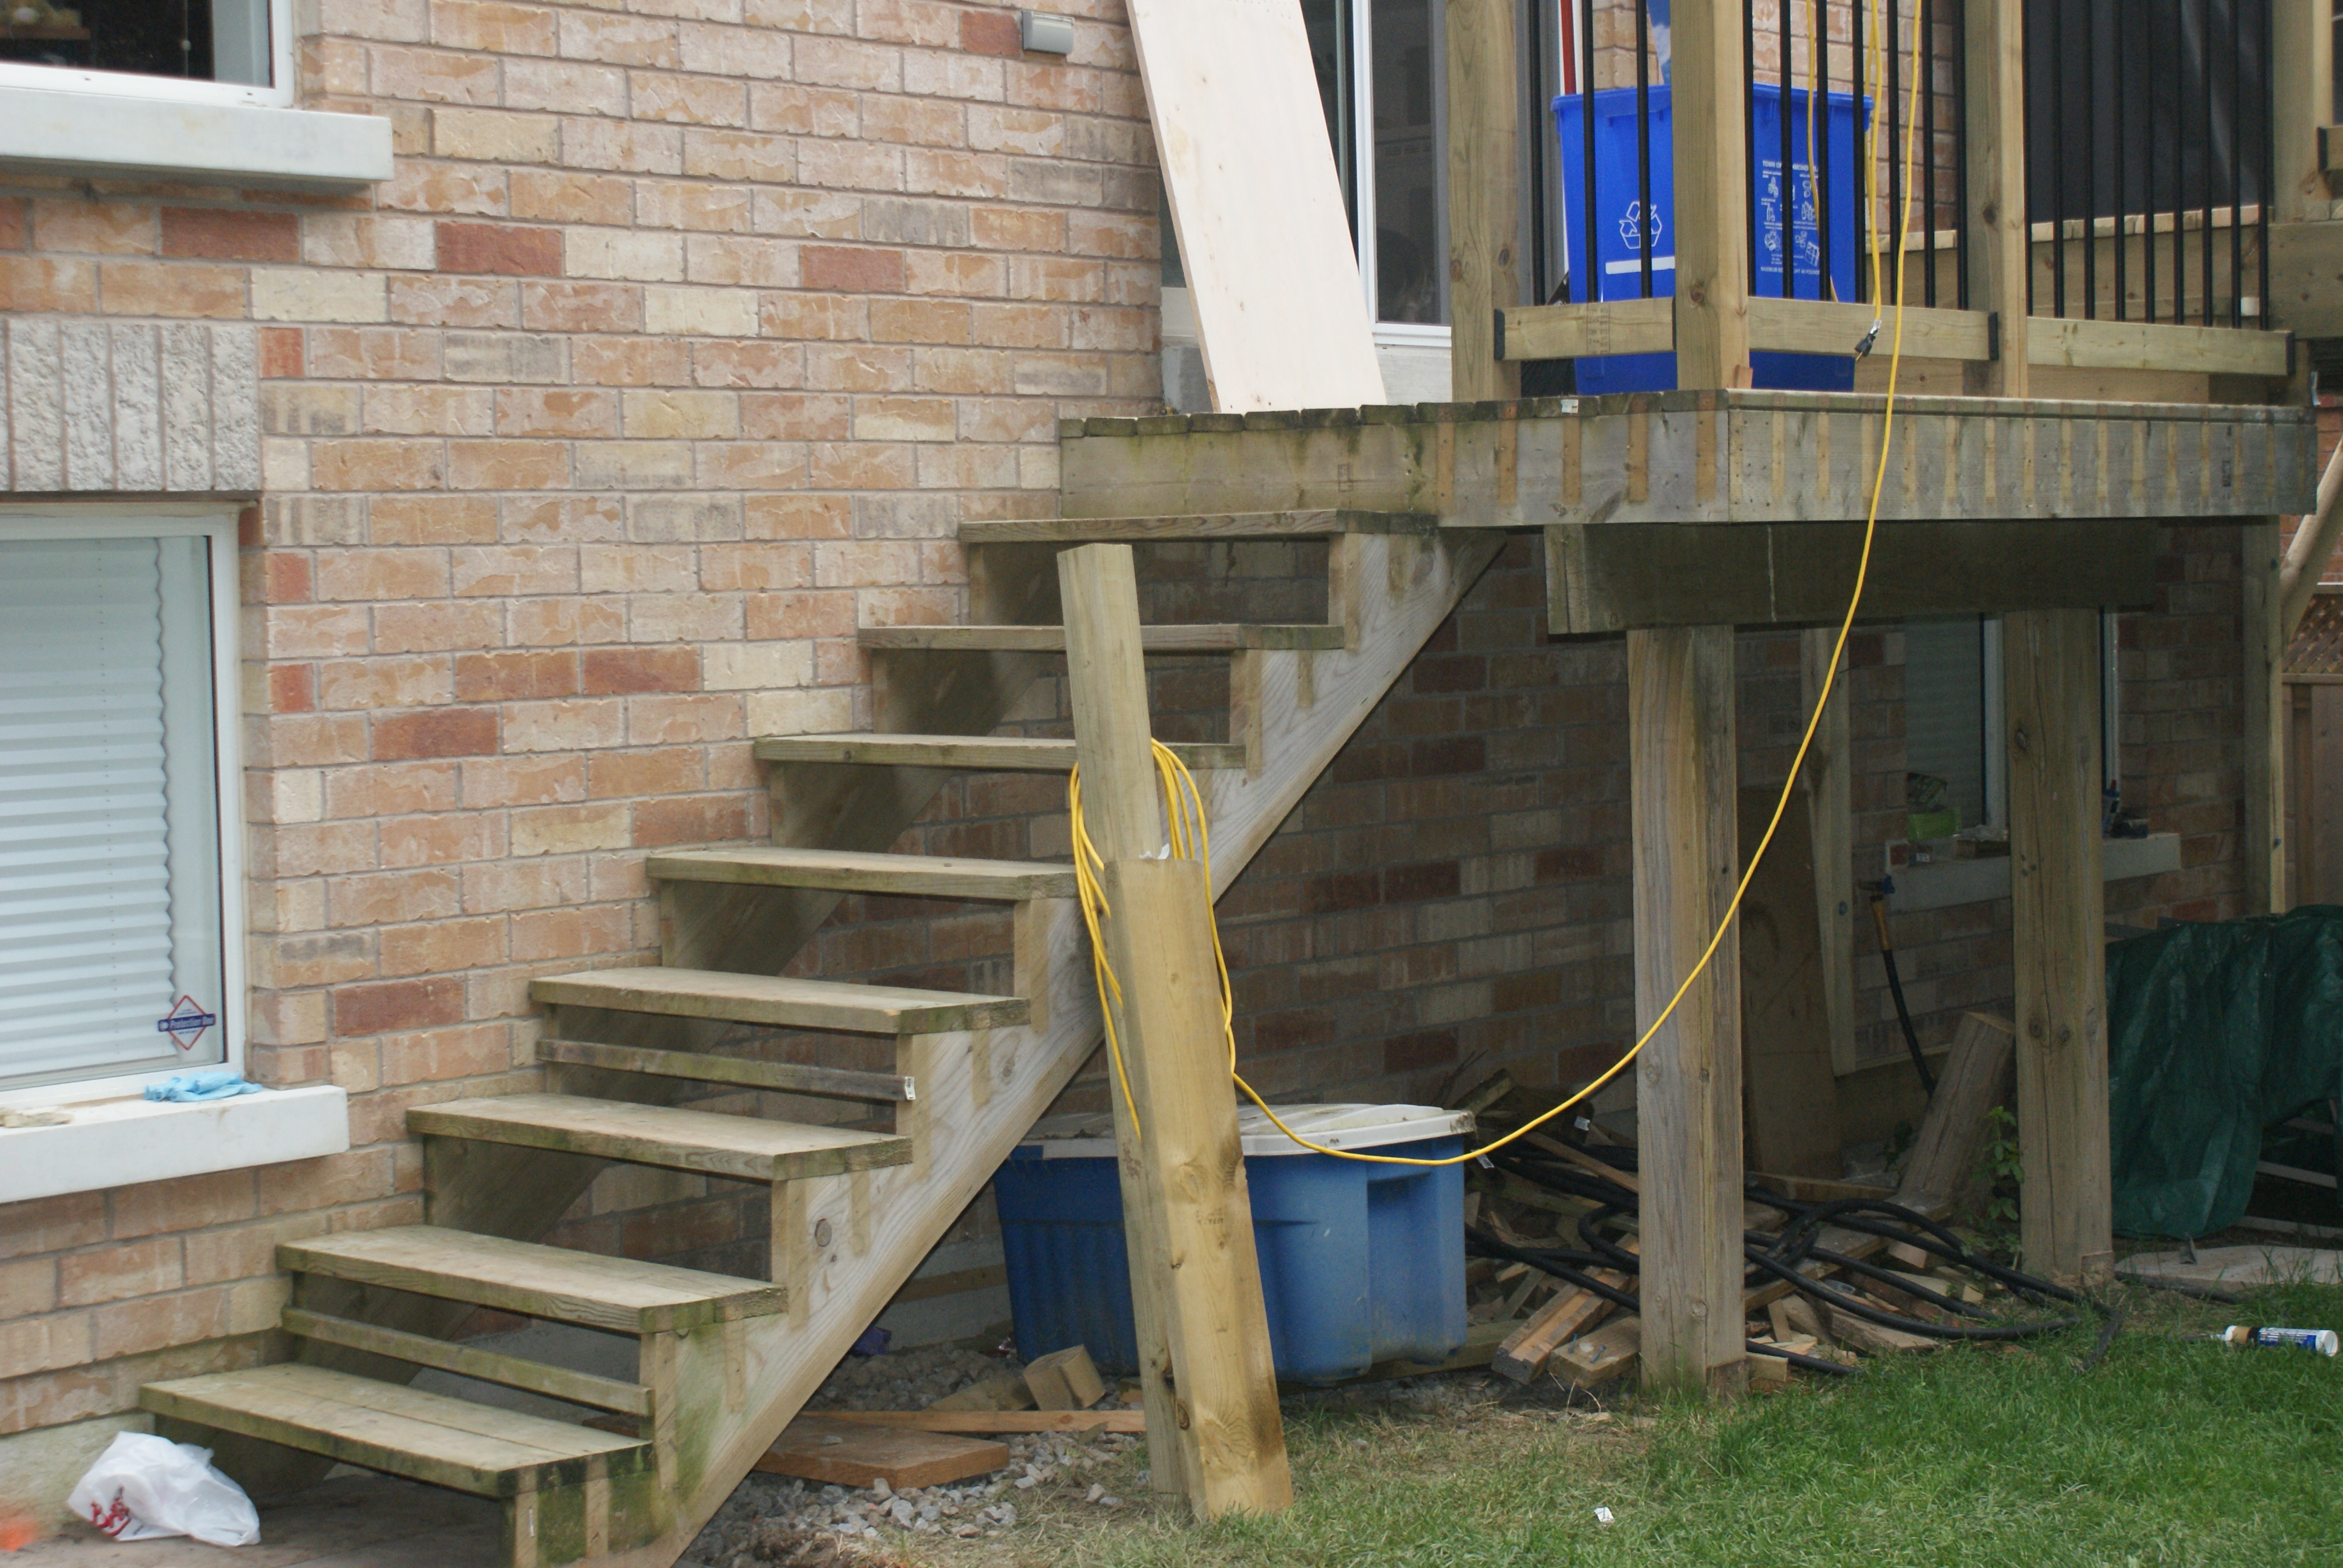
Above - stairs back on and ready to do the railing.
Below - some pics of the deck and getting some enjoyment out of it. If the the weather keeps up maybe we will get one or two mor days out of it this summer.
